Tutorial on MRI-Guided Robot-Assisted Prostate Biopsy
Step 2: Load SmartTemplate robot in 3DSlicer
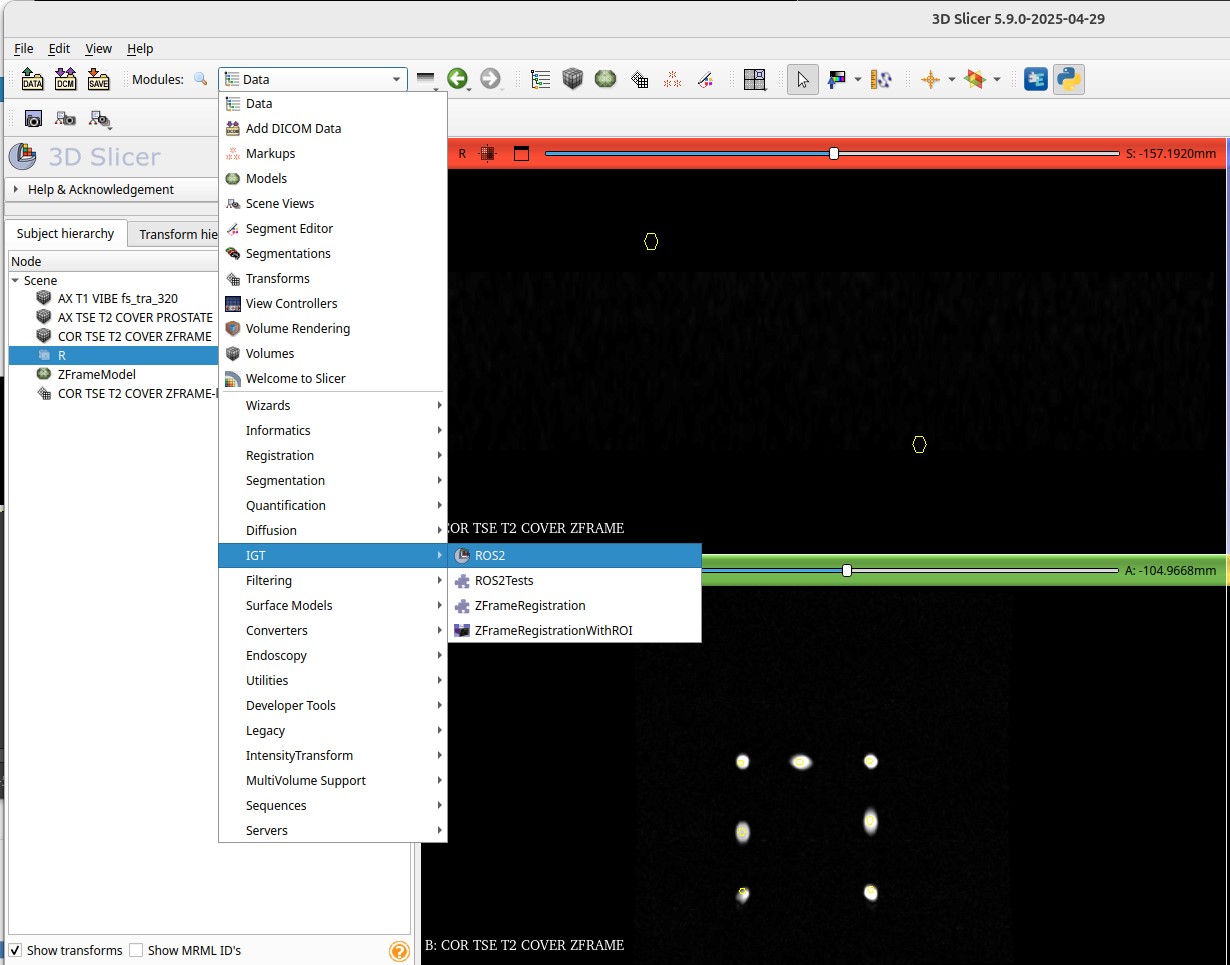
Open the “ROS2” module in Slicer:
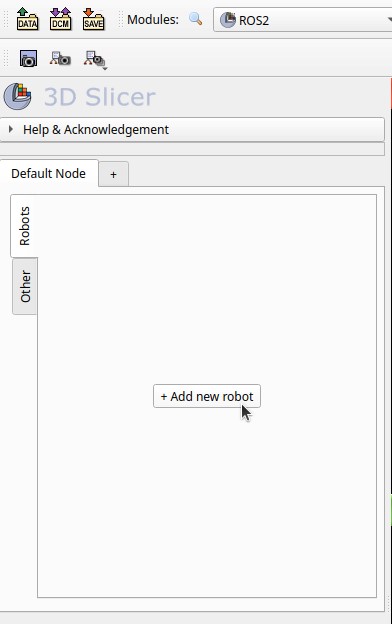
Click the “+ Add new robot” button:
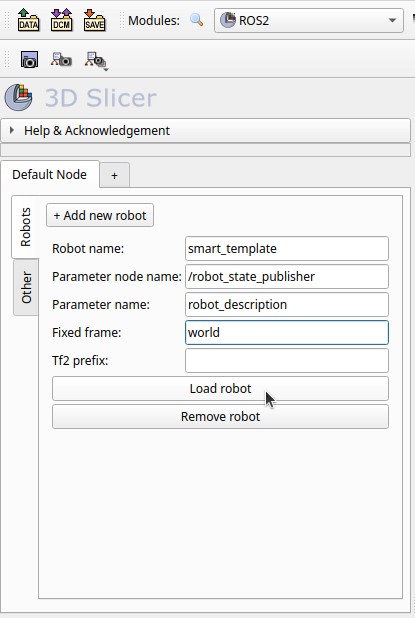
Configure parameters and click button “Load robot”
- Robot name: smart_template
- Parameter node name: /robot_state_publisher
- Parameter name: robot_description
- Fixed frame: world
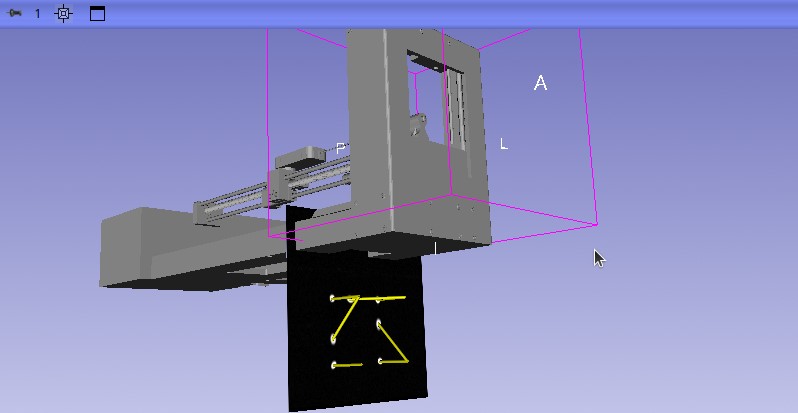
Observe the SmartTemplate robot loaded in the 3D view:
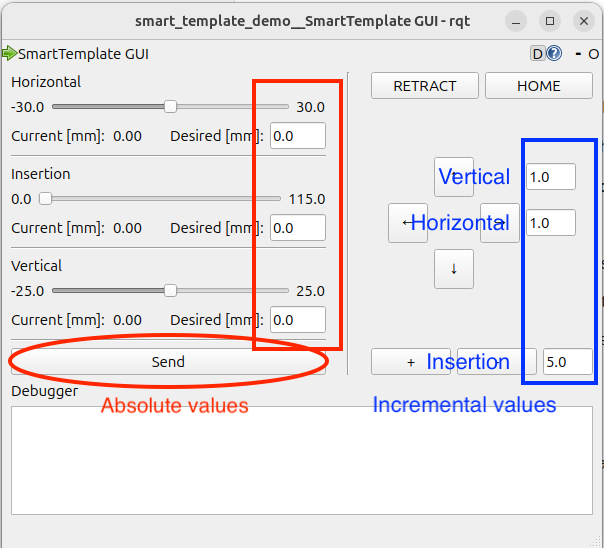
Using the SmartTemplate GUI, move the robot using the arrow buttons and observe the respective motion in Slicer
| ⬅️ Previous: Load MR images | Next: Register SmartTemplate to the scanner ➡️ | Back to Table of Contents ↩️ |