Tutorial on MRI-Guided Robot-Assisted Prostate Biopsy
Step 4: Make a straight needle insertion using the robot GUI
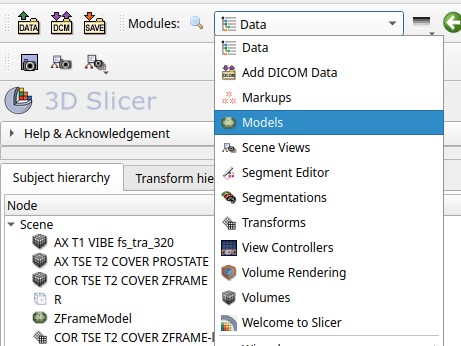
Open the “Models” module
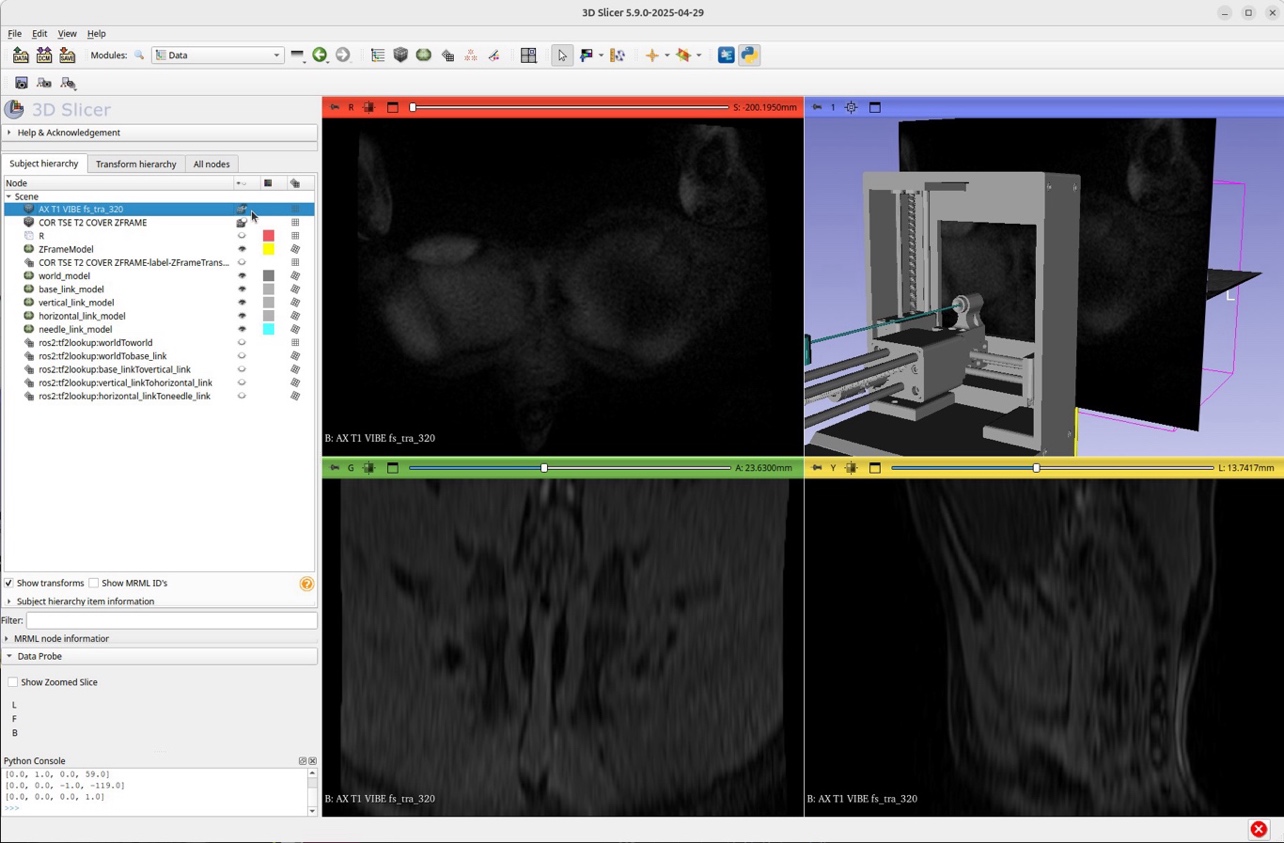
Select the needle_link model and edit its color and Slice Visibility:

Now, turn on the visualization of the provided “AX T1 VIBE” image so that you can see it in the axial, coronal, sagittal and 3D viewers:
Using the SmartTemplate GUI, change the insertion value from 5.0 to 100.0 mm and click the + button to insert the needle. Observe the insertion as it progresses by scrolling through the MRI volume slices and rotating the 3D view:

Now use the SmartTemplate GUI to fully retract the needle by clicking the “RETRACT” button and observe the updates in the 3D Slicer viewers
| ⬅️ Previous: Register SmartTemplate | Next: Make a targeted insertion ➡️ | Back to Table of Contents ↩️ |