Follow-along: Robot registration to the patient / phantom
Tutorial Part 2: Robot registration to the patient / phantom
Overview
In this portion of the tutorial, participants will learn how to register a robot to a phantom of patient anatomy.
Prerequisites: Complete Tutorial Part 1 first — this part continues from the navigation-ready scene built there, with 3D Slicer still running and the patient anatomy already registered to the optical tracker.
Part 4: Load the Micromate Robot
Step 44: Open a New Console
Open a new Konsole terminal, leaving Slicer running.
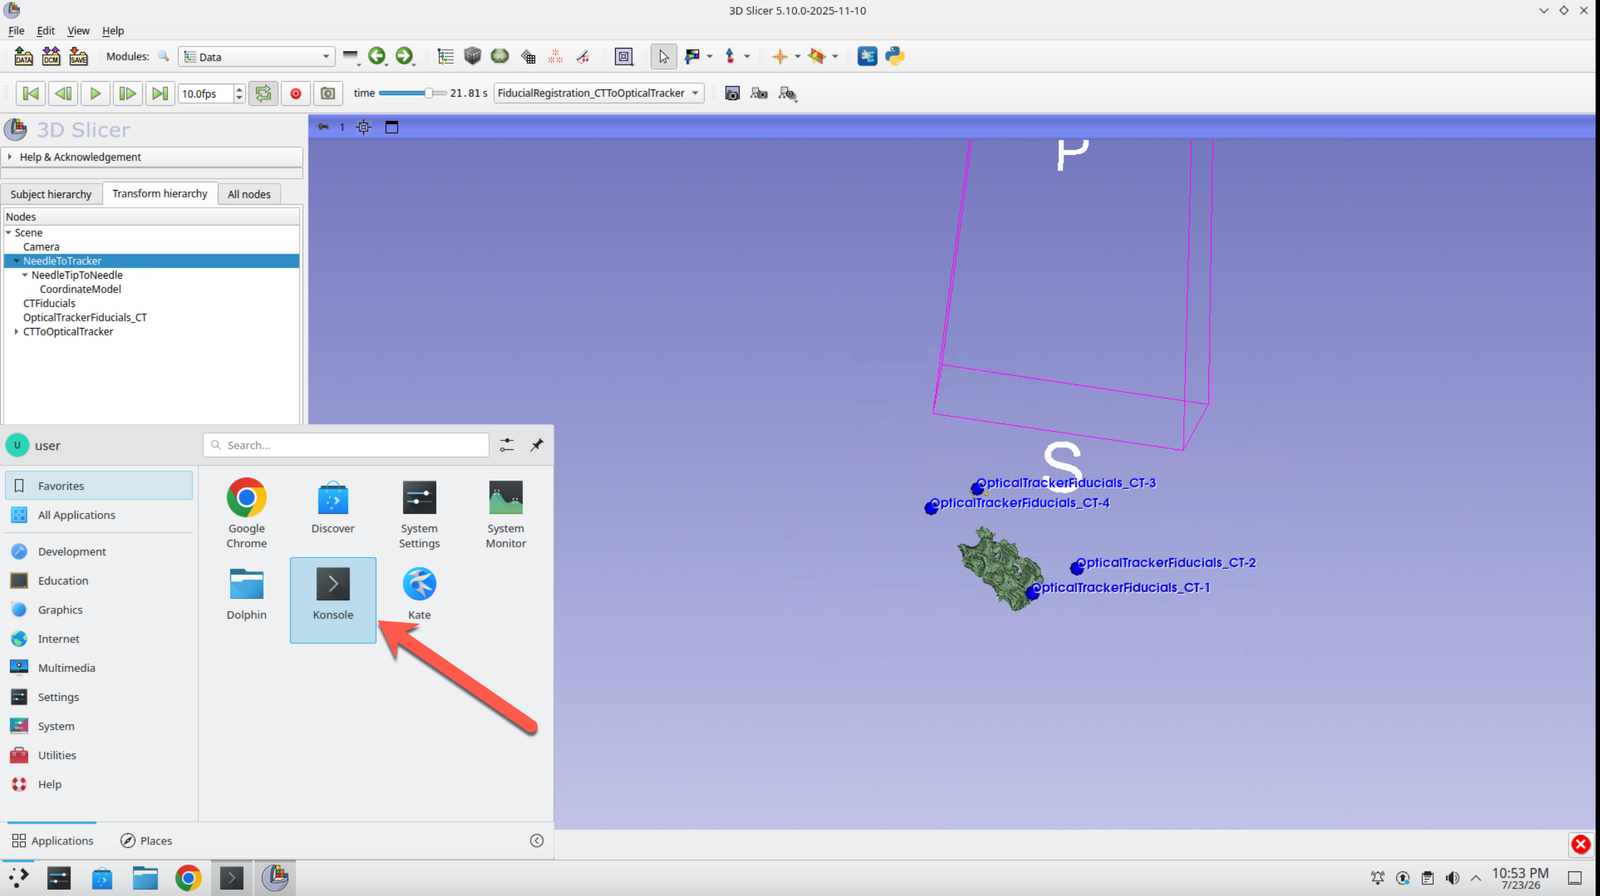
Step 45: Launch the Micromate Driver
Type the following three commands to source the workspace and bring up the Micromate driver with mock hardware:
cd ../home/user/ros2_ws/
source install/setup.bash
ros2 launch micromate_ros2_driver micromate_with_custom_ros2_bringup.launch.py use_mock_hardware:=true
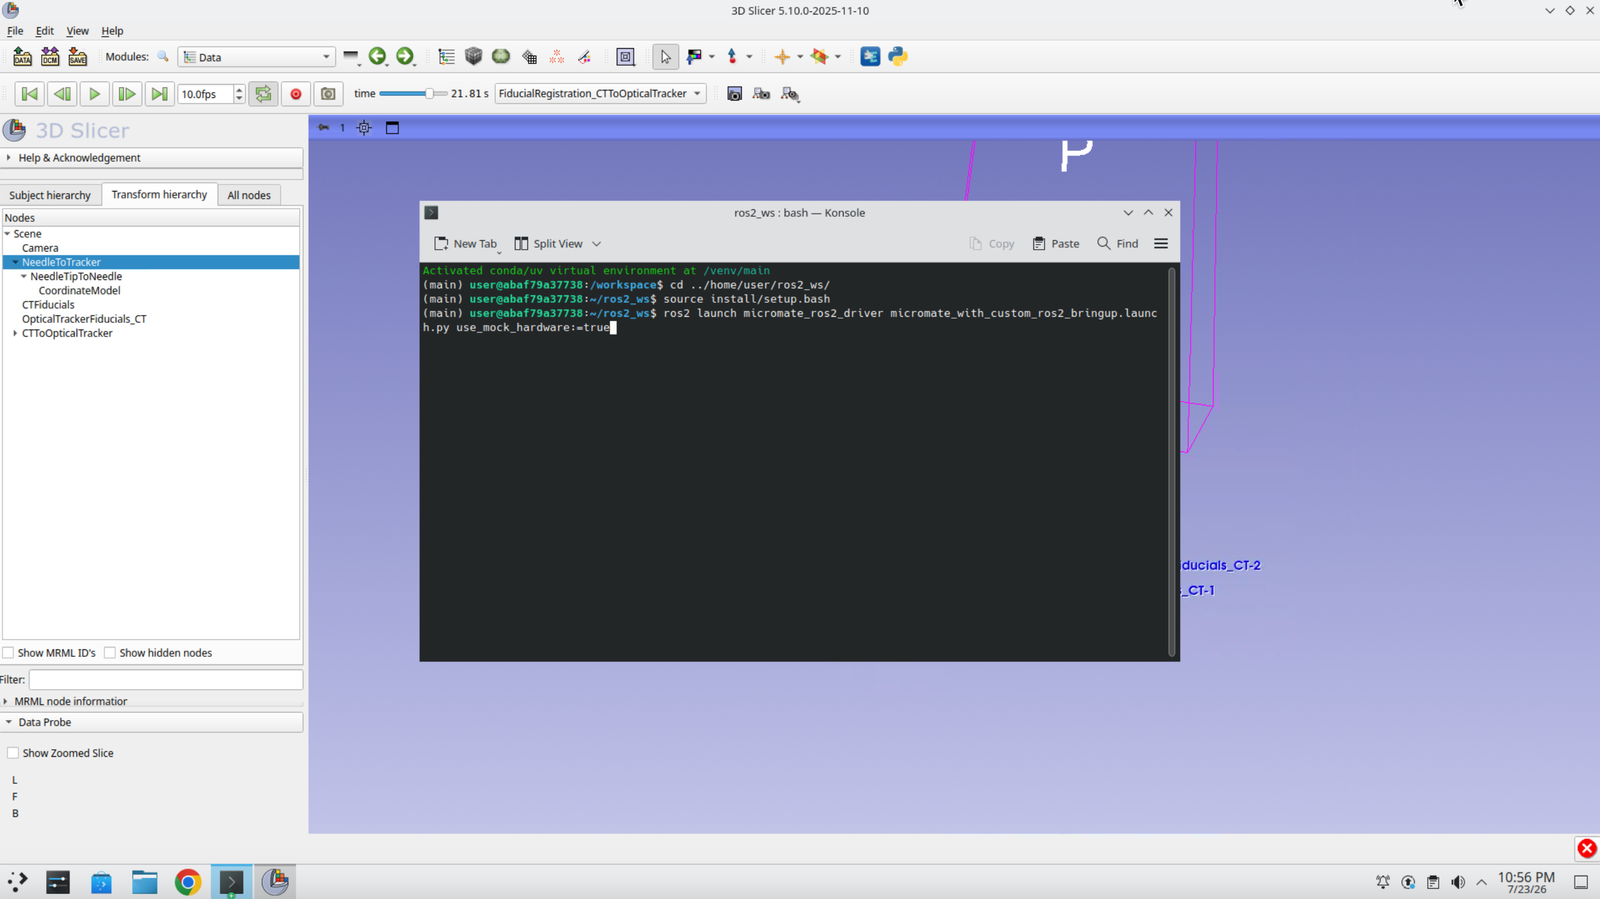
Step 46: Confirm the Driver Starts
Wait for the launch output to settle. You should see the driver’s node and controller startup messages.
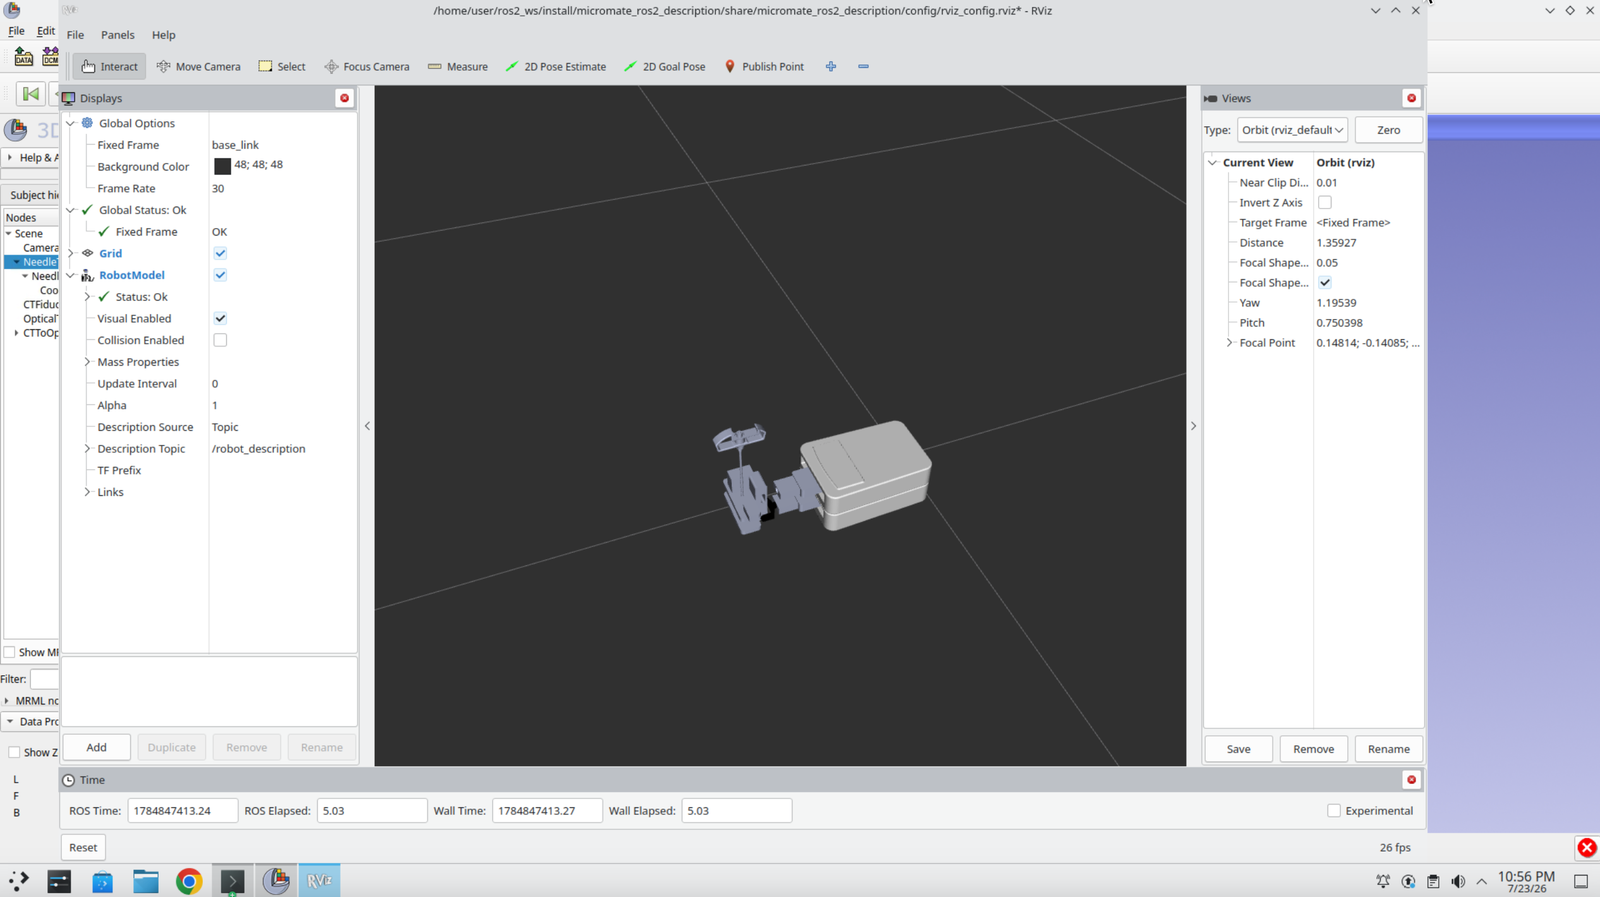
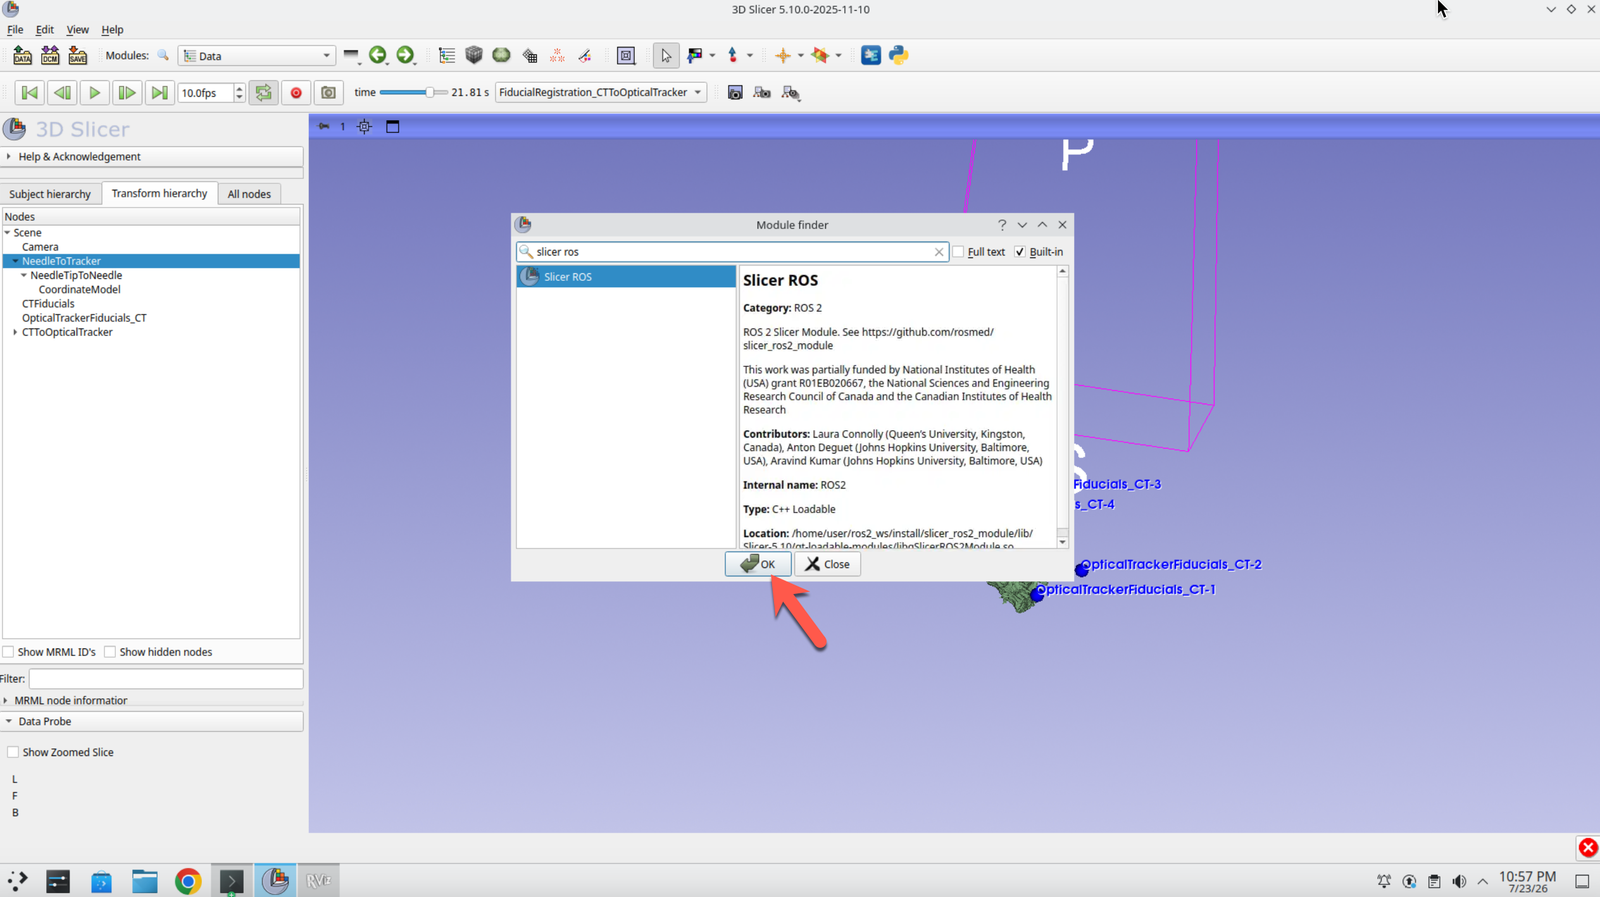
Step 47: Open the SlicerROS2 Module
Switch back to Slicer, press Ctrl+F to open the Module Finder, and search for Slicer ROS. Select the ROS2 module and click OK.
Step 48: Add a New Robot
In the ROS2 module panel, select + Add New Robot to connect Slicer to the robot description published by the driver.
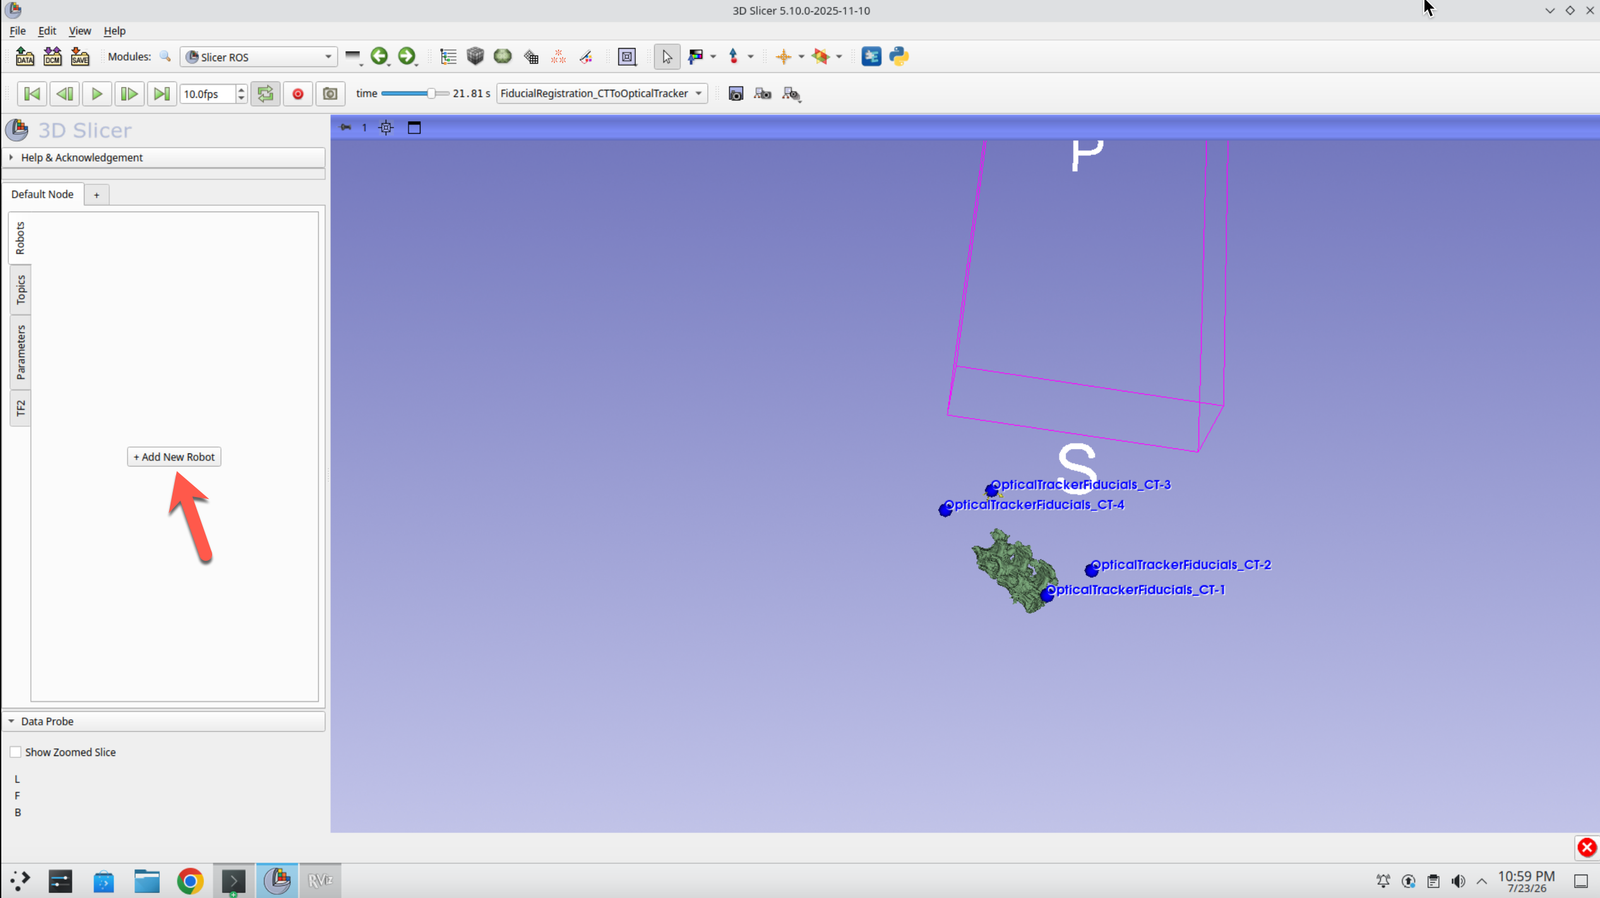
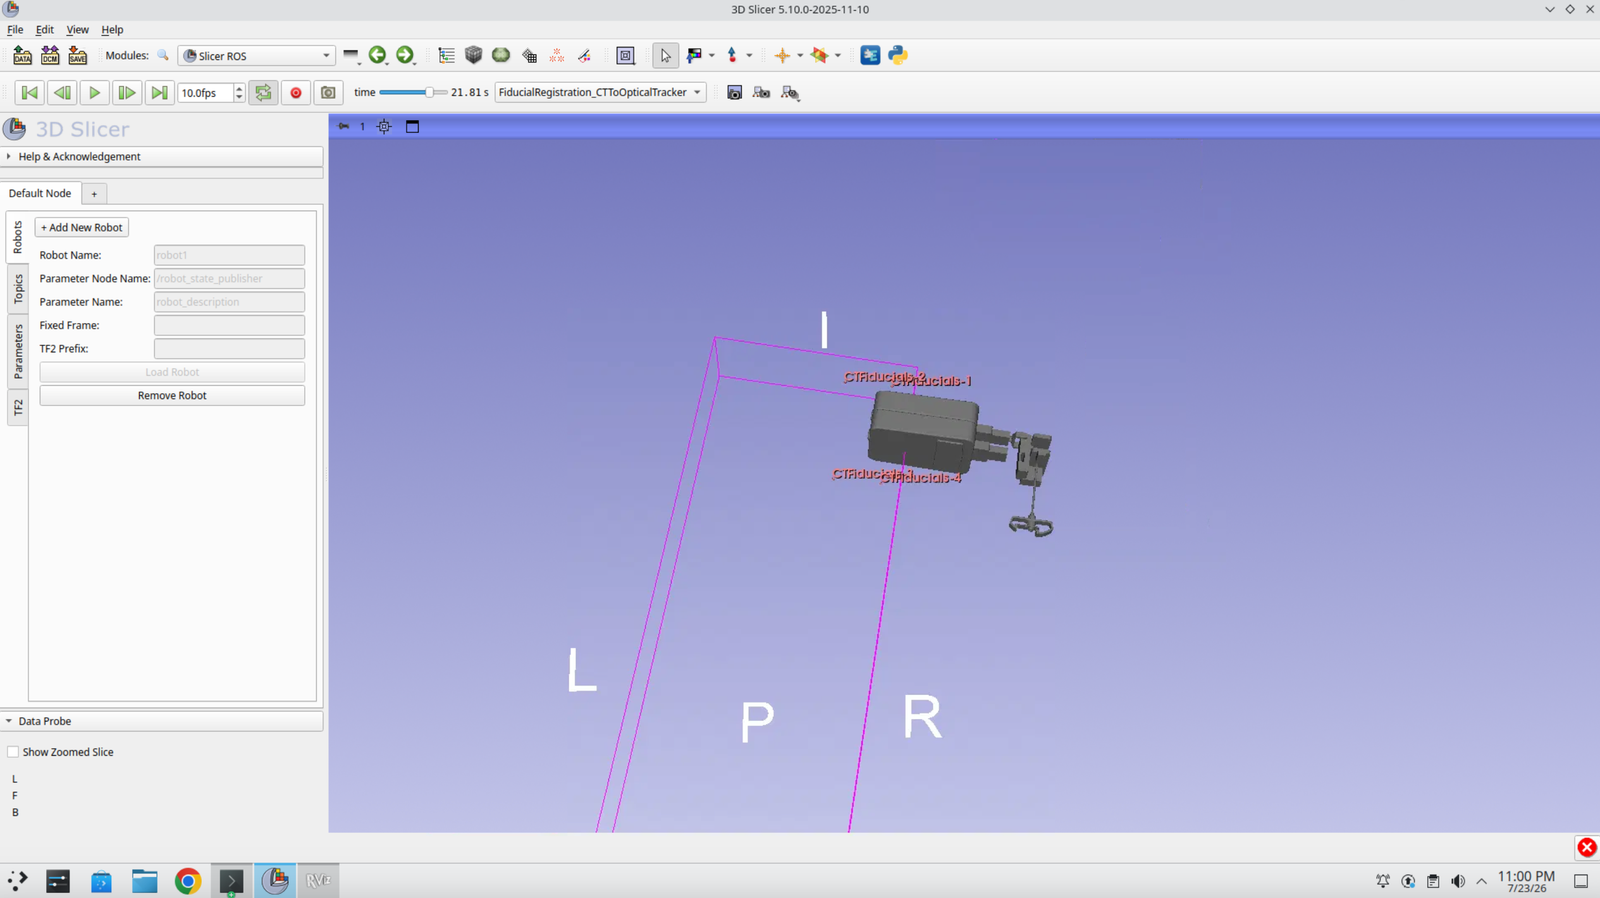
Step 49: Find the Robot in the 3D View
The Micromate model is now in the scene. You may have to navigate around in the 3D view to find it.
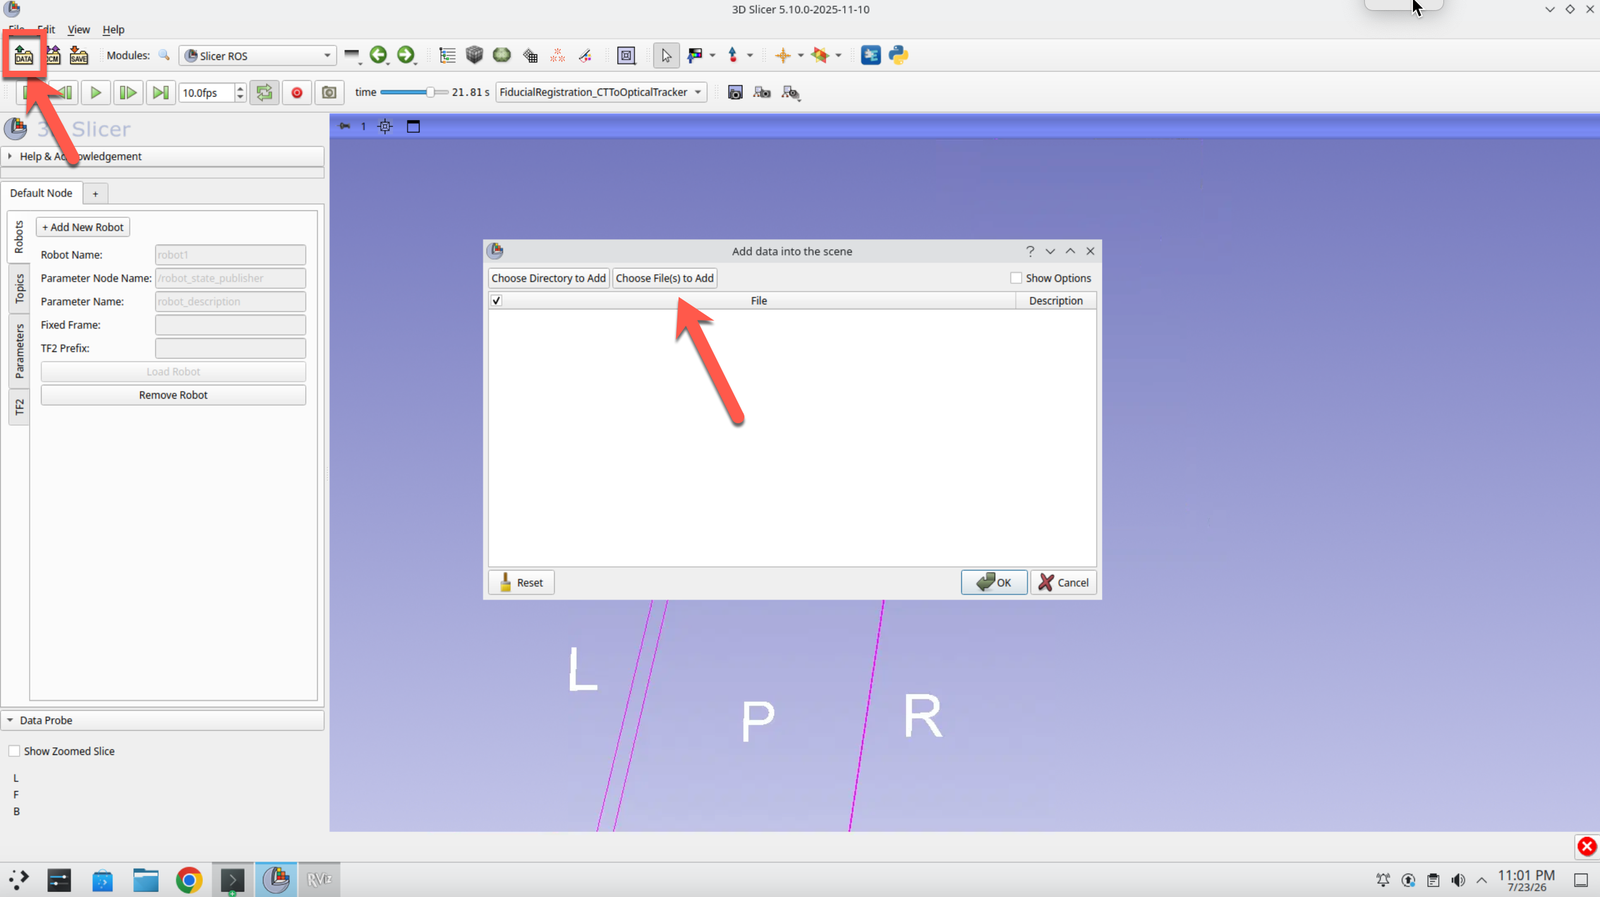
Step 50: Open the Data Module
Press the Data button in the top left.
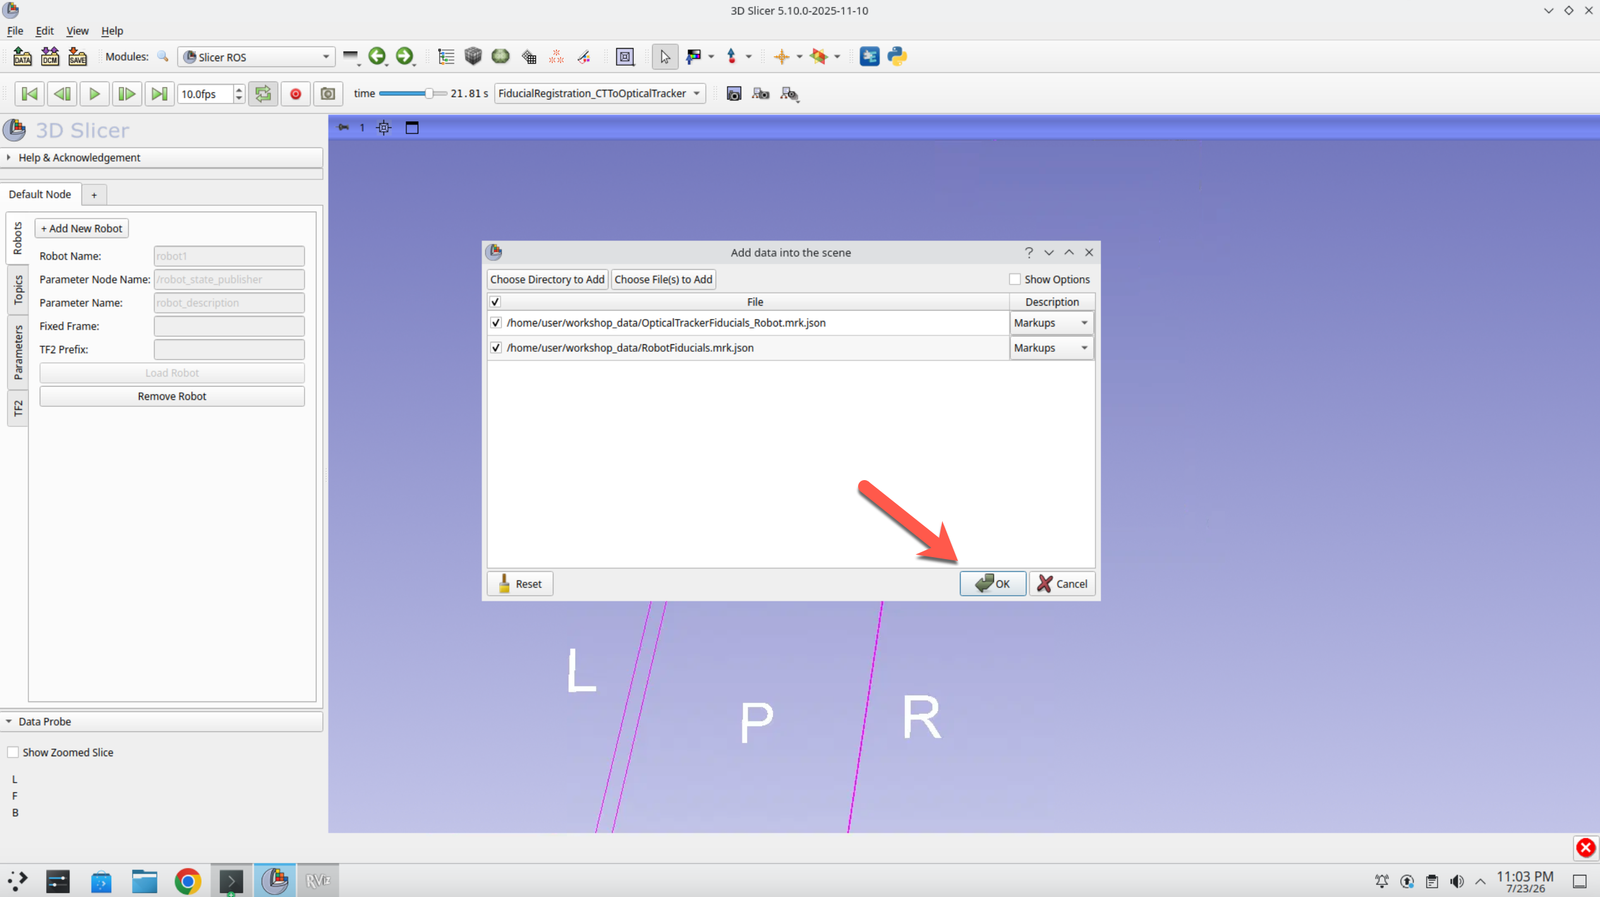
Step 51: Load the Robot Fiducials
Select the two .json files in the workshop data folder and press OK. These contain the robot-frame and tracker-frame fiducial positions used for the robot registration.
Step 52: Return to the Fiducial Registration Wizard
Go back to the Fiducial Registration Wizard tab.
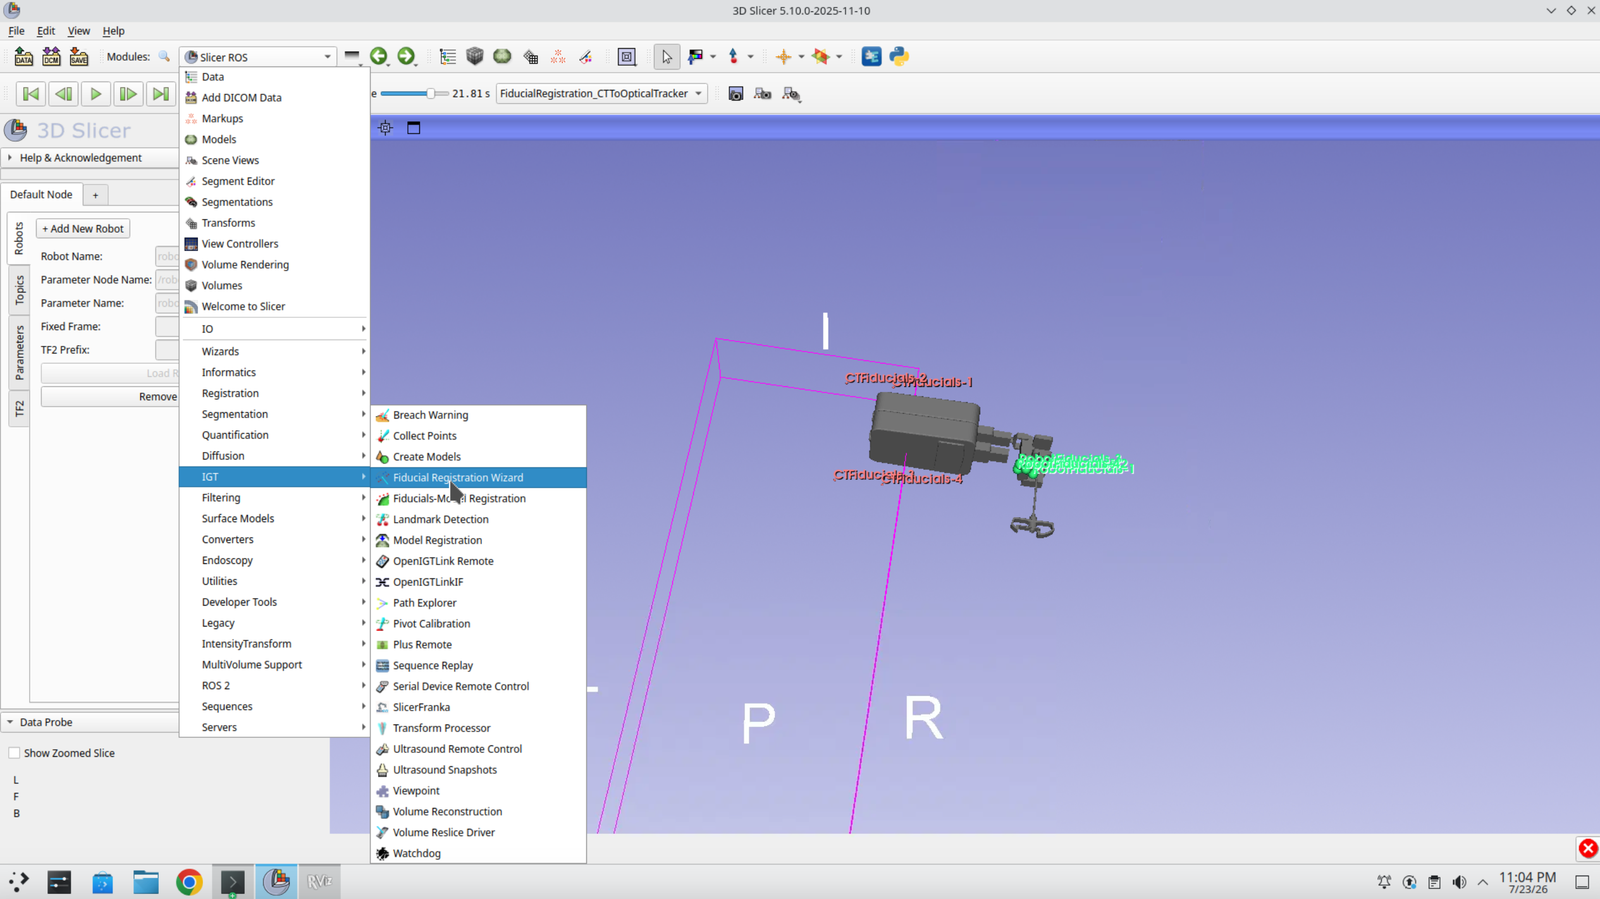
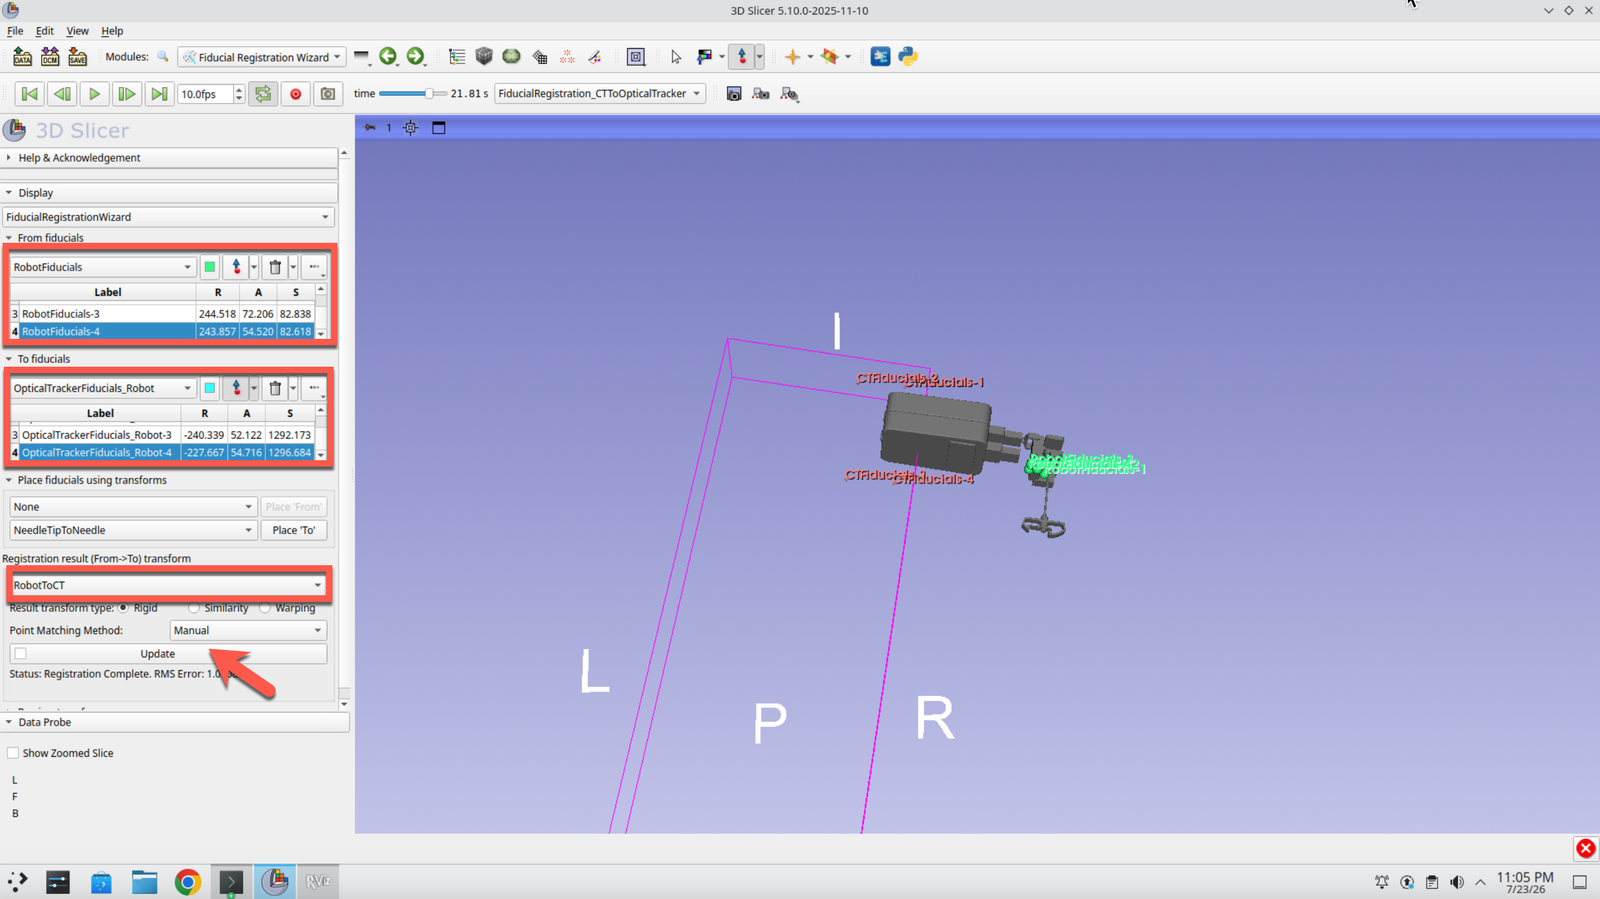
Step 53: Register the Robot
Select Robot Fiducials as the From list and OpticalTrackerFiducials_Robot as the To list, create a new transform called RobotToCT, and press Update.
Part 5: Visualize the Registered Robot
Step 54: Attach the Robot to the Registration Transform
Drag the robot onto the RobotToOpticalTracker transform. The robot model now sits in the same coordinate frame as the registered patient anatomy, completing the navigation-ready scene.
Step 55: Preview the Motion Control Module
With the scene assembled, the ROS2 Motion Control module can be used to plan and command robot motions relative to the registered anatomy.
Summary
In this session, you:
- Launched 3D Slicer with the SlicerROS2 module from a ROS 2 workspace
- Loaded a CT image of a spine phantom and segmented the bone using Grow from Seeds
- Pivot-calibrated a tracked needle to produce a
NeedleTipToNeedletransform - Collected four fiducial points on the gel block and computed a
CTToOpticalTrackerregistration - Applied that registration to the CT image and segmentation to place the patient in tracker space
- Launched the Micromate driver and loaded the robot into Slicer through SlicerROS2
- Registered the robot to the patient using the Fiducial Registration Wizard
- Visualized the fully registered robot and anatomy in a single navigation-ready scene