Exporting URDF from CAD and Visualizing on RViz and 3D Slicer
Overview
Unified Robotics Description Format (URDF) is an XML-based file format to describe kinematic and visual configurations of a robot widely used in Robot Operating System (ROS). URDF can be shared among ROS nodes through the ROS node. Some CAD software can export the CAD model into a URDF file using plug-ins.
The SlicerROS2 module can read URDF data received through the ROS network and reconstruct the visual robot model in the MRML scene for visualization. This tutorial demonstrate how to export a CAD model from Autodesk Fusion to URDF, publish it in the ROS environment, and visualize it on RViz and 3D Slicer.
Prerequisite
- Exporting CAD (Optional: You can skip this step and download exported URDF)
- Windows PC or Mac
- Autodesk Fusion (Educational license is avaiable for free)
- Loading URDF
- Linux PC with 16GB memory
- ROS2 Humble
- RViz
- 3D Slicer built with the SlicerROS2 module (build instruction)
Additionally, several ROS tools must be installed using the apt-get command.
$ sudo apt-get install ros-humble-robot-state-publisher
$ sudo apt-get install ros-humble-joint-state-publisher-gui
$ sudo apt-get install ros-humble-rviz2
If you don’t have access to a computer with Autodesk Fusion, you can skip the first part of the tutorial, and pull the URDF data via Git instead:
$ cd <working directory>
$ git clone https://github.com/tokjun/smart_template_description
Exporting a CAD model from Autodesk Fusion (Optional)
(Under Construction)
Visualizing the URDF on RViz and 3D SlicerROS2
We assume that the ROS workspace is under ~/ros2_ws, and the URDF is placed under <working directory>/smart_template_description.
Publishing the robot state
First, open a terminal and publish the URDF on the ROS using the following command:
$ cd ~/ros2_ws
$ source /opt/ros/humble/setup.bash
$ source install/setup.bash
$ ros2 run robot_state_publisher robot_state_publisher --ros-args -p robot_description:="$( xacro <working directory>/smart_template_description/urdf/smart_template.xacro )"
Note that the last line calls xacro command within the robot_description parameter, as smart_template.xacro needs to be converted to the URDF format.
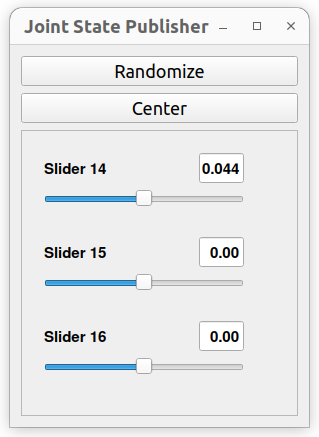
Open a second terminal, and run joint_state_publisher_gui:
$ cd ~/ros2_ws
$ source /opt/ros/humble/setup.bash
$ source install/setup.bash
$ ros2 run joint_state_publisher_gui joint_state_publisher_gui
The GUI to change the joint angles should appear on the screen.
Visualizing the robot on RViz
If the following steps does not work: Moving the sliders on the
joint_state_publisher_guibefore running the following commands can resoulve the issue.
Open a third window, and run the following command to start RViz:
$ cd ~/ros2_ws
$ source /opt/ros/humble/setup.bash
$ source install/setup.bash
$ ros2 run rviz2 rviz2
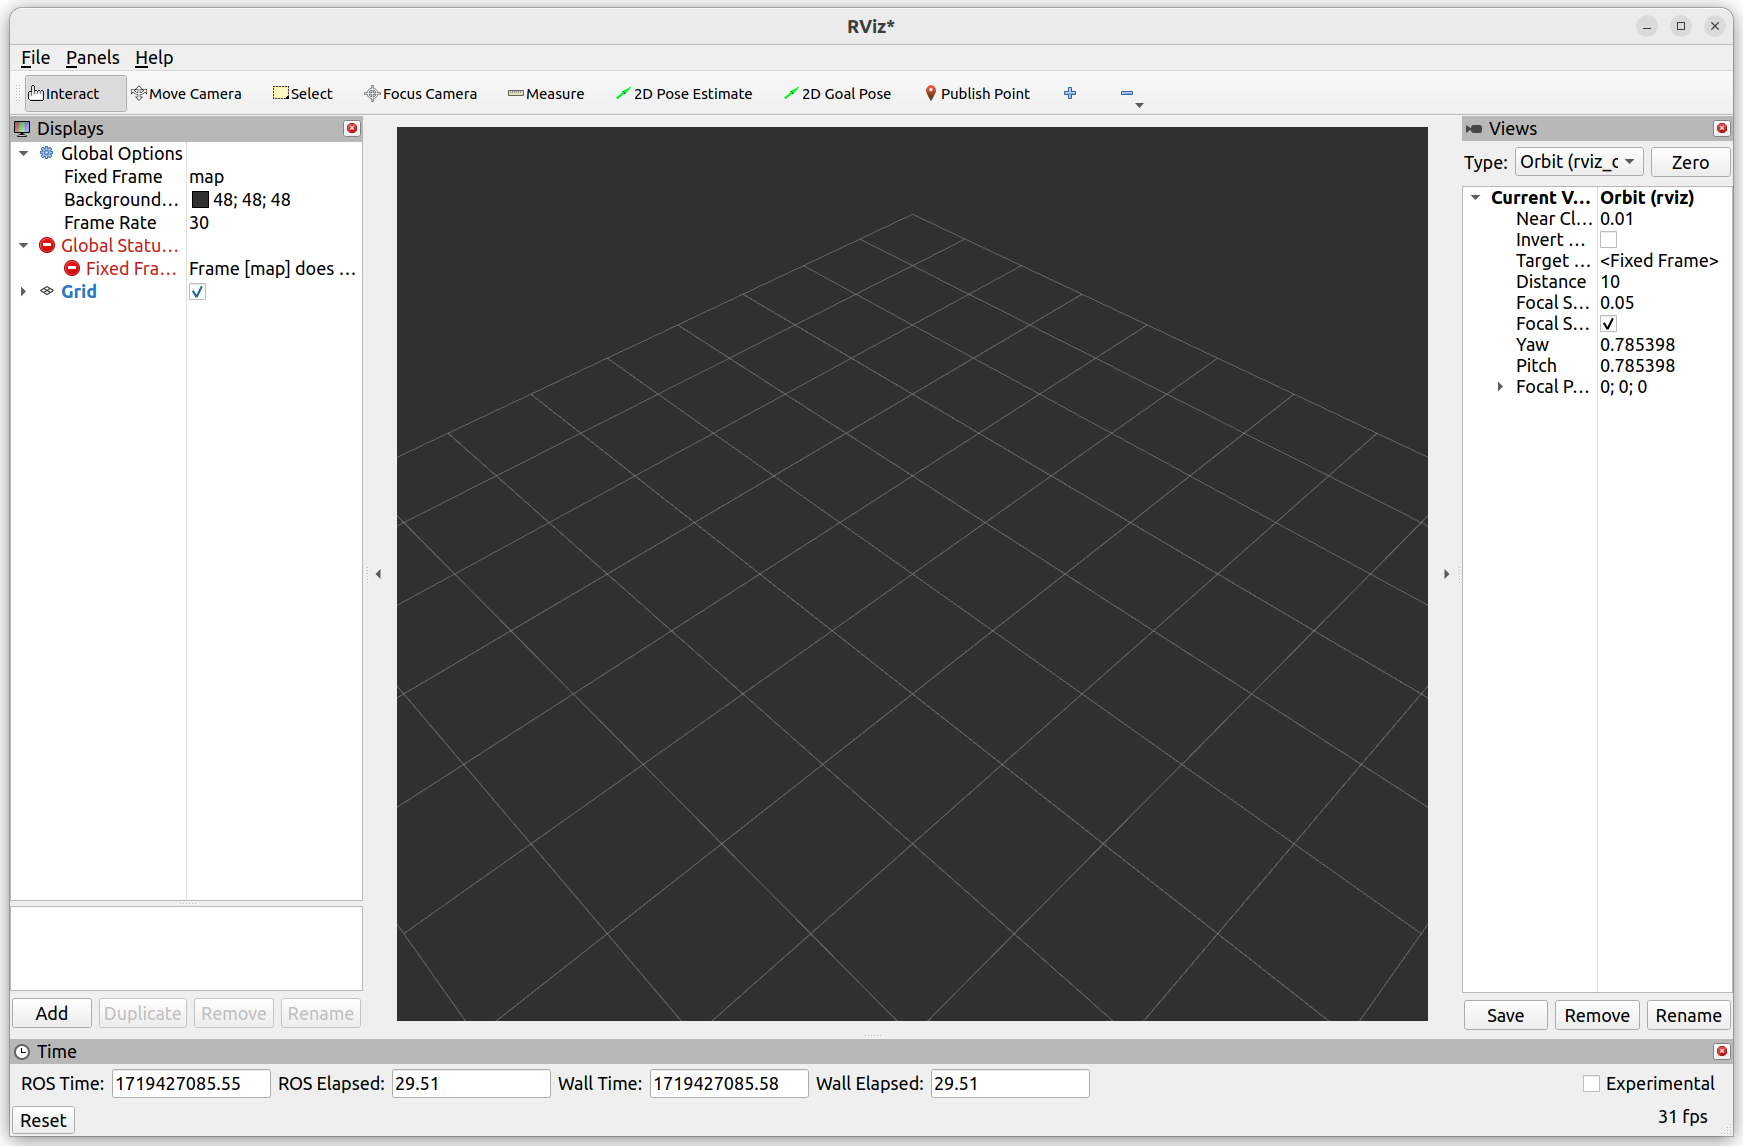
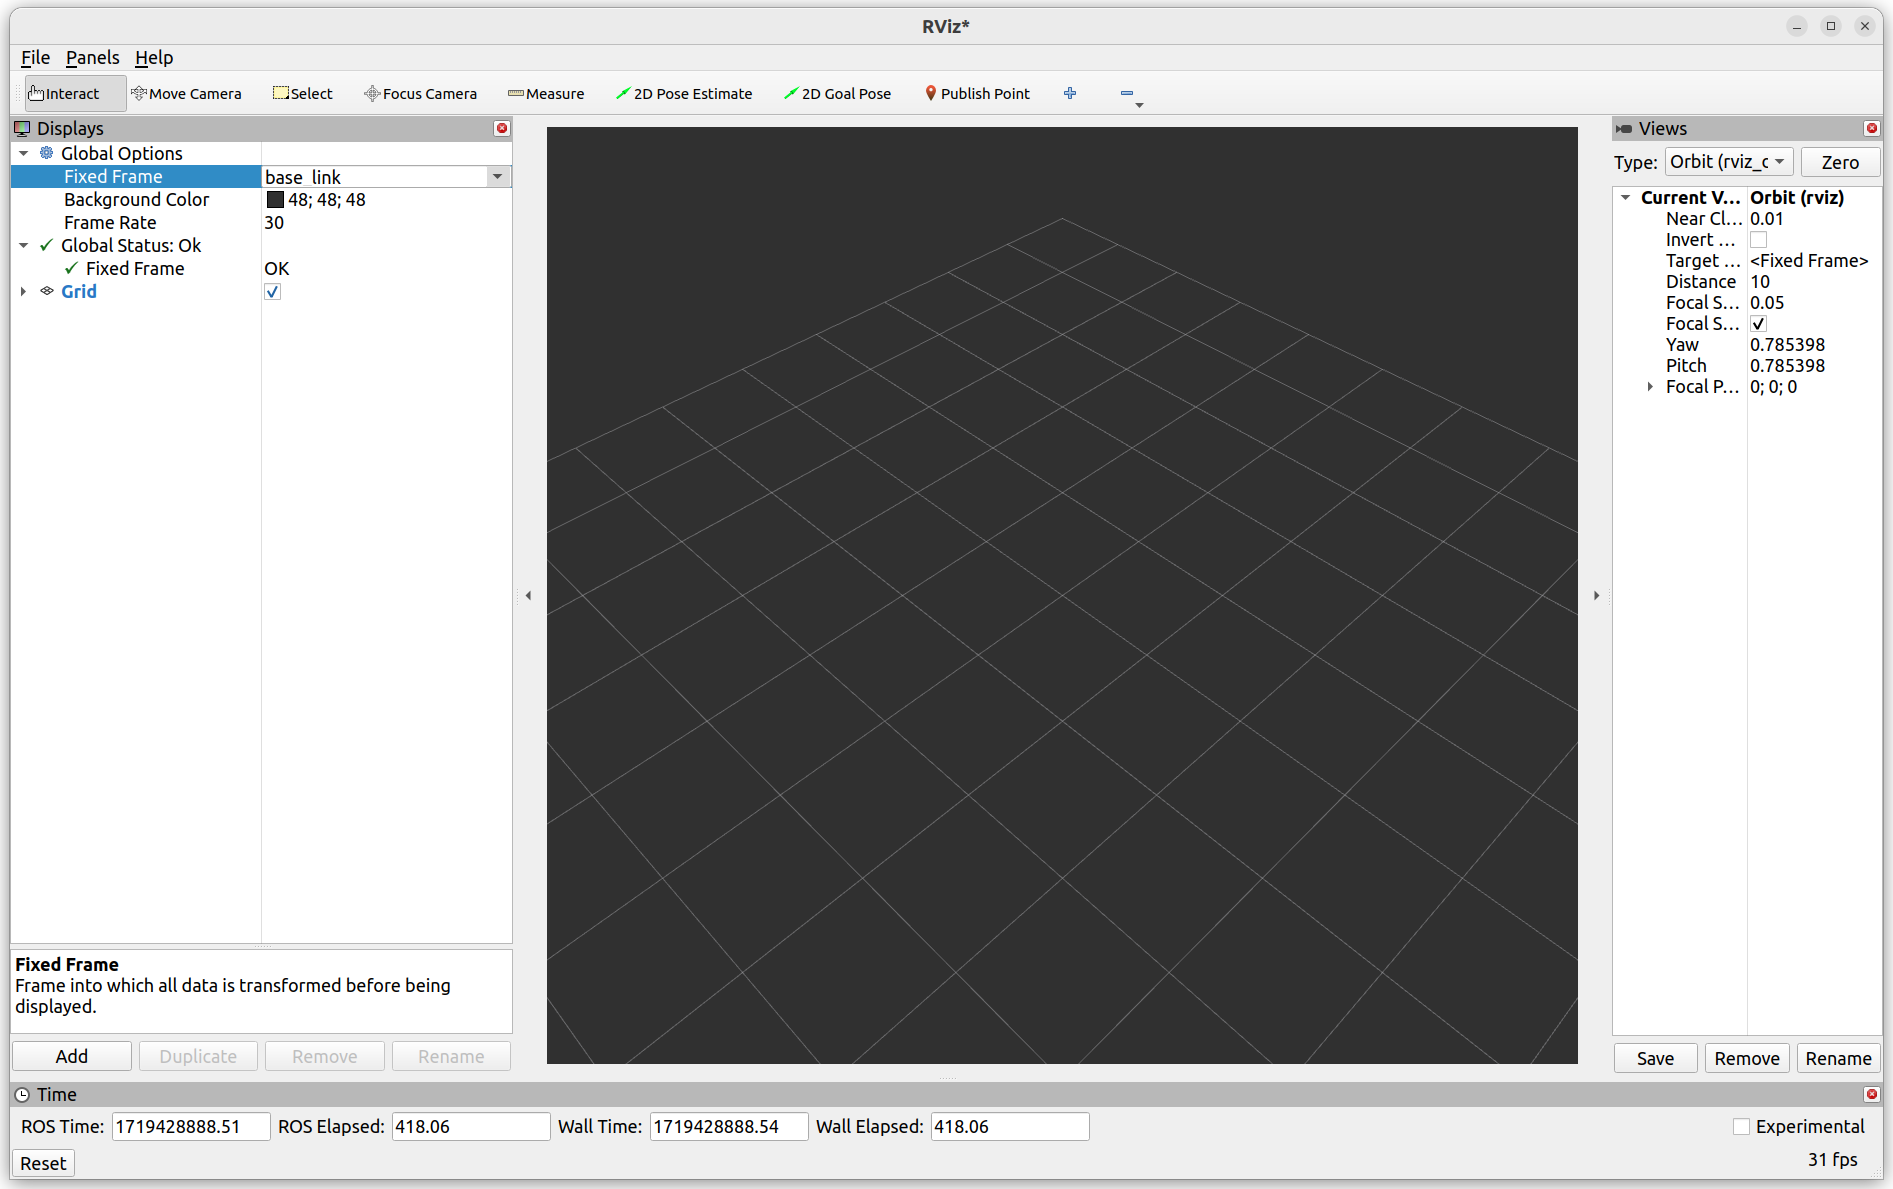
On the RViz window, under the Displays tree, find Fixed Frame. The default value is map. Click the value to open a pull-down menu, and select base_link.
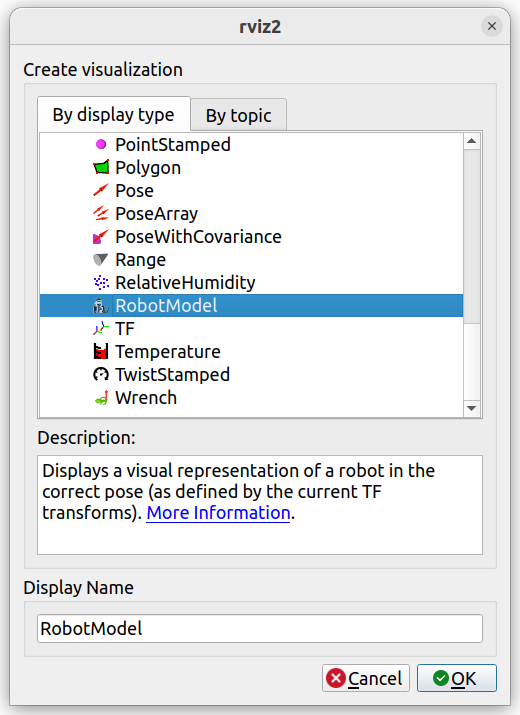
click the Add button at the bottom left. In the menu under the By display type tab, choose RobotModel and click OK.
RobotModel should appear under the Displays tree on the left side of the RViz window. Expand RobotModel by clicking the triangle, and find Description Topic. The initial value is empty. Click the value to open the pull-down menu, and choose /robot_description.
Once RViz loads the robot description, it shows the robot model in the scene. The RViz window might freeze momentarily while loading the robot description.
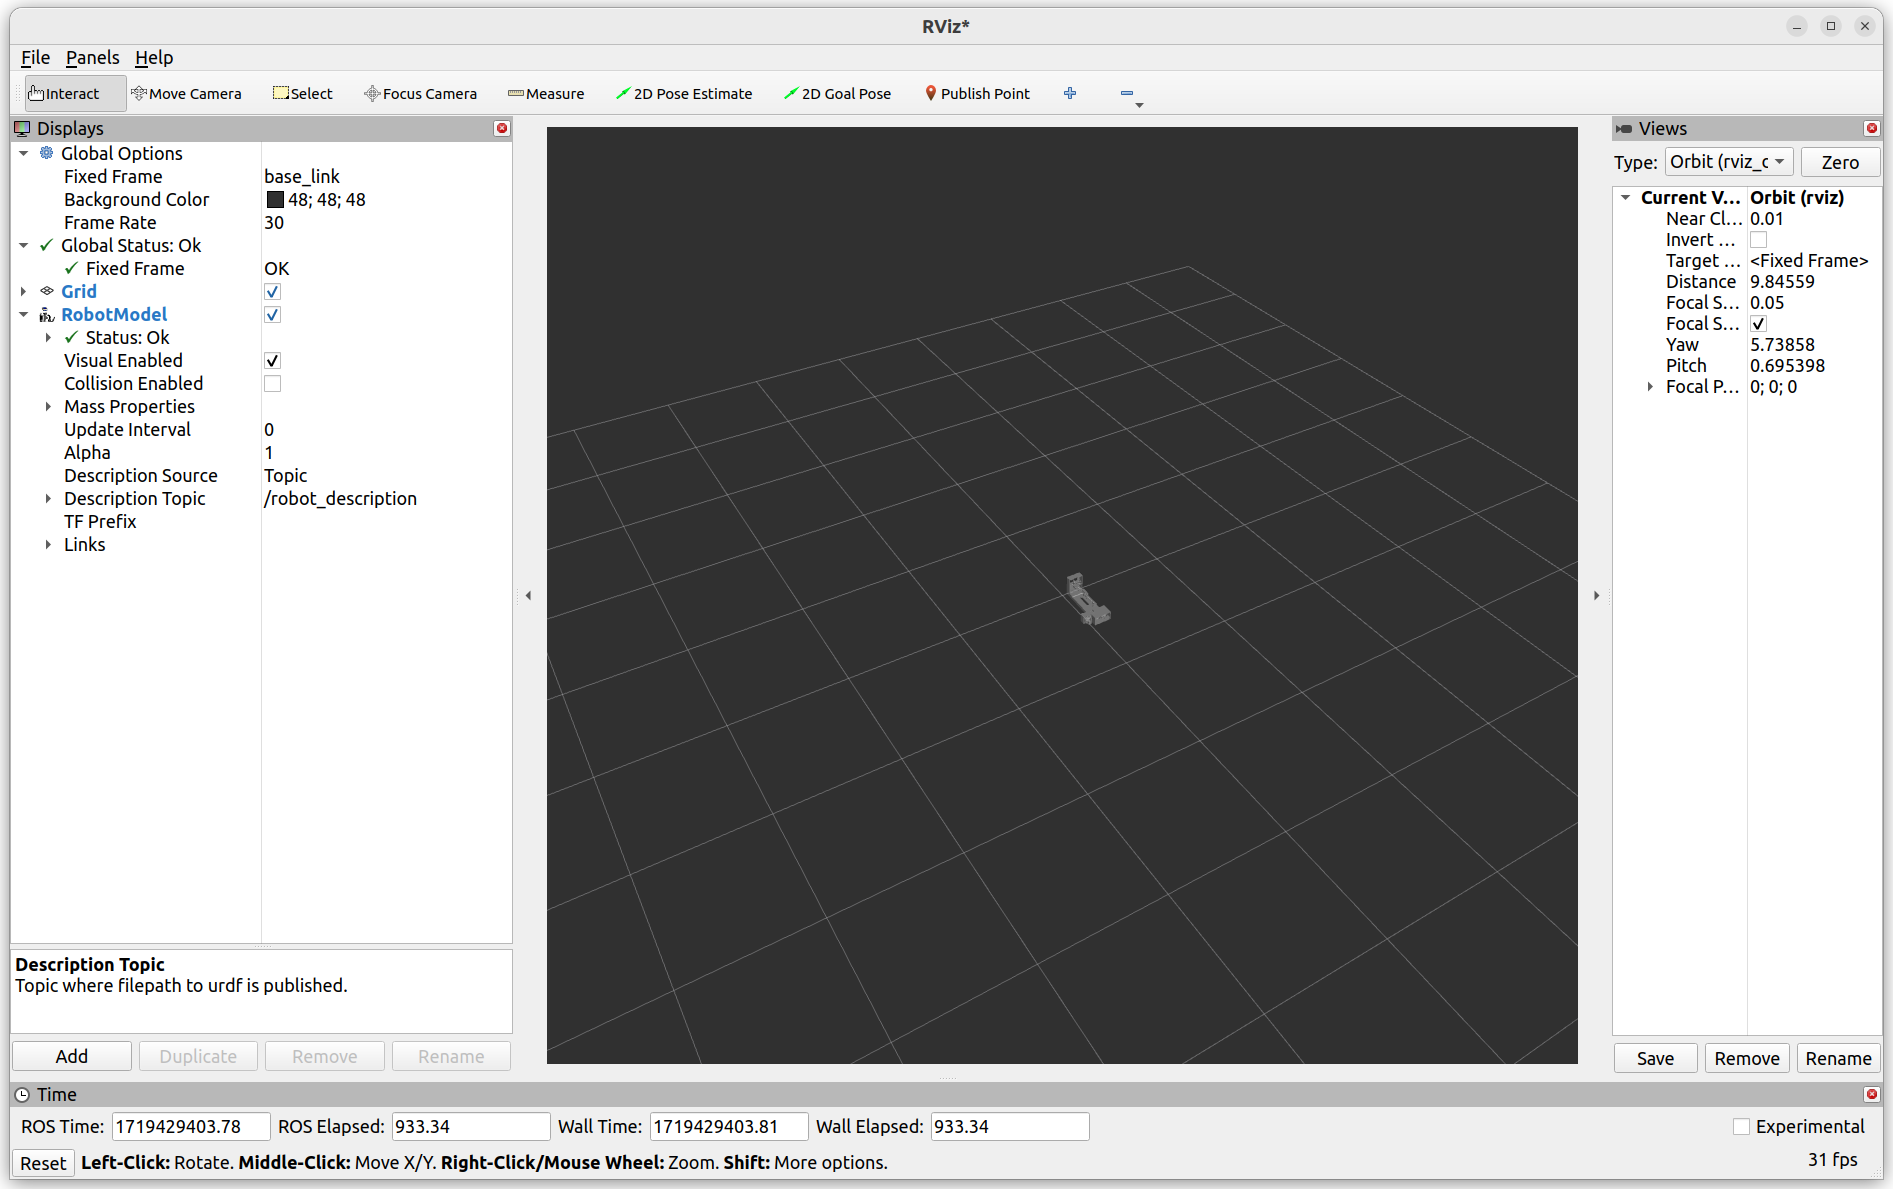
Use the scroll button on the mouse, or right-click and move the mouse up and down to scale the view.
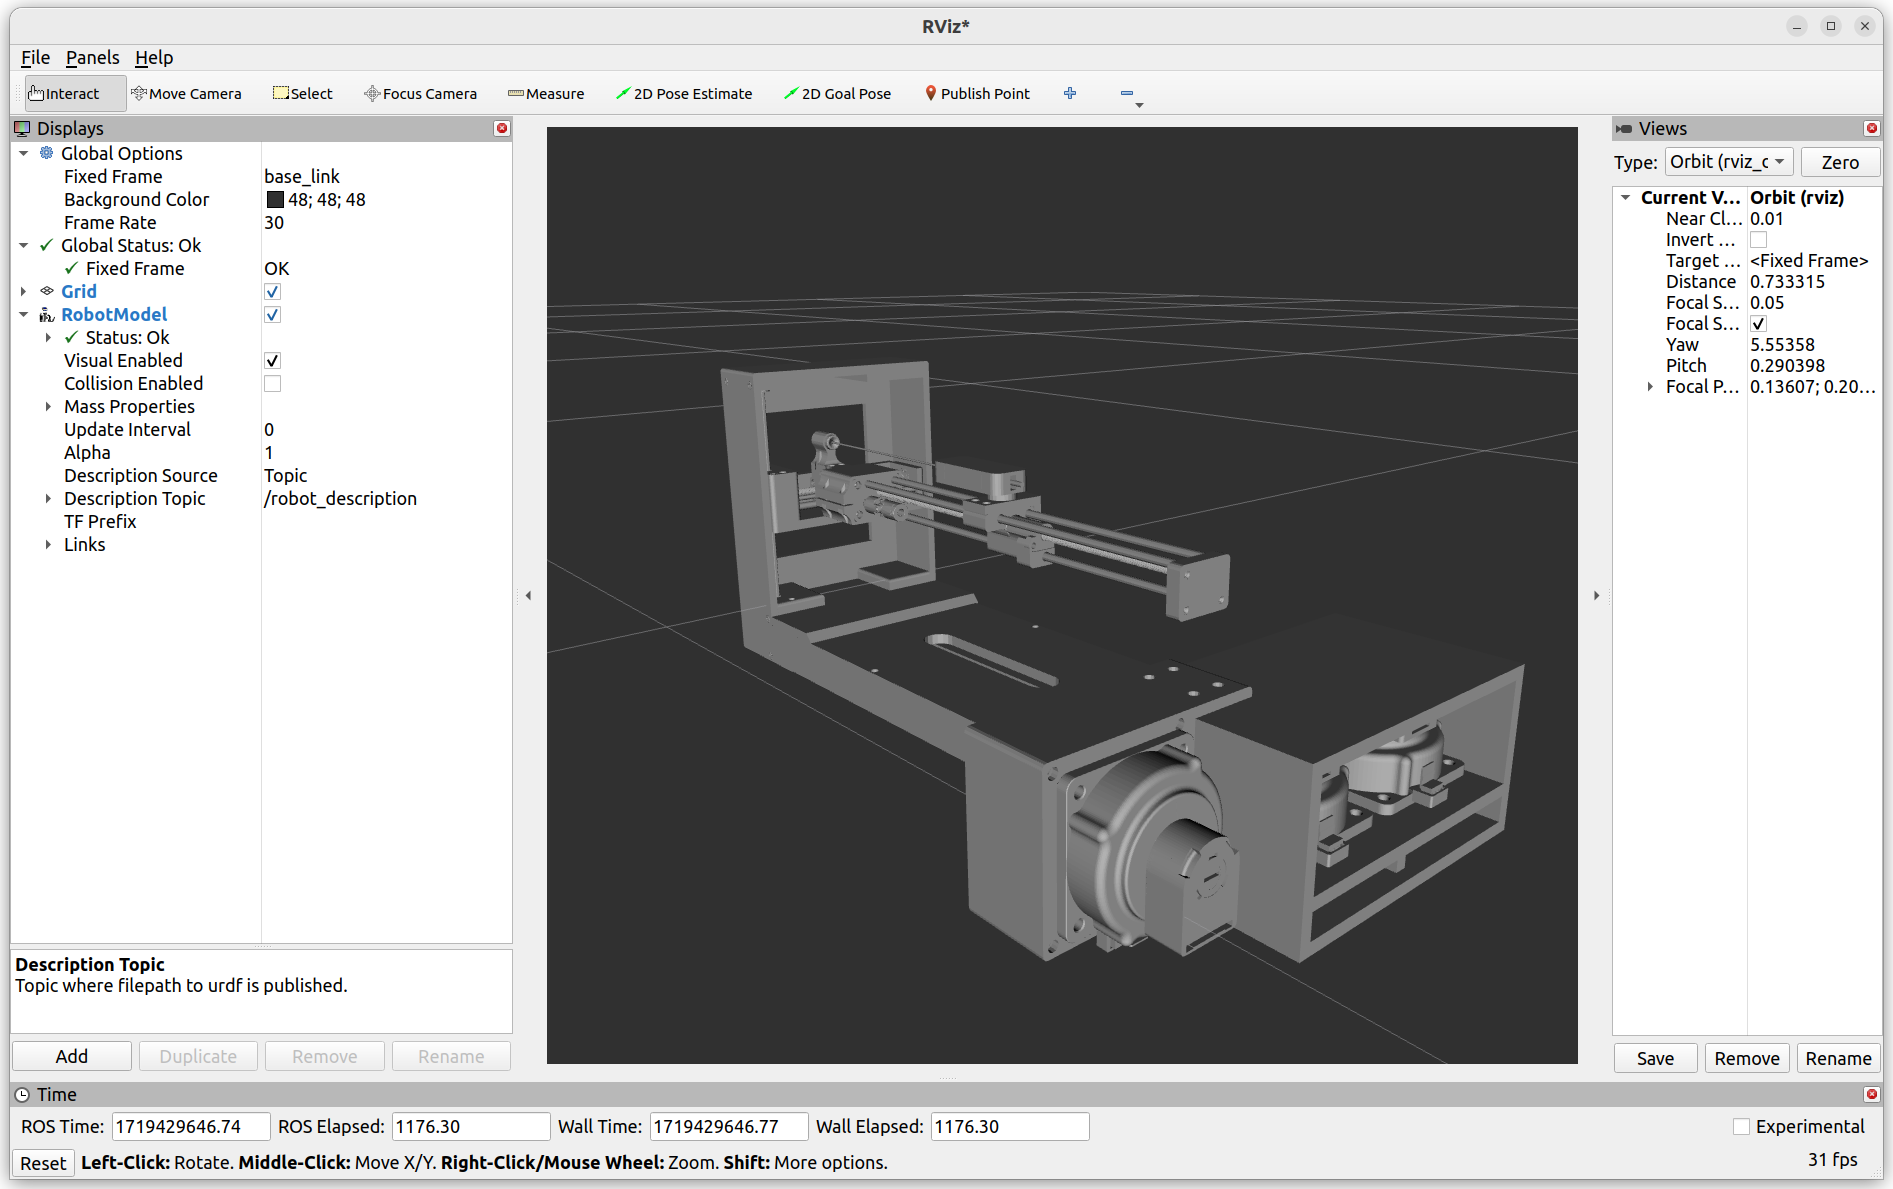
At this point, you could move the joints manually by moving the sliders on the joint_state_publisher_gui and observe the motion of the robot on RViz.
Visualizing the robot on 3D Slicer
Open 3D Slicer after sourcing the setup scripts
$ cd ~/ros2_ws
$ source /opt/ros/humble/setup.bash
$ source install/setup.bash
$ cd <Slicer build directory>Slicer-build/Slicer
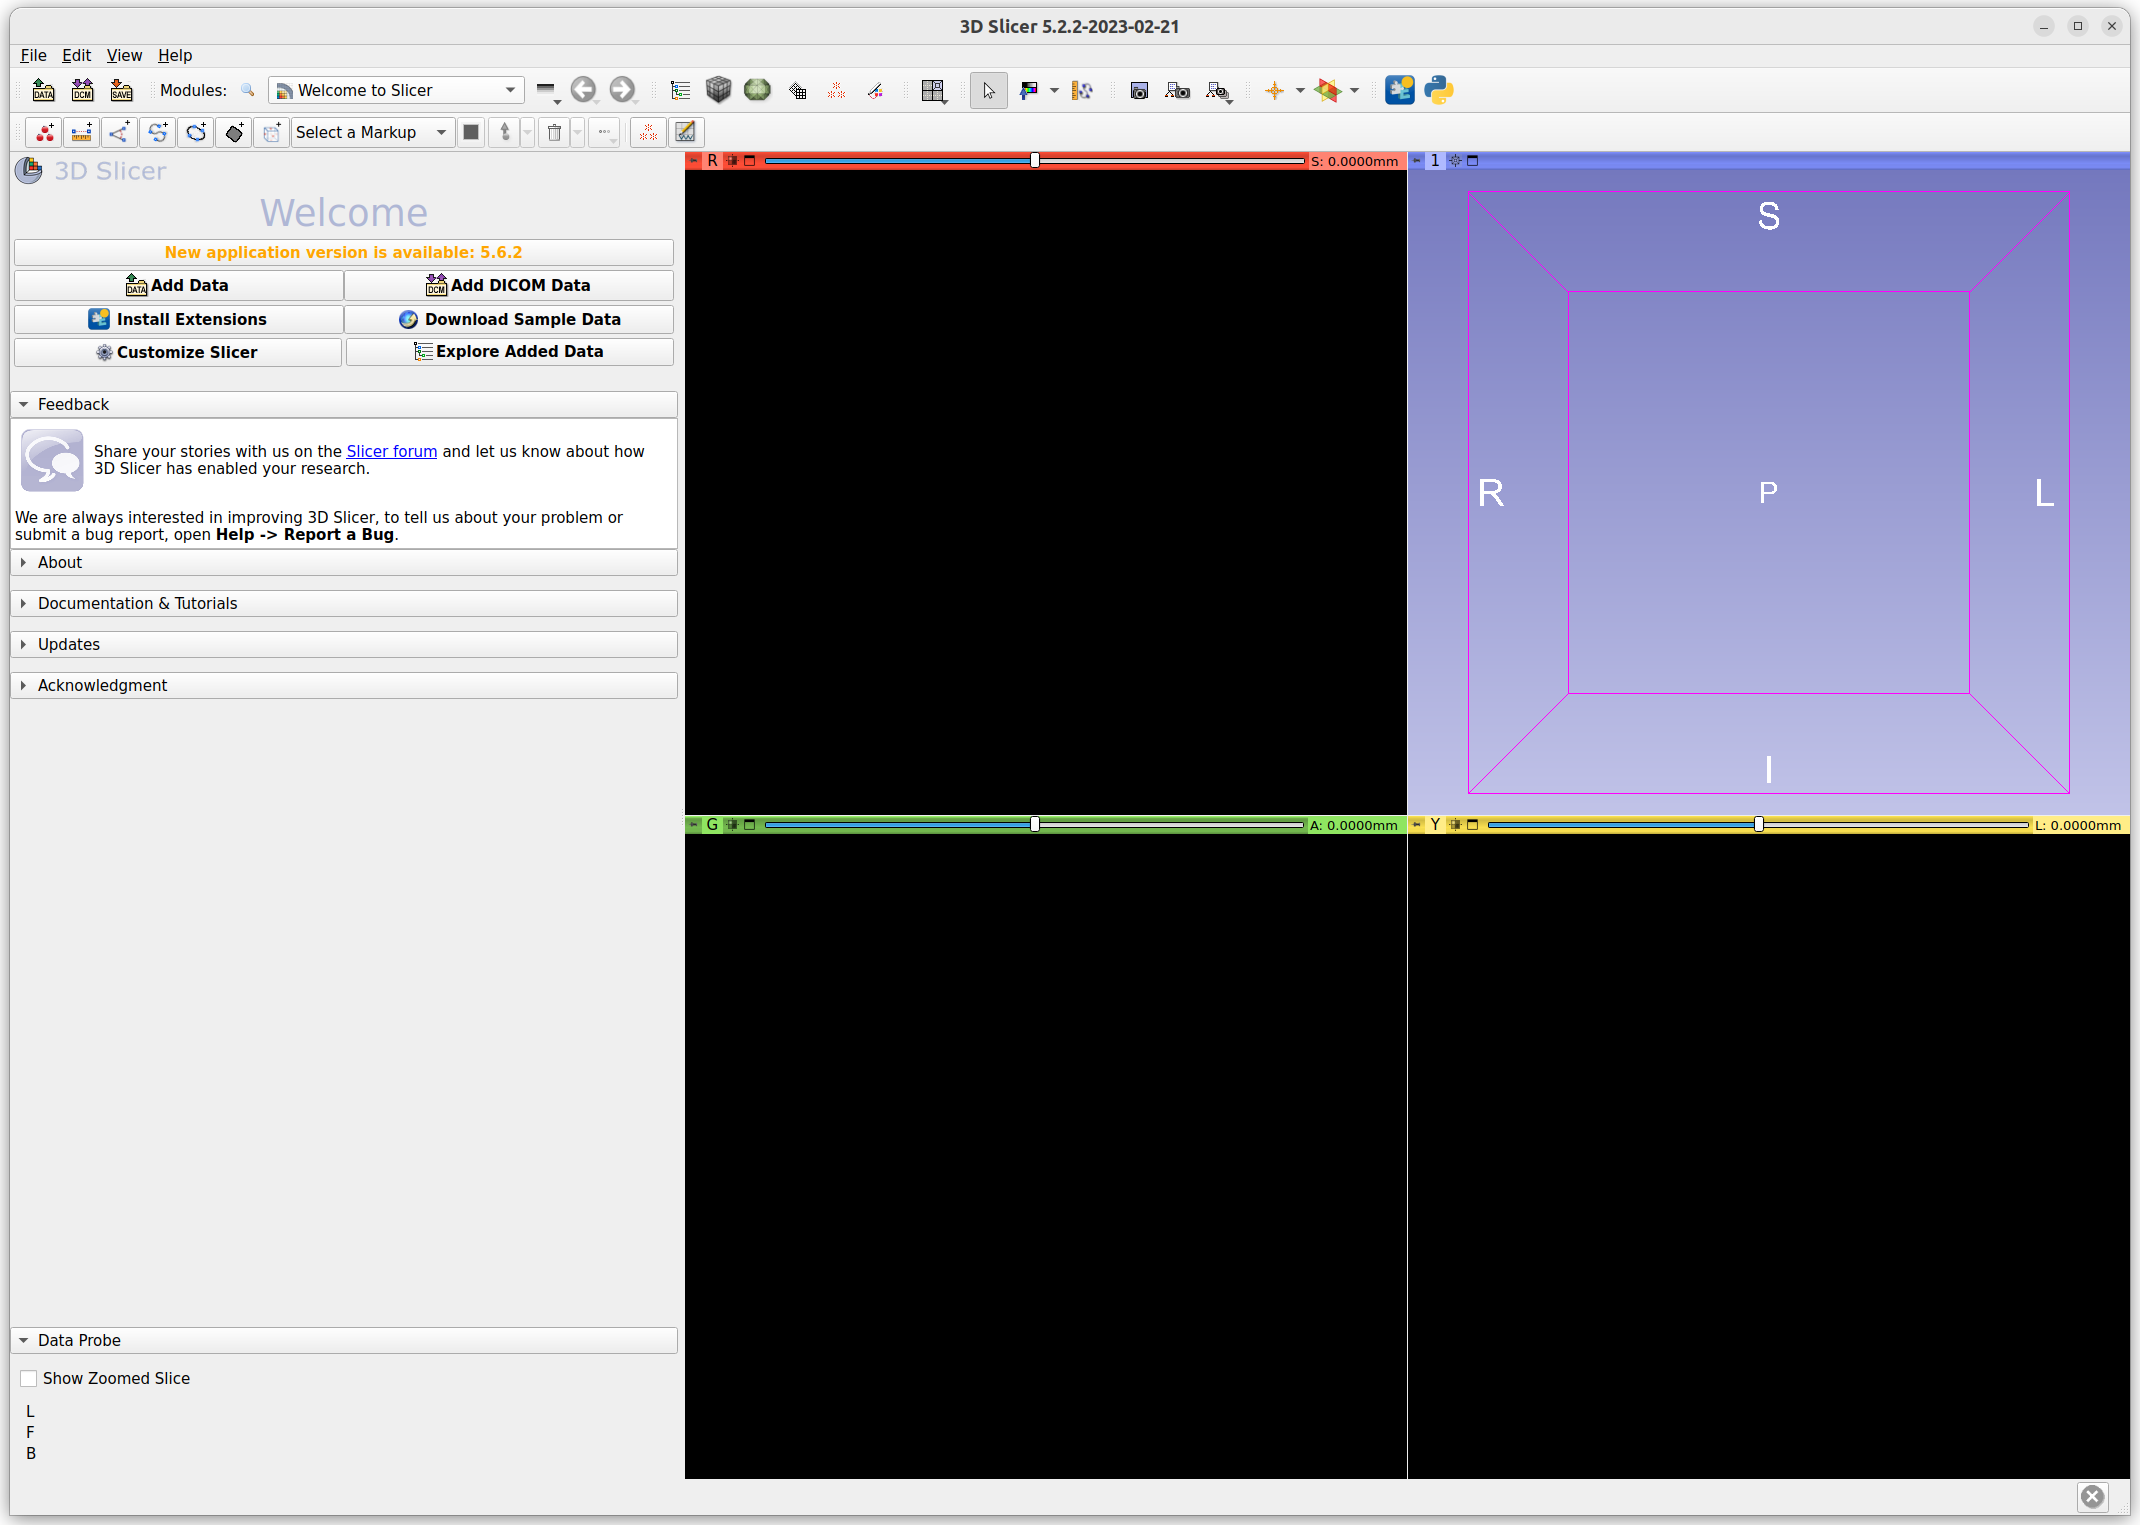
Open the Modules menu, and choose the IGT section. In the sub menu, choose ROS2.
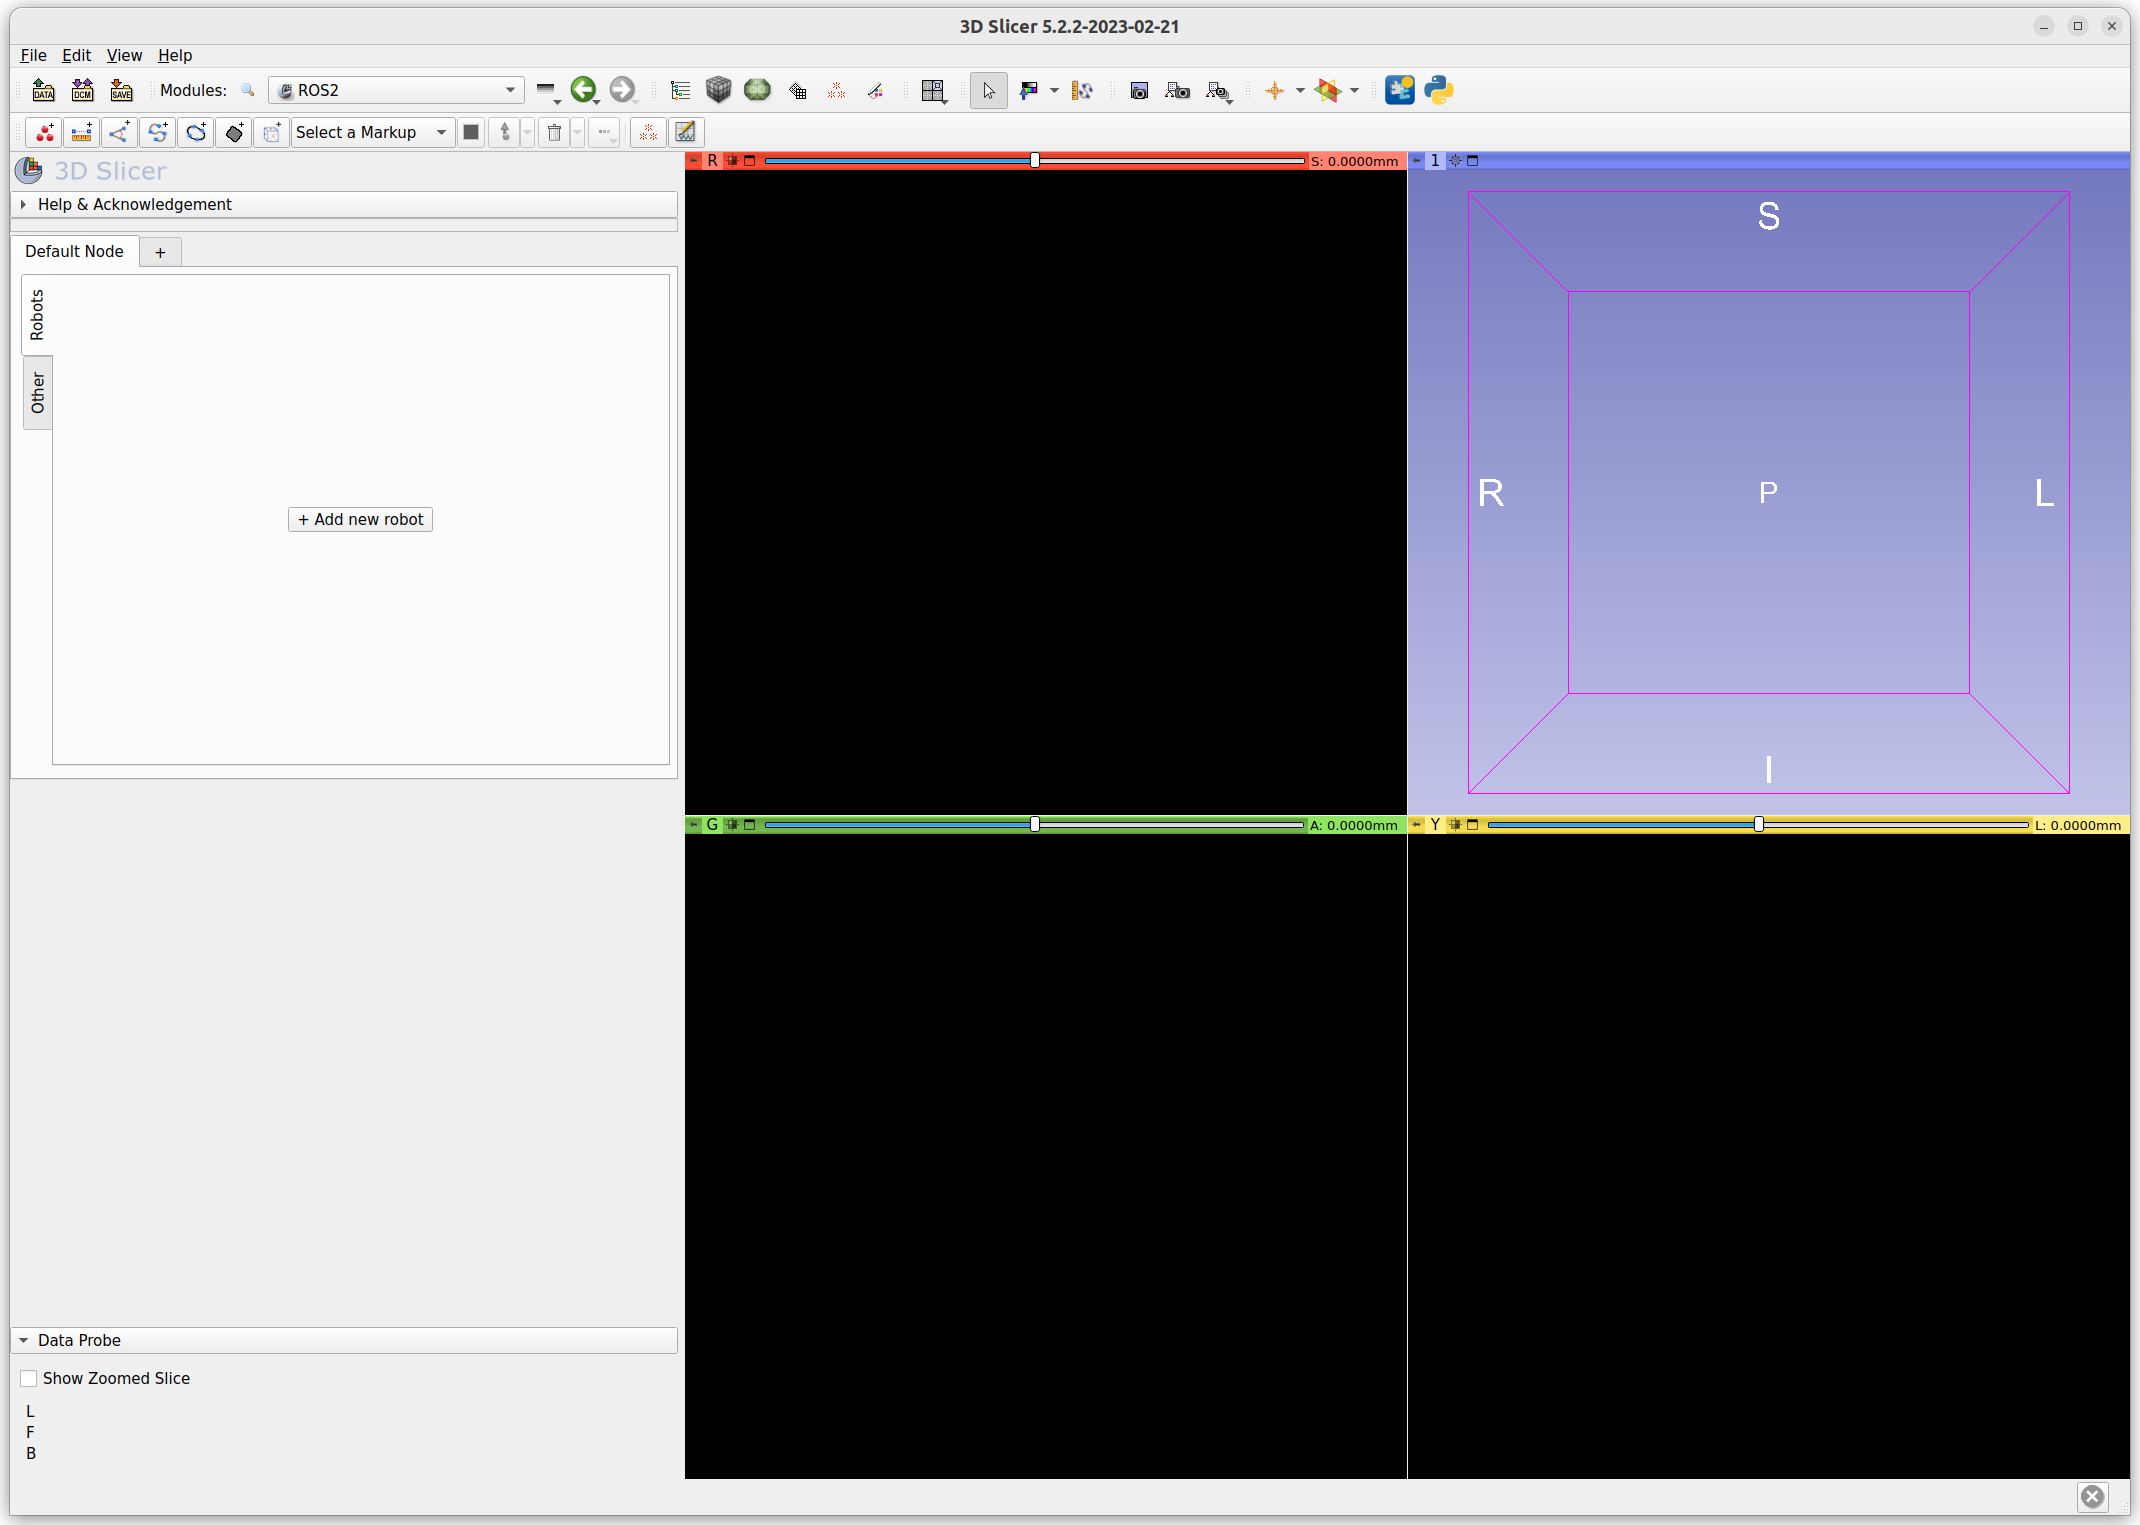
In the module panel, click + Add new robot button.
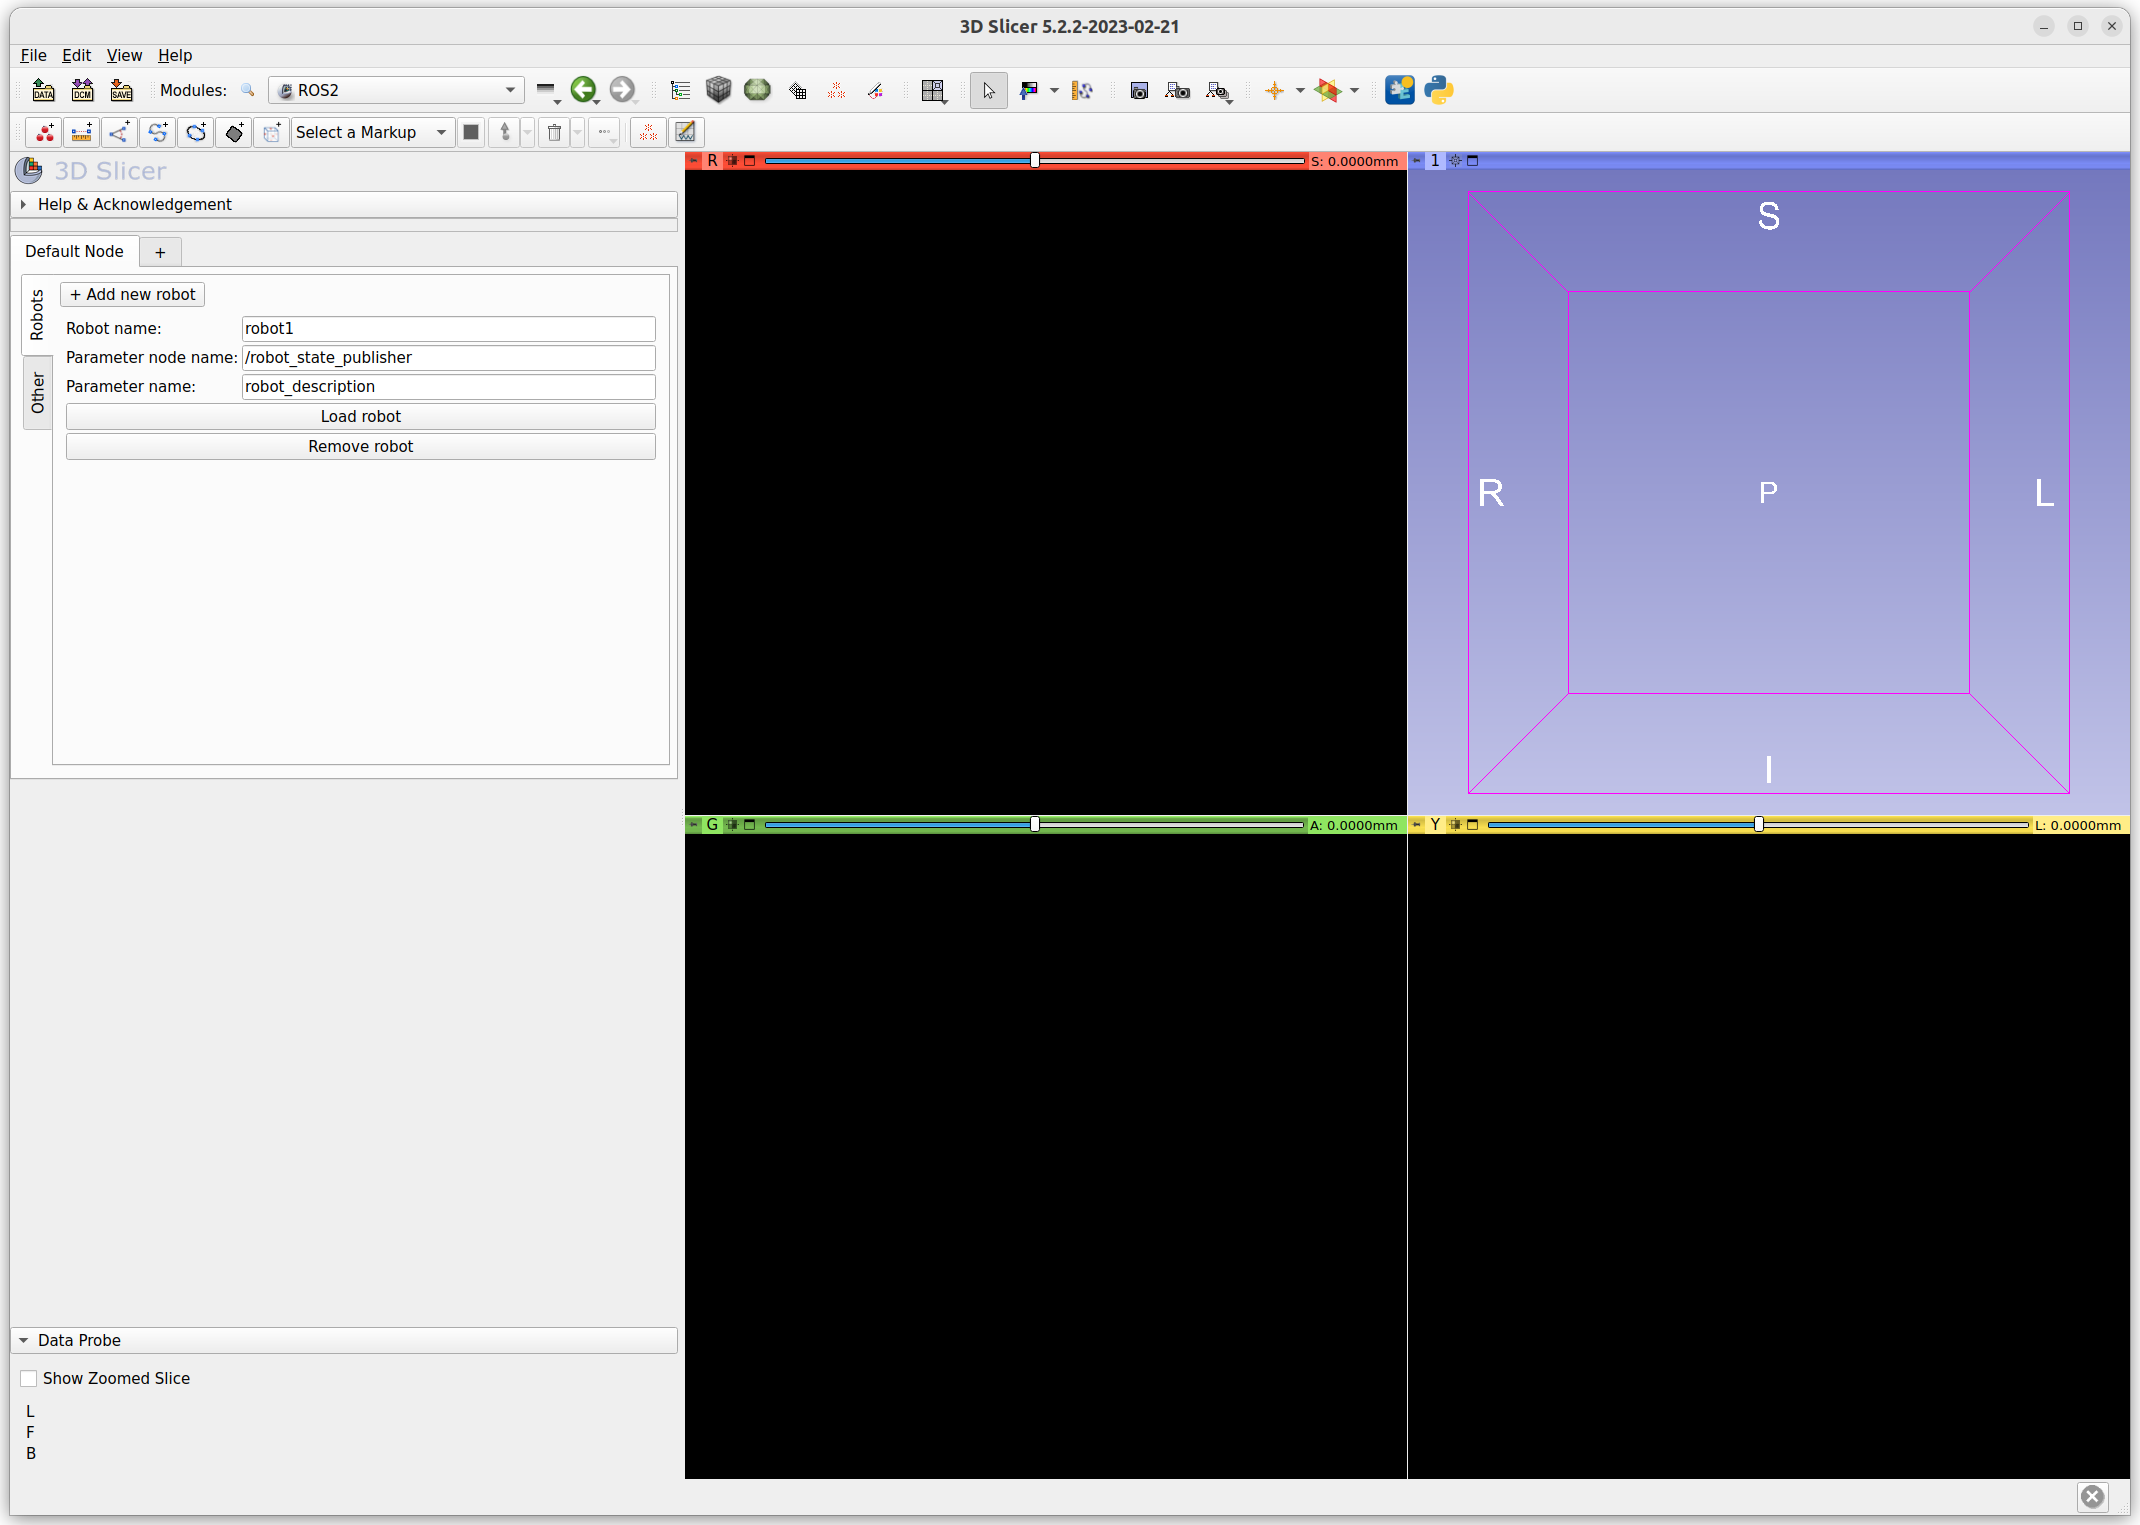
The parameters do not need to be changed. Click Load robot button to road the robot model. This may take 10-30 seconds depending on the environment.
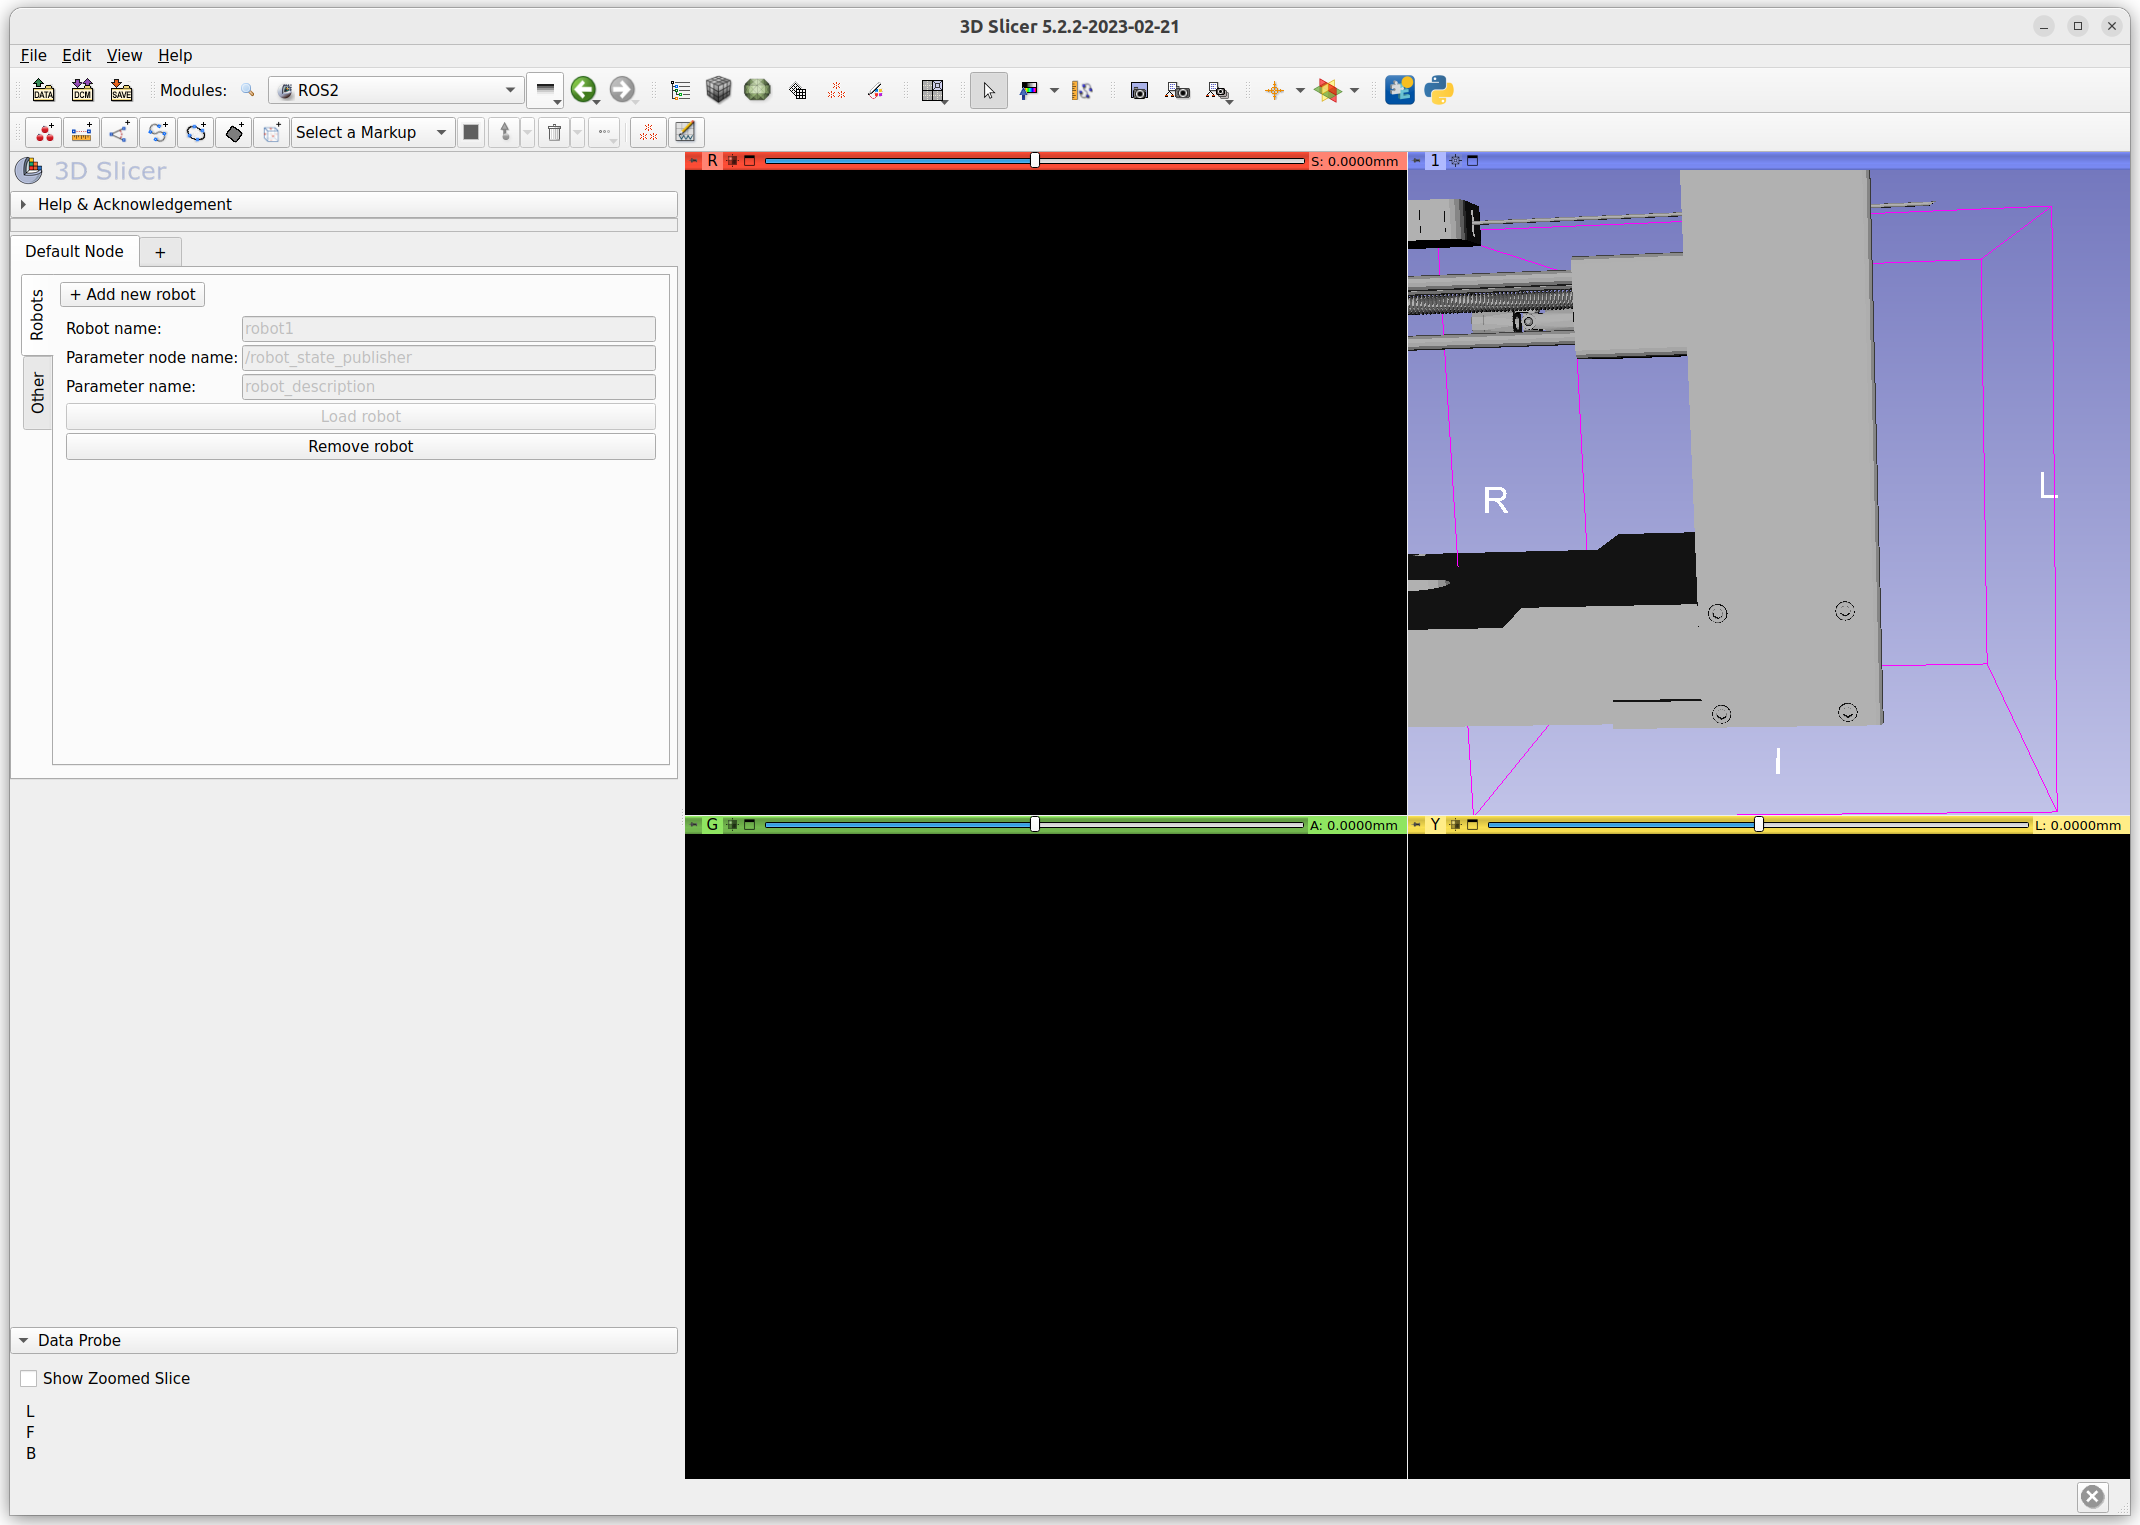
Once the robot model is loaded, adjust the scale and angle of the 3D view. You may change the window layout to show the robot only.
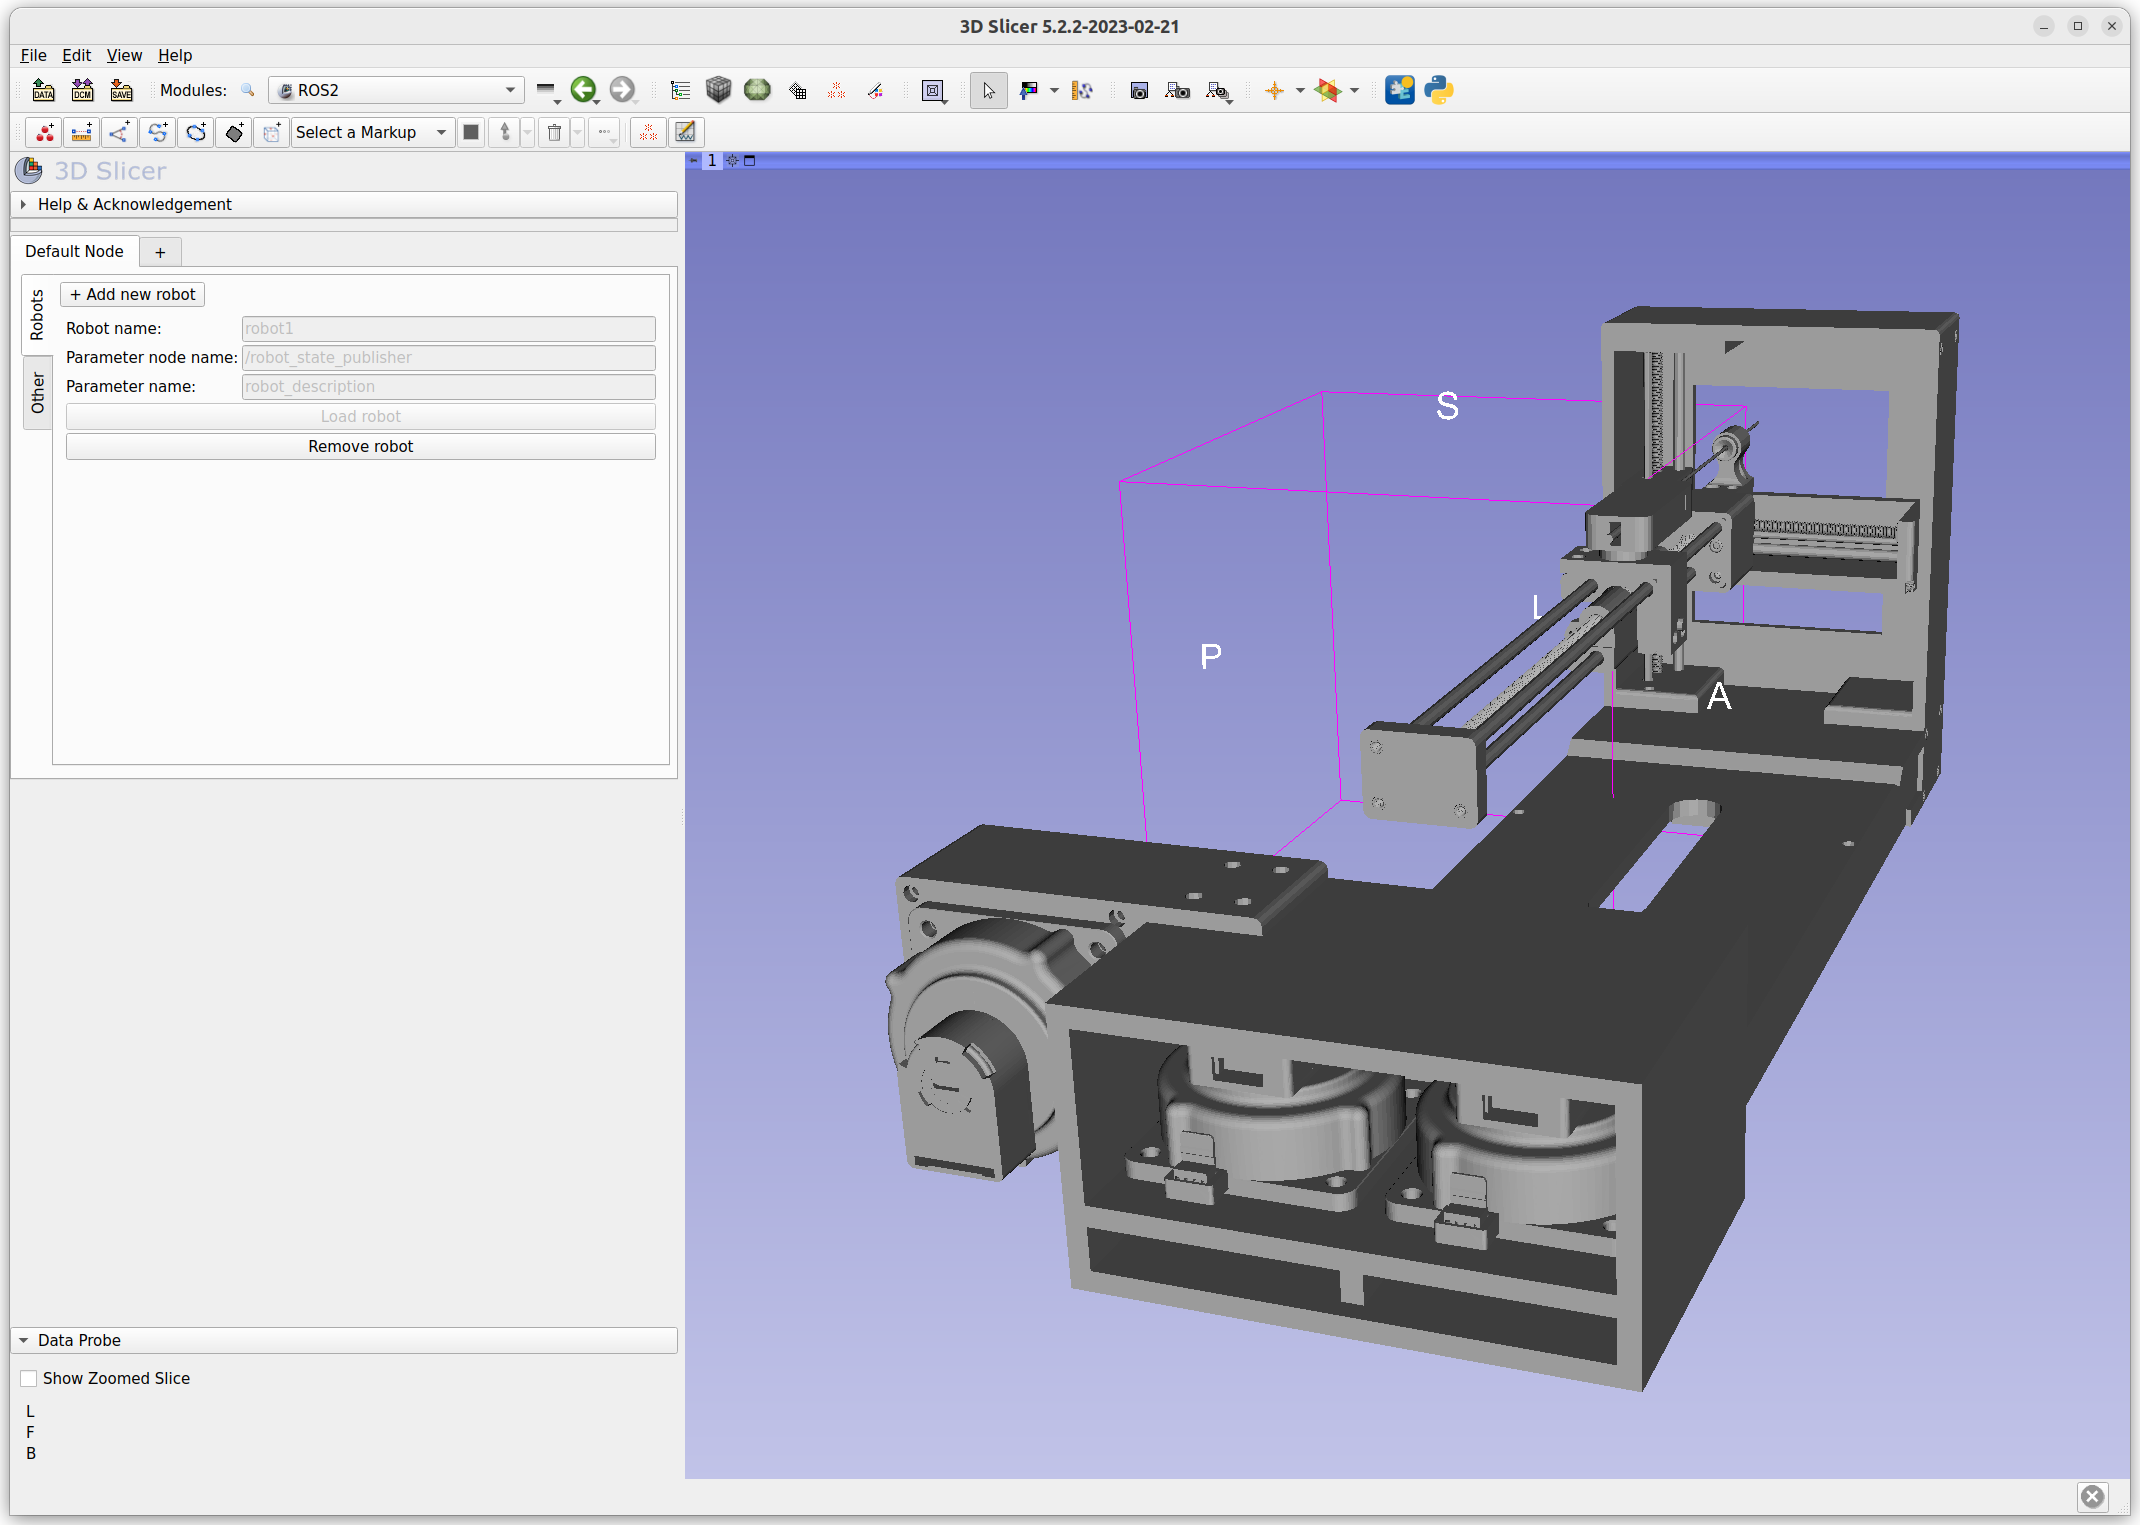
Using the joint_state_publisher_gui, move the individual sliders to see if the joints move on 3D Slicer.