Launching a Container on Vast.ai
Launching a Container on Vast.ai
For the ISMR2026 workshop, we will use Vast.ai to run the Linux desktop environment hosted on a cloud computing service and access it through a web browser. Vast.ai has a mechanism to share a Docker container among its users and deploy it on a selected GPU server. The ISMR2026 uses this mechanism to distribute a pre-built Linux environment with 3D Slicer and ROS packages required for the tutorial.
Before you start: Make sure you have a Vast.ai account and have added credits. See Prerequisites for account setup instructions.
For ISMR2026 Participants: We will add you to the ‘ismr2026’ team on vast.ai, which allows us to share virtual Linux environments using the workshop’s credit. Please send your e-mail address with the conference organizer (tokuda@bwh.harvard.edu).
Make sure you have a Vast.ai account and have added credits. See Prerequisites for account setup instructions.
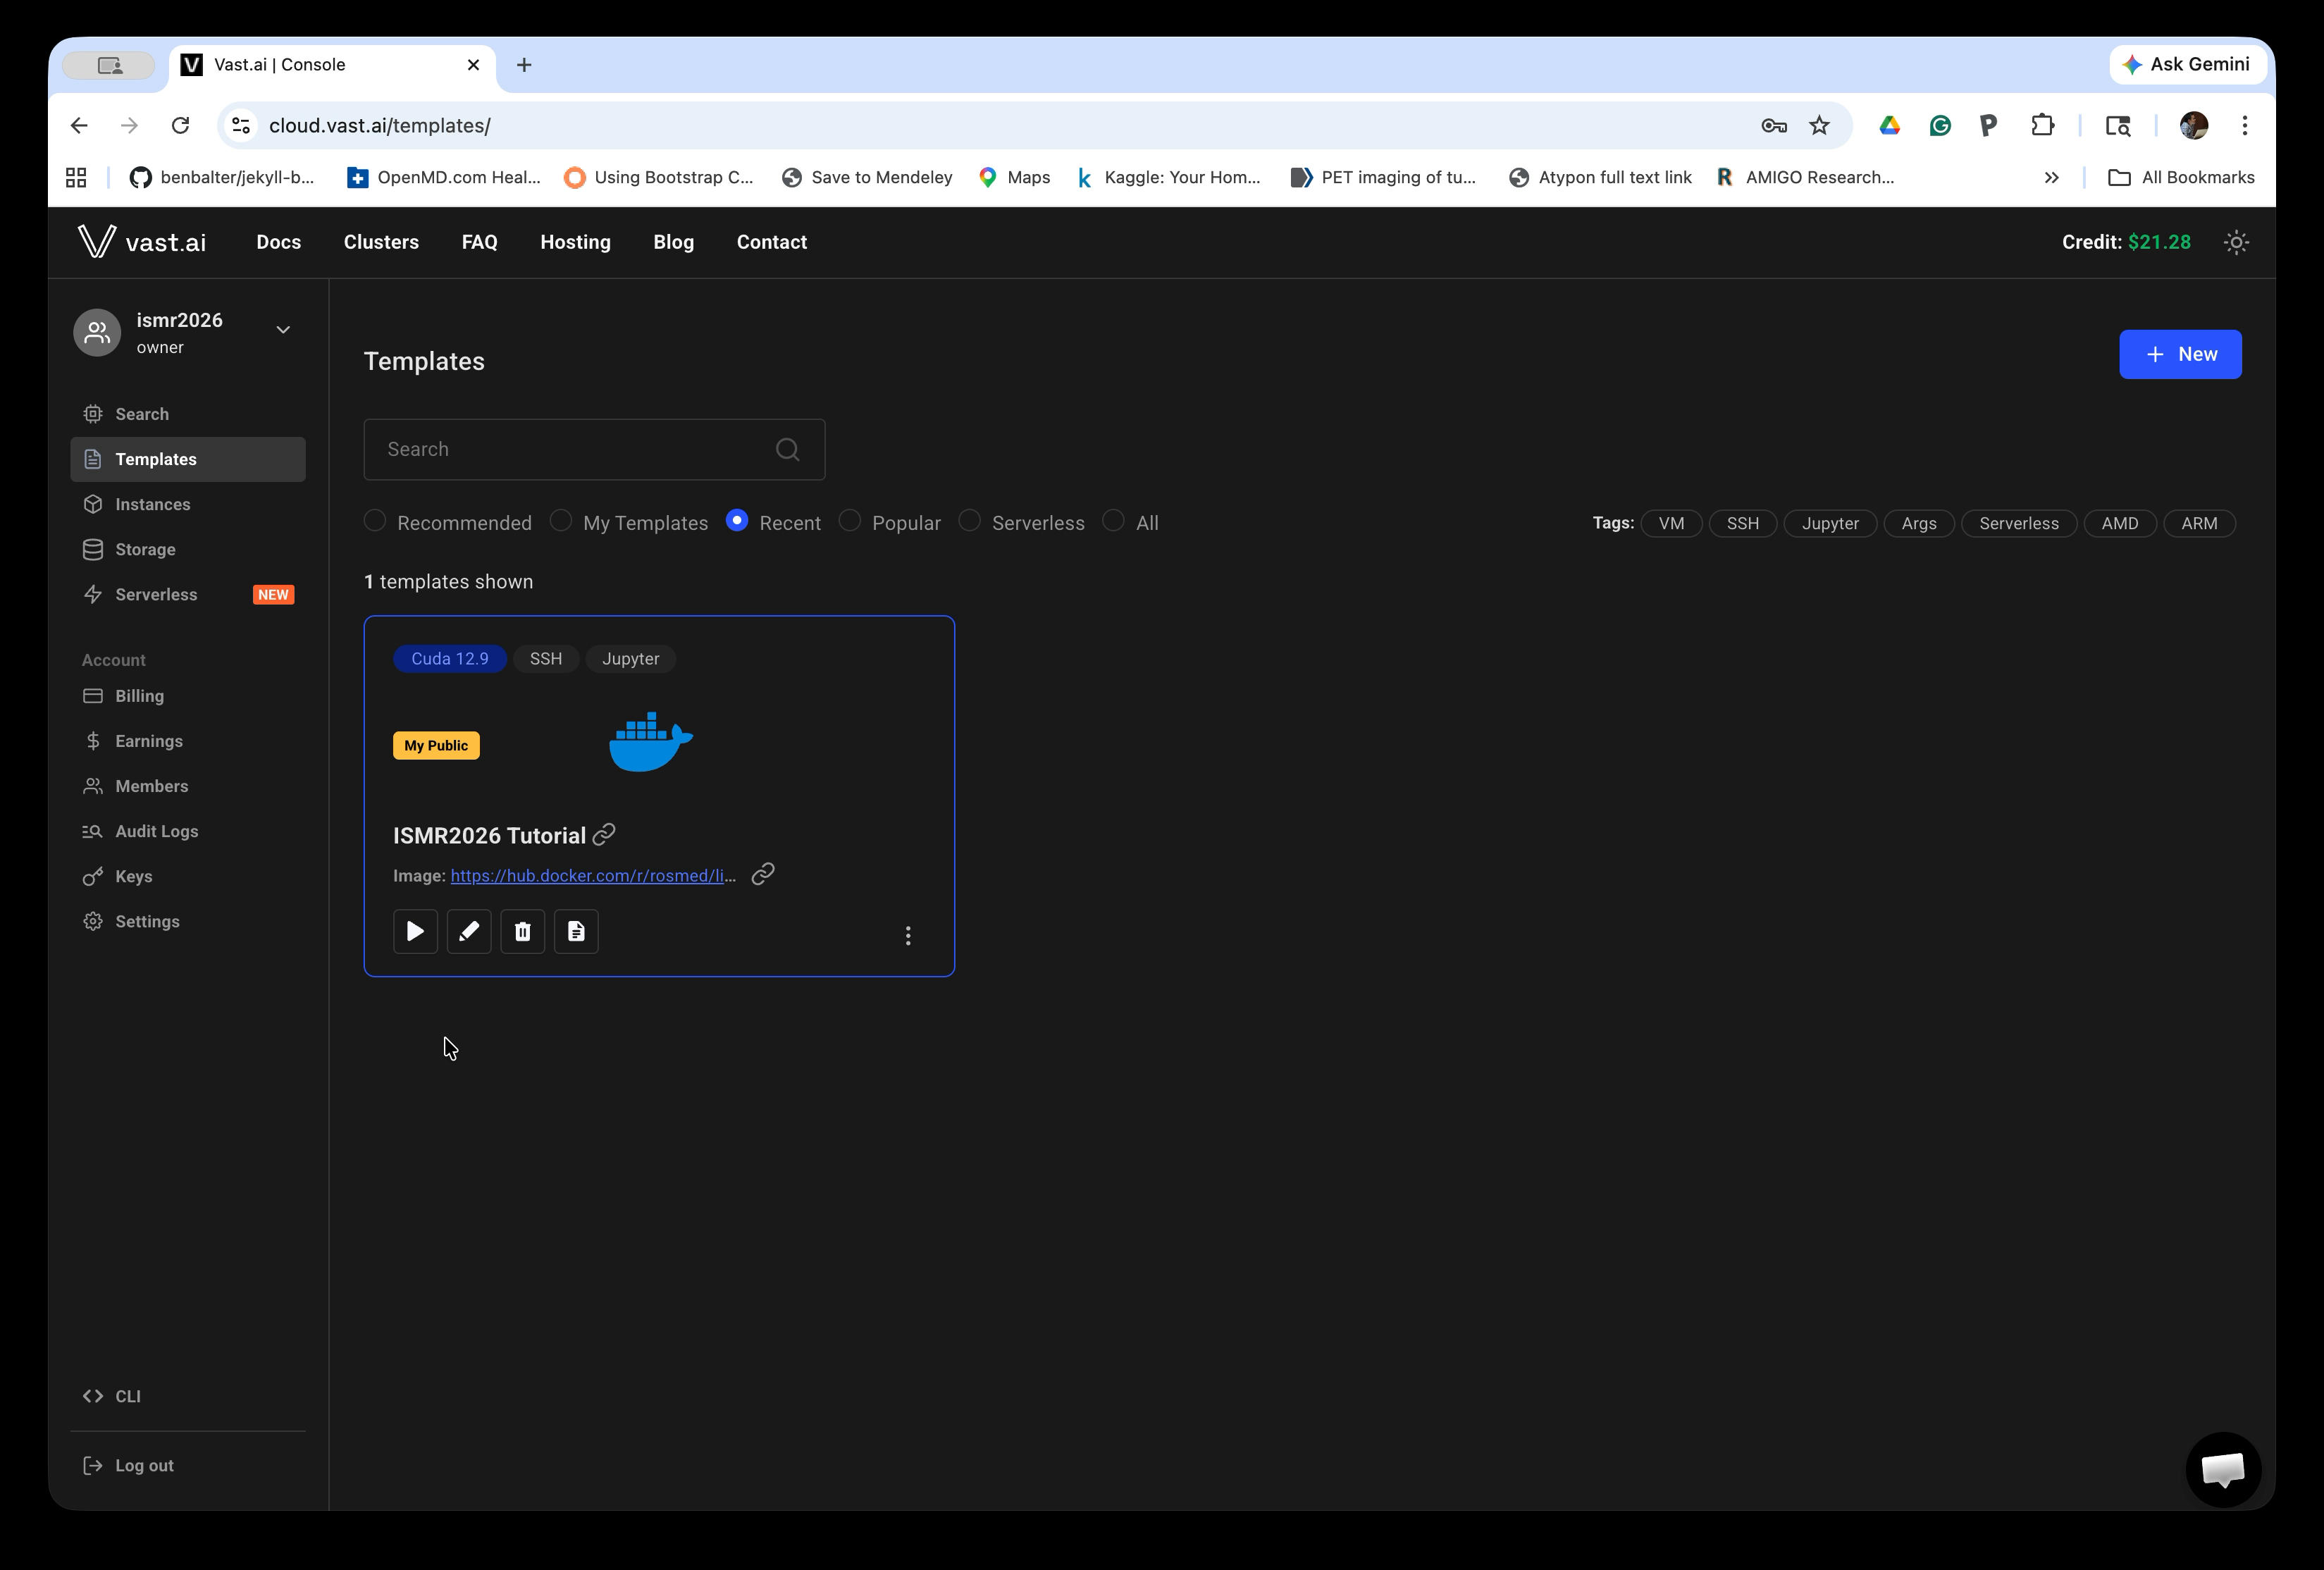
Step 1: Open the ISMR2026 Tutorial Template
Click the following link to open the tutorial template in the Vast.ai Console: ISMR2026 Tutorial Template
Alternatively, log in to Vast.ai, navigate to Templates in the left sidebar, and find the ISMR2026 Tutorial template.
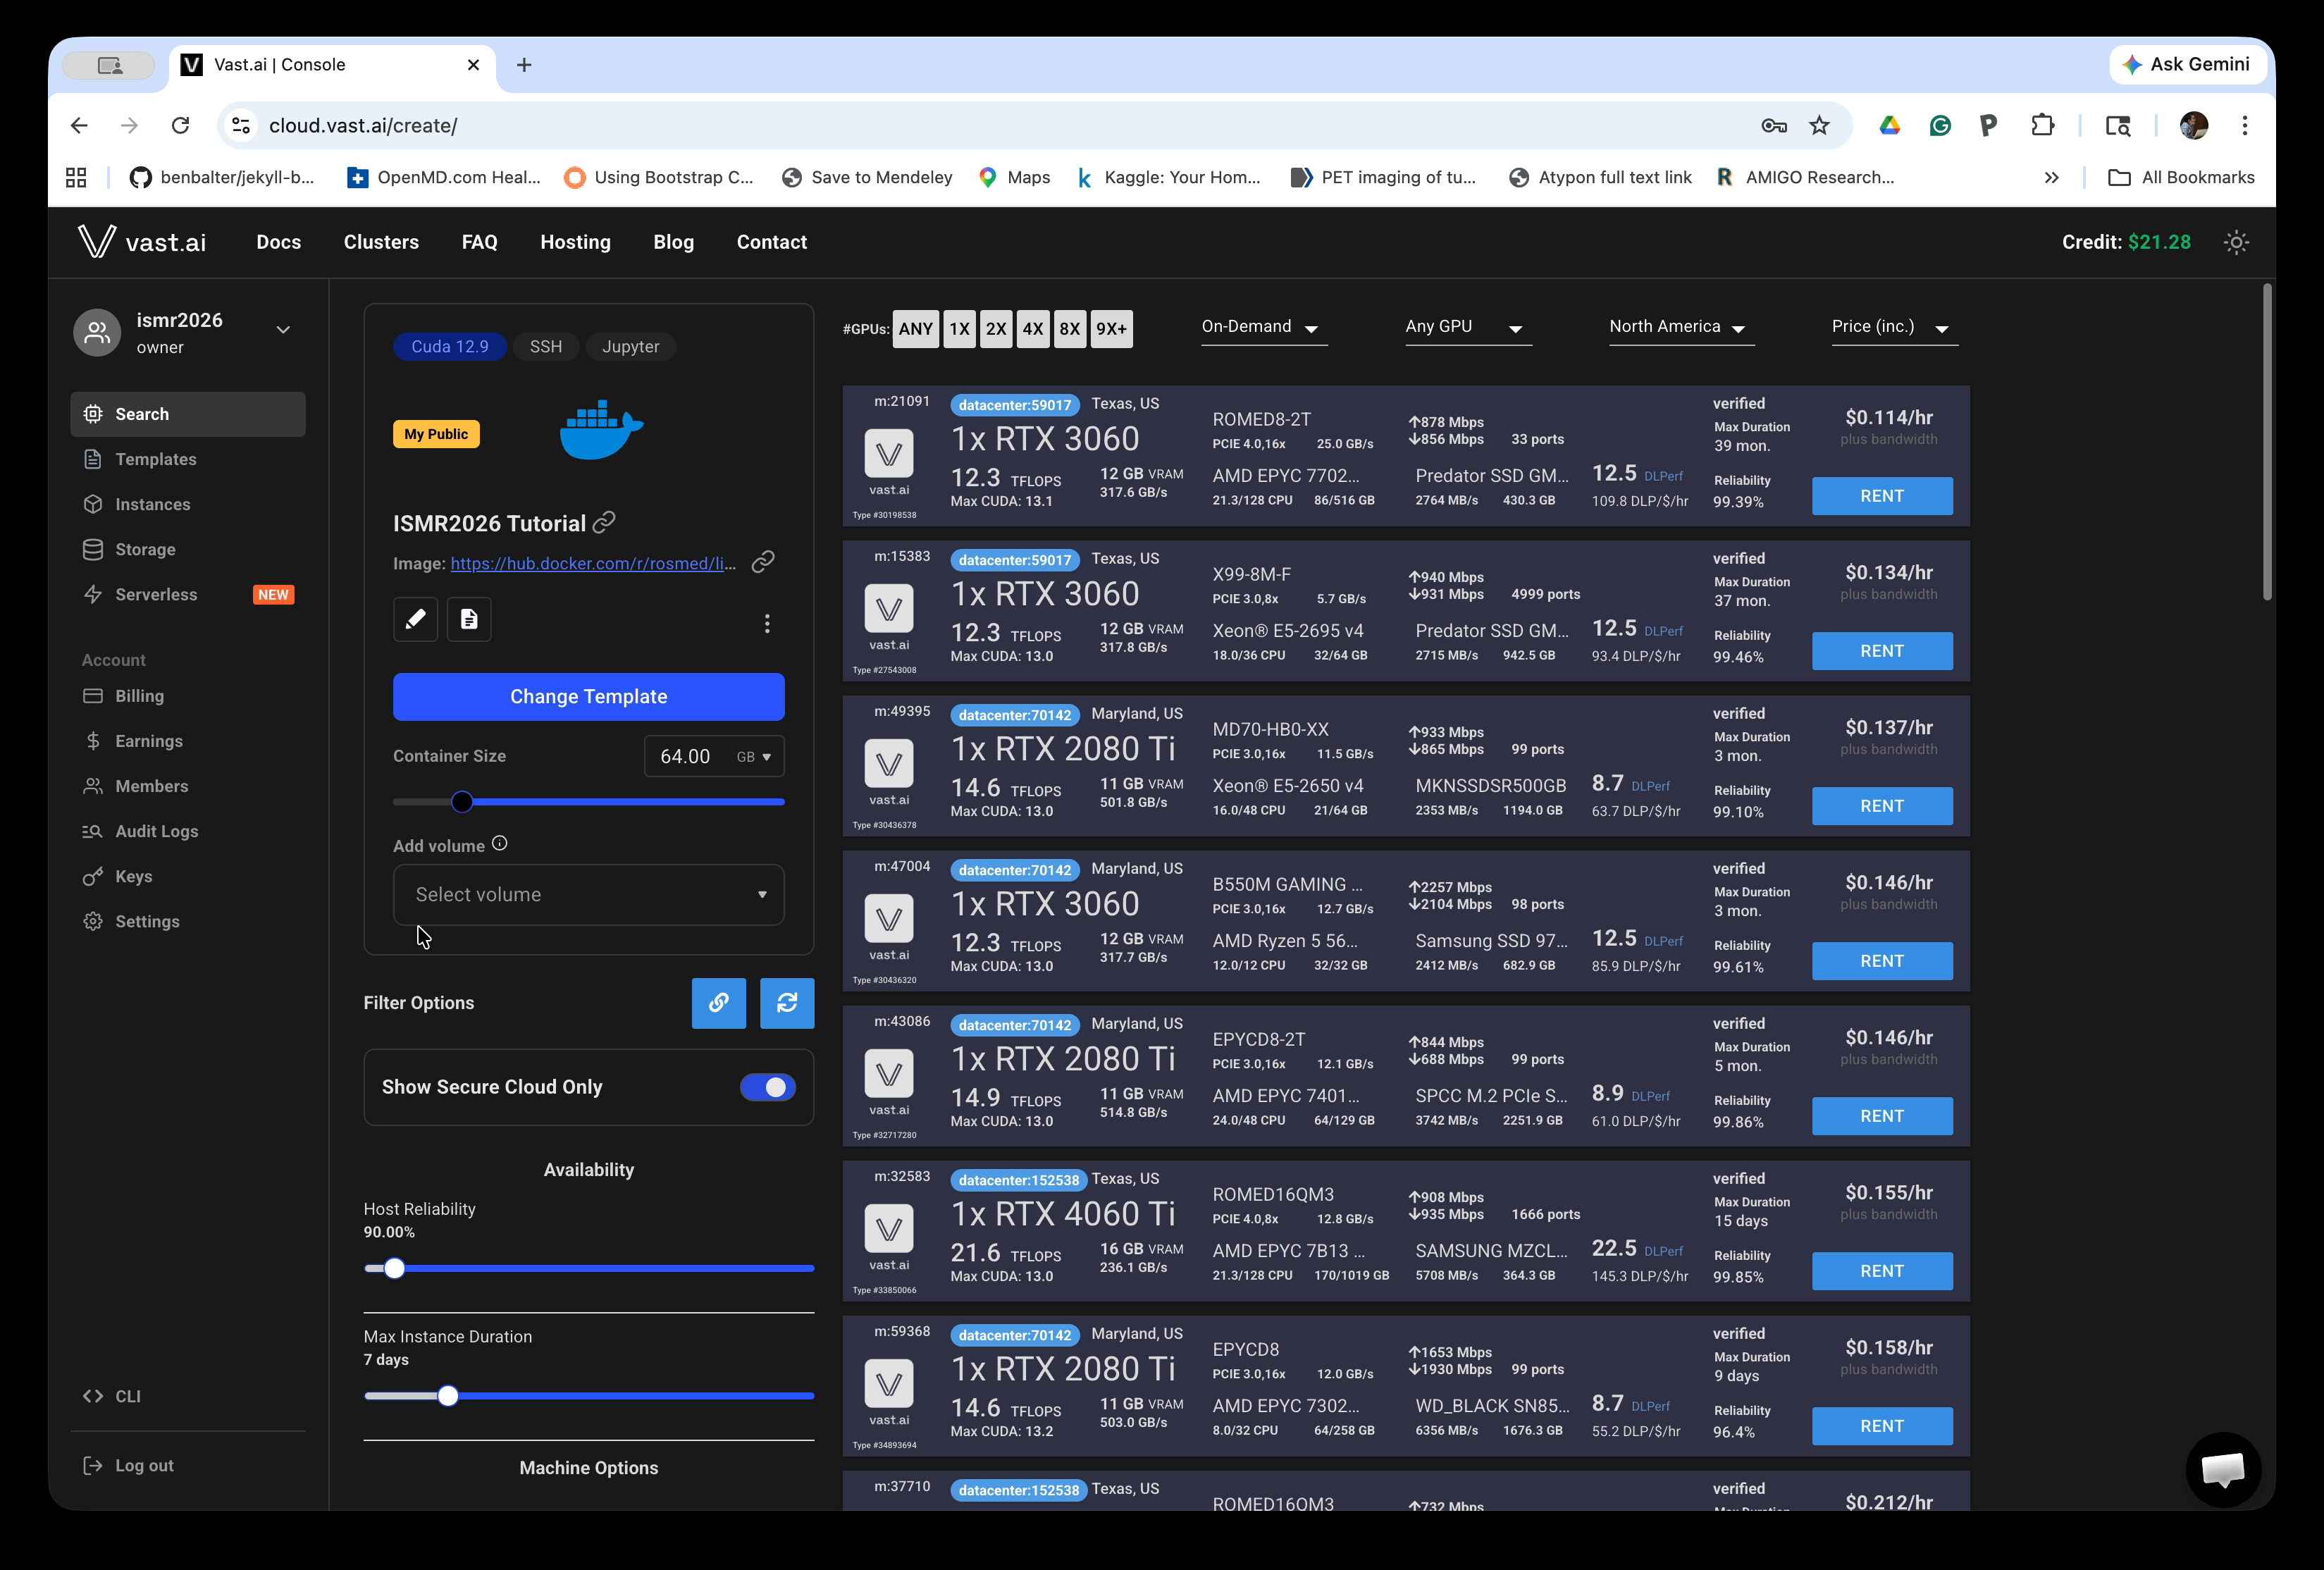
Step 2: Select a Machine and Rent
After opening the template link, the Console search page will load with the ISMR2026 Tutorial template already selected in the left panel. The main area lists available GPU machines with their specs and hourly prices.
Increase Container Size under the Change Template button to 64GB. Choose a machine near your location with a reasonable price. Click the RENT button next to your chosen machine to launch an instance.
For better experience: A machine with higher network bandwidth can save time for starting up the container. We recommend to turn the “Show Secure Cloud Only” option to limit the list to machines in datacenters.
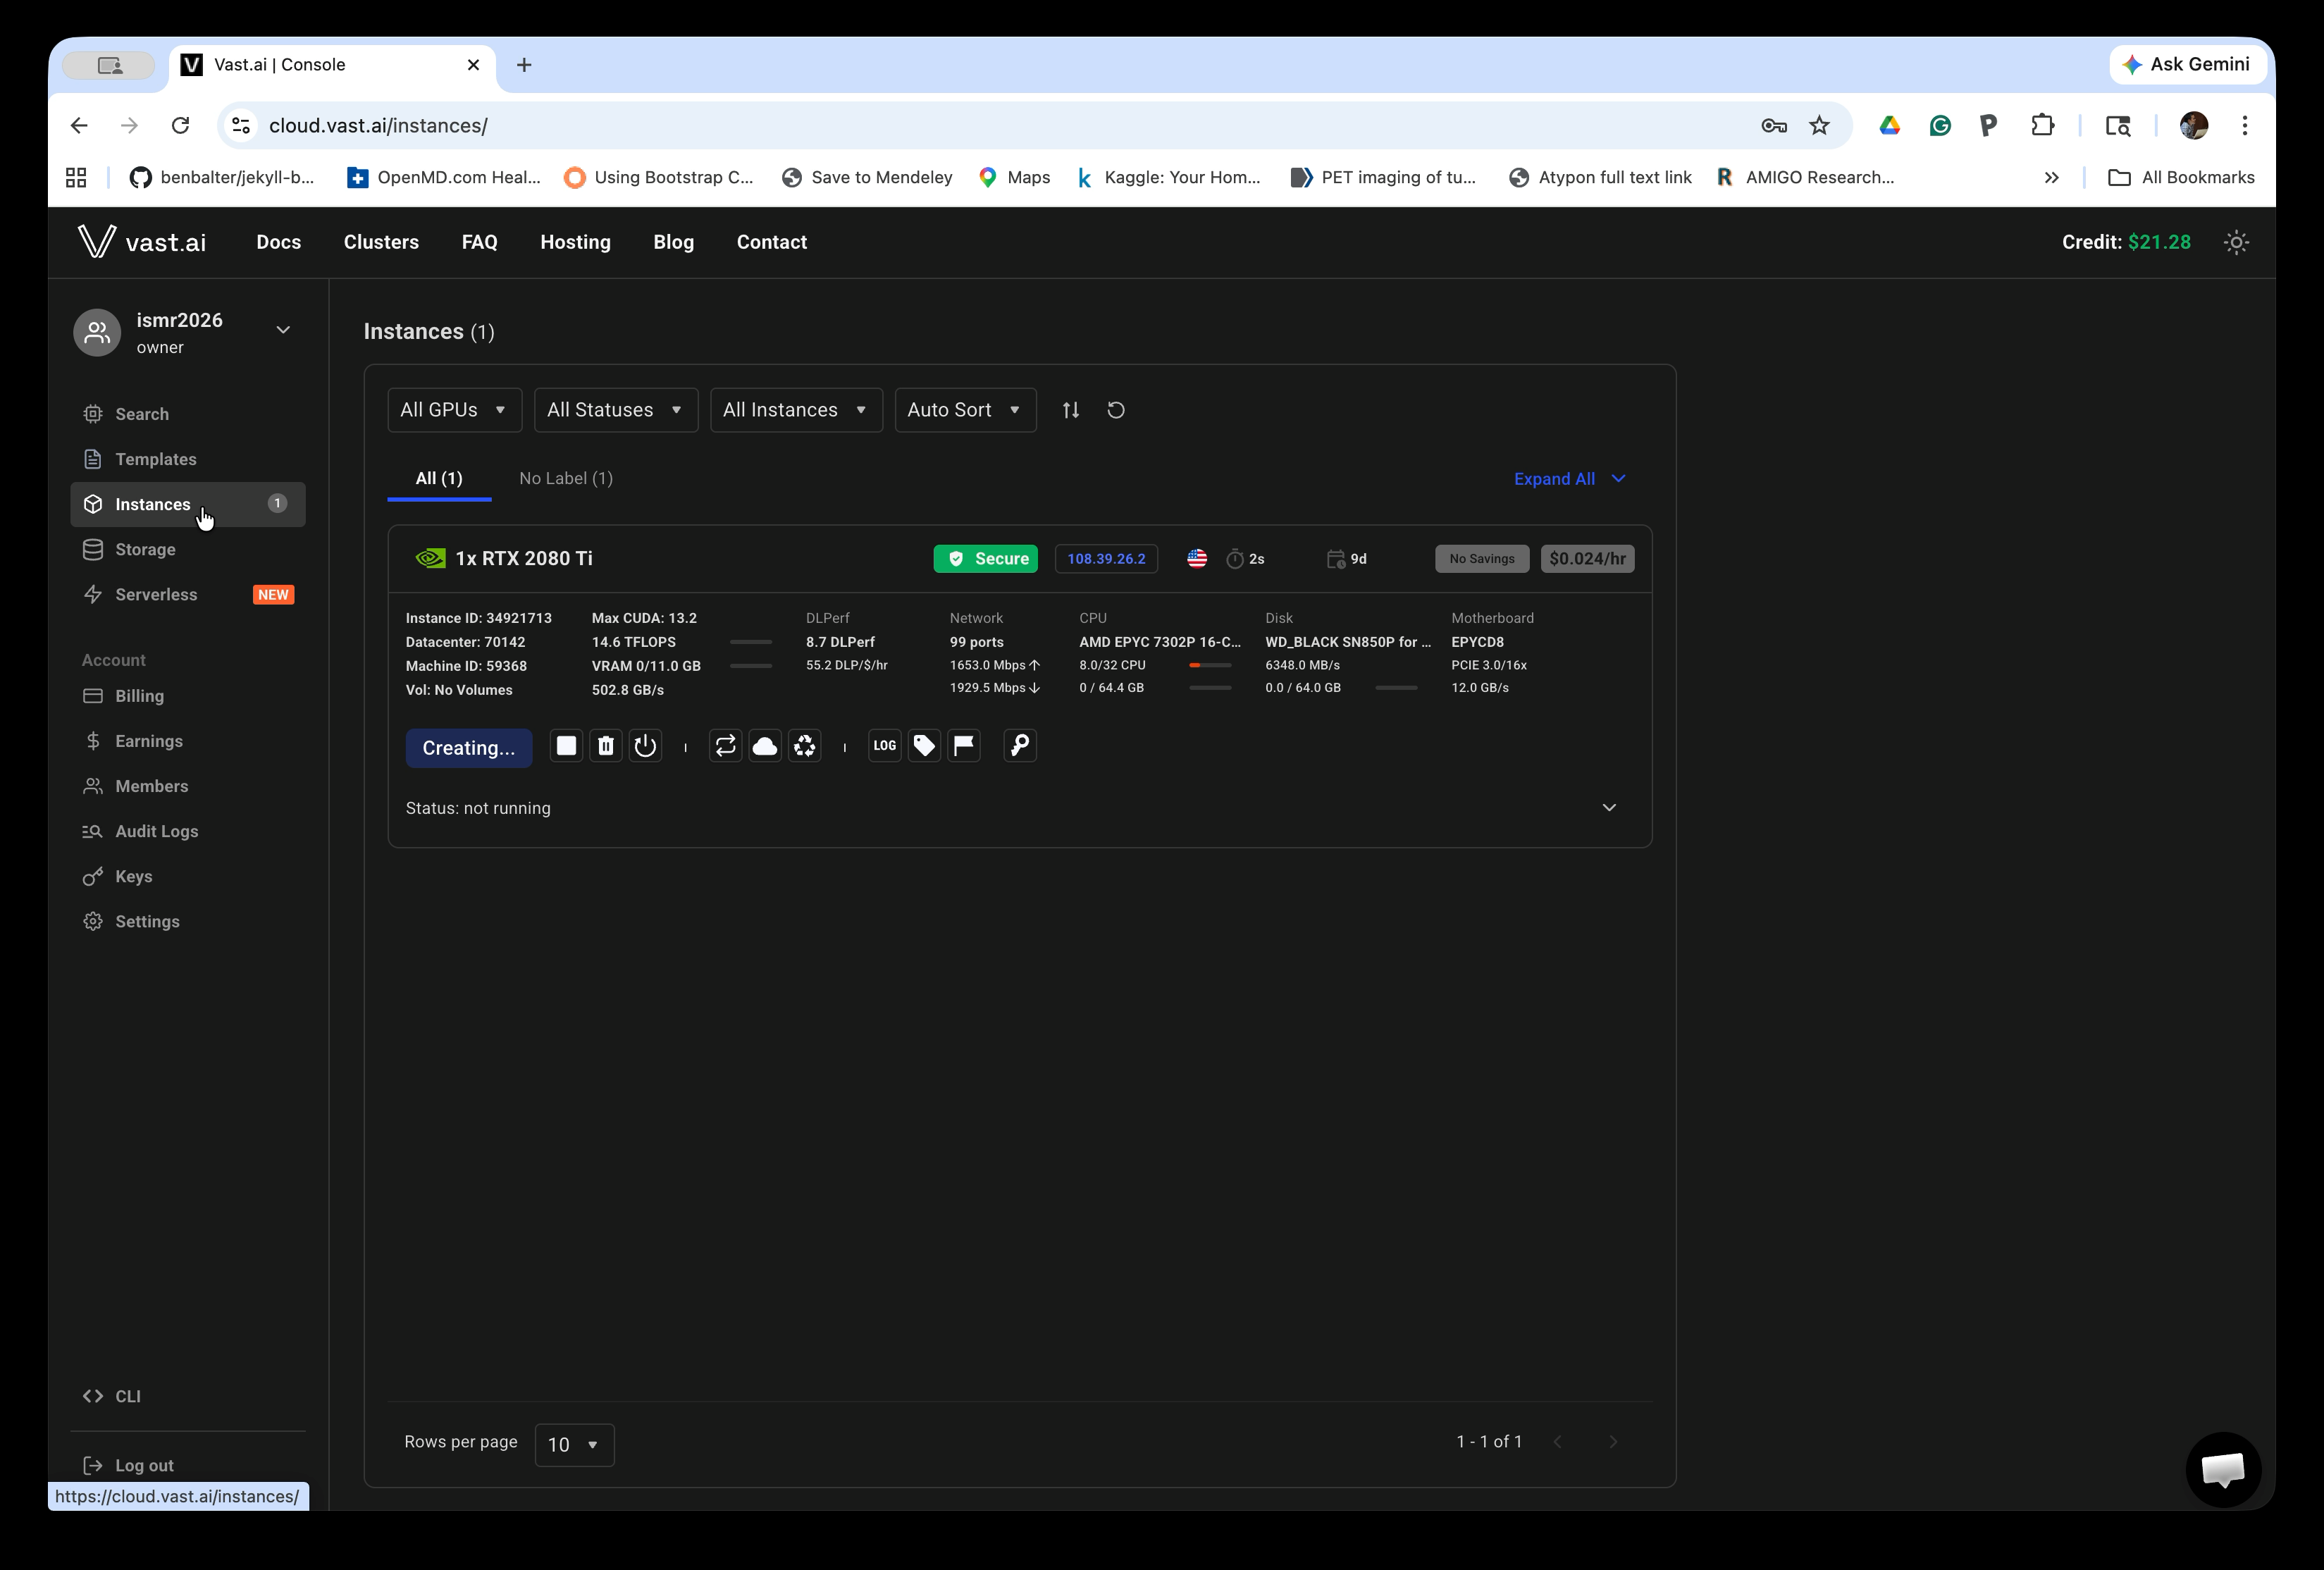
Step 3: Wait for the Instance to Start
After clicking RENT, you will be taken to the Instances page. Your new instance will appear with a Creating… button while the container is being set up.
This process typically takes a few minutes to hours, depending on the machine you chose. You can refresh the page to check progress.
To save time: You can rent multiple machines initially, and use the one which becomes available first. You can destroy the rest.
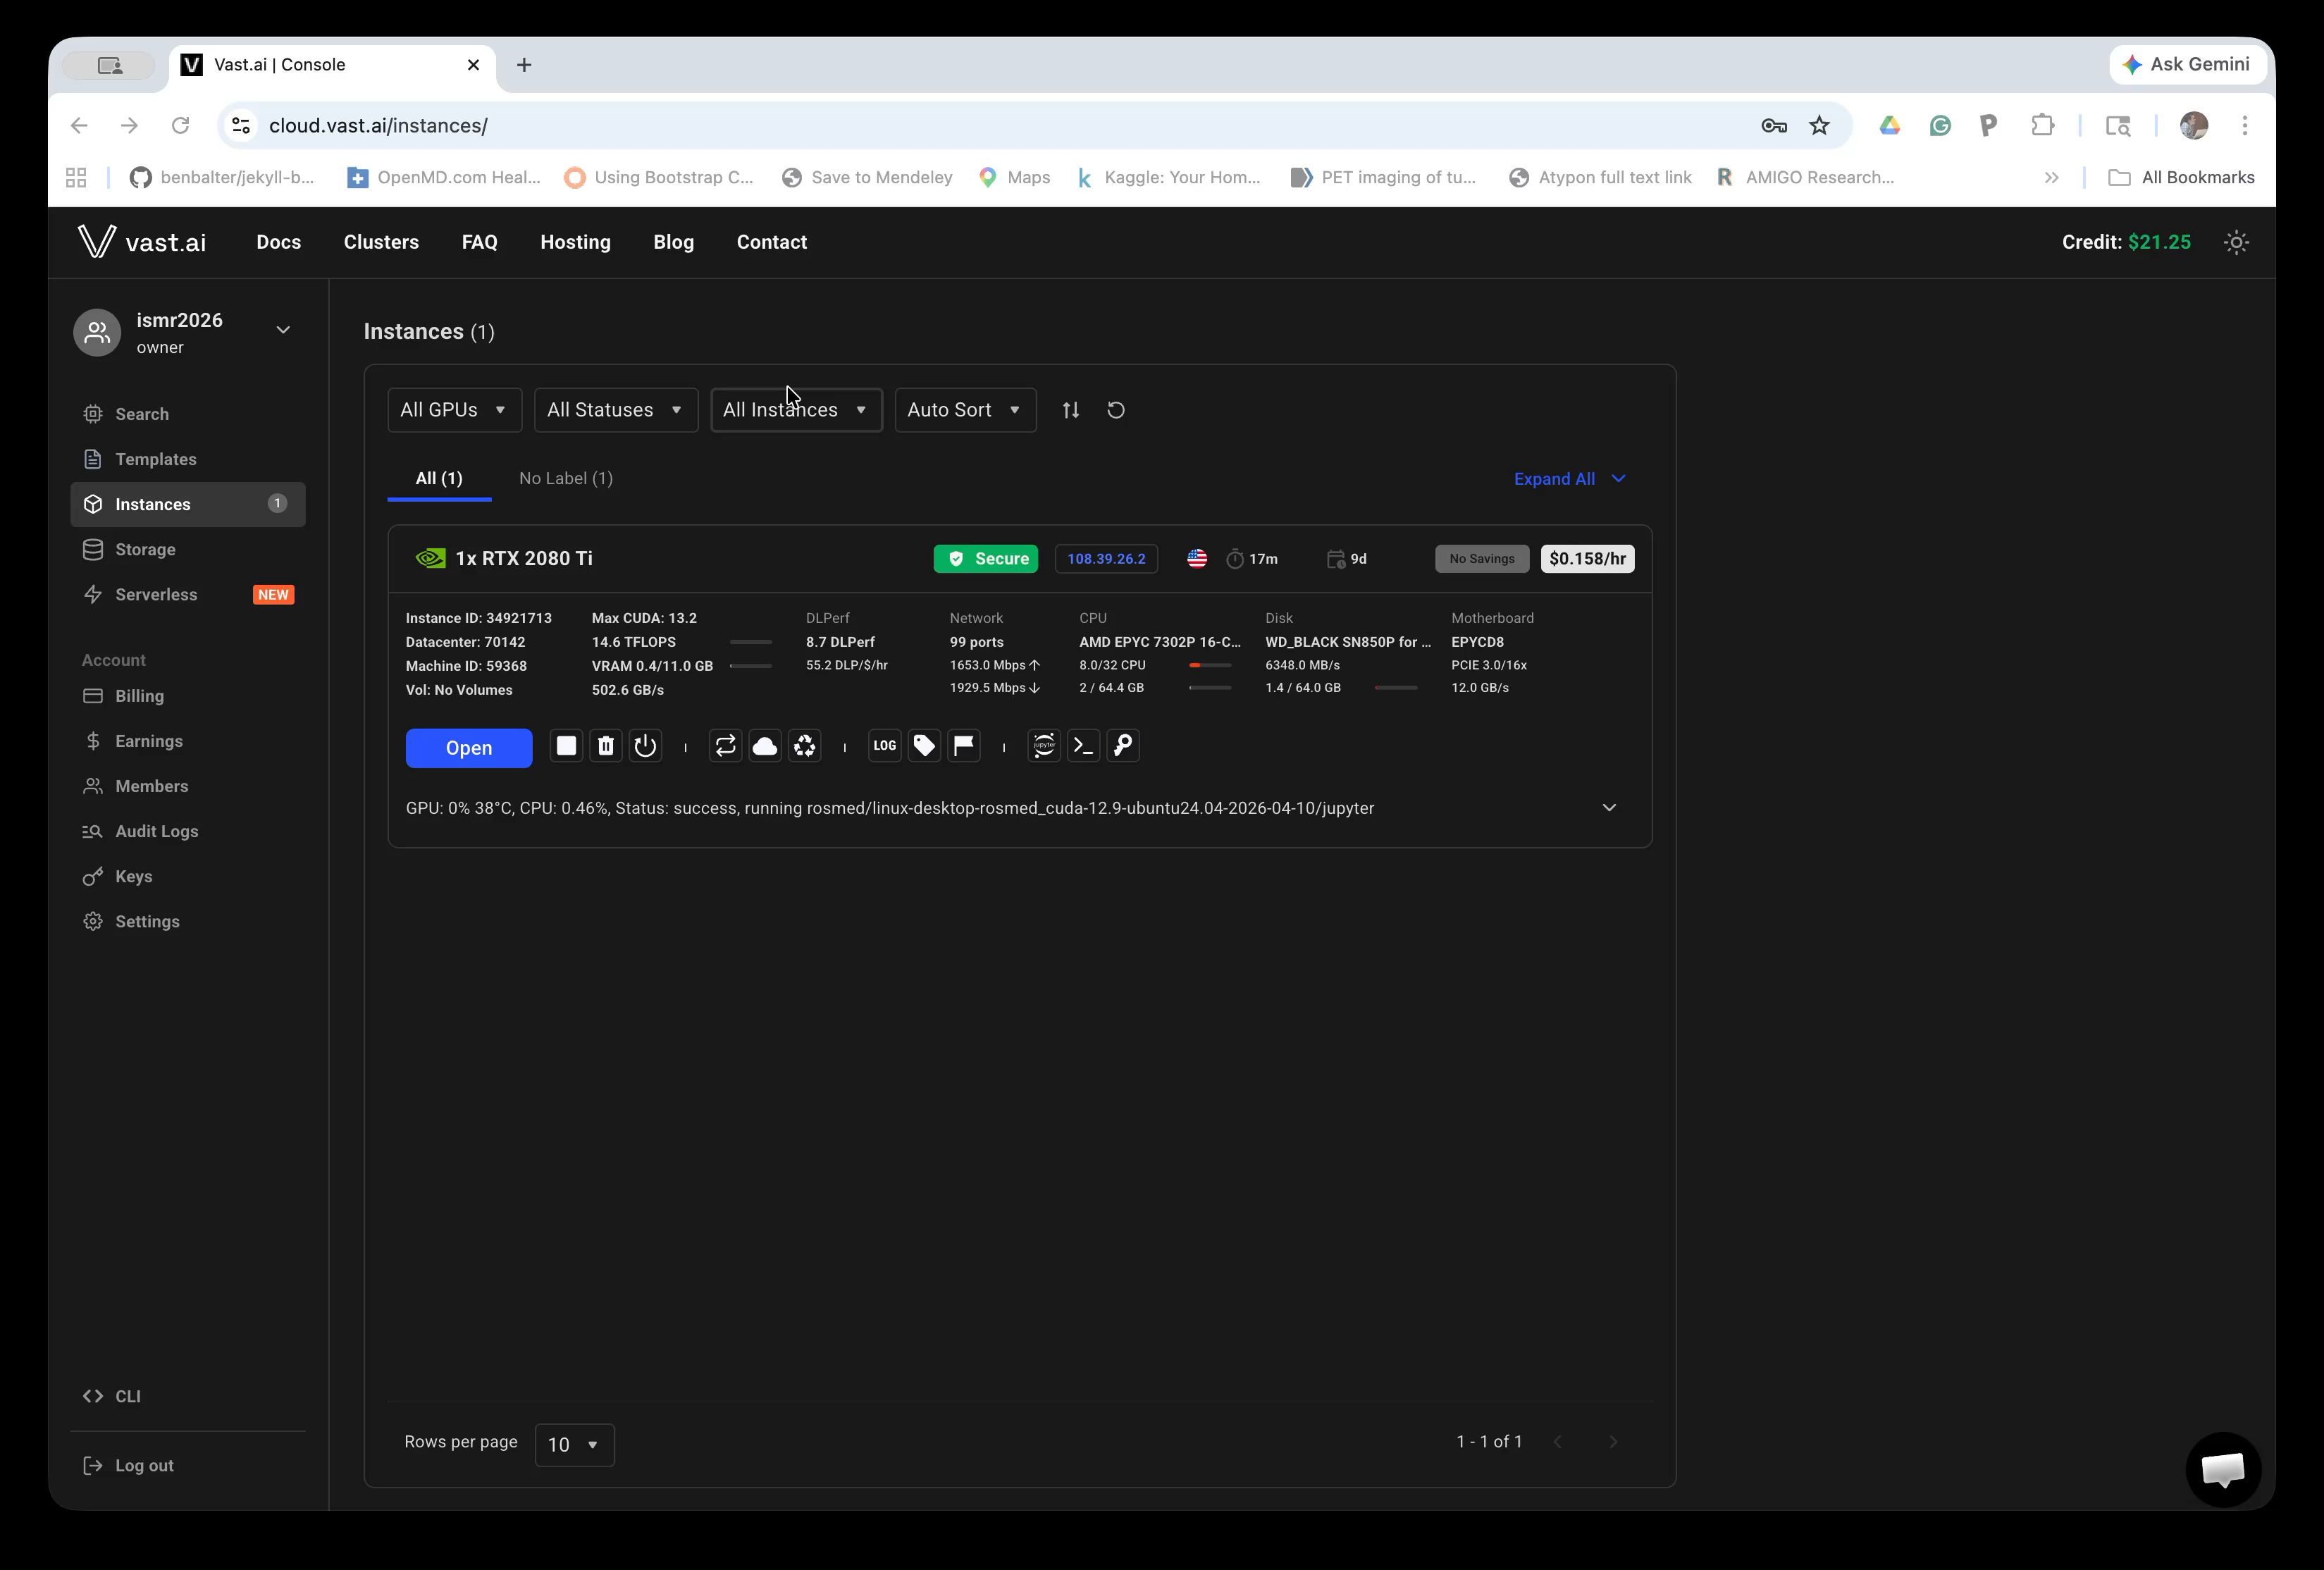
Step 4: Open the Instance
Once the container is ready, the button changes from Creating… to Open, and the status will show the container is running.
Click the Open button.
If you don’t see a new browser window: Make sure your browser allows pop-up windows, as the Instance Portal will open in a new window.
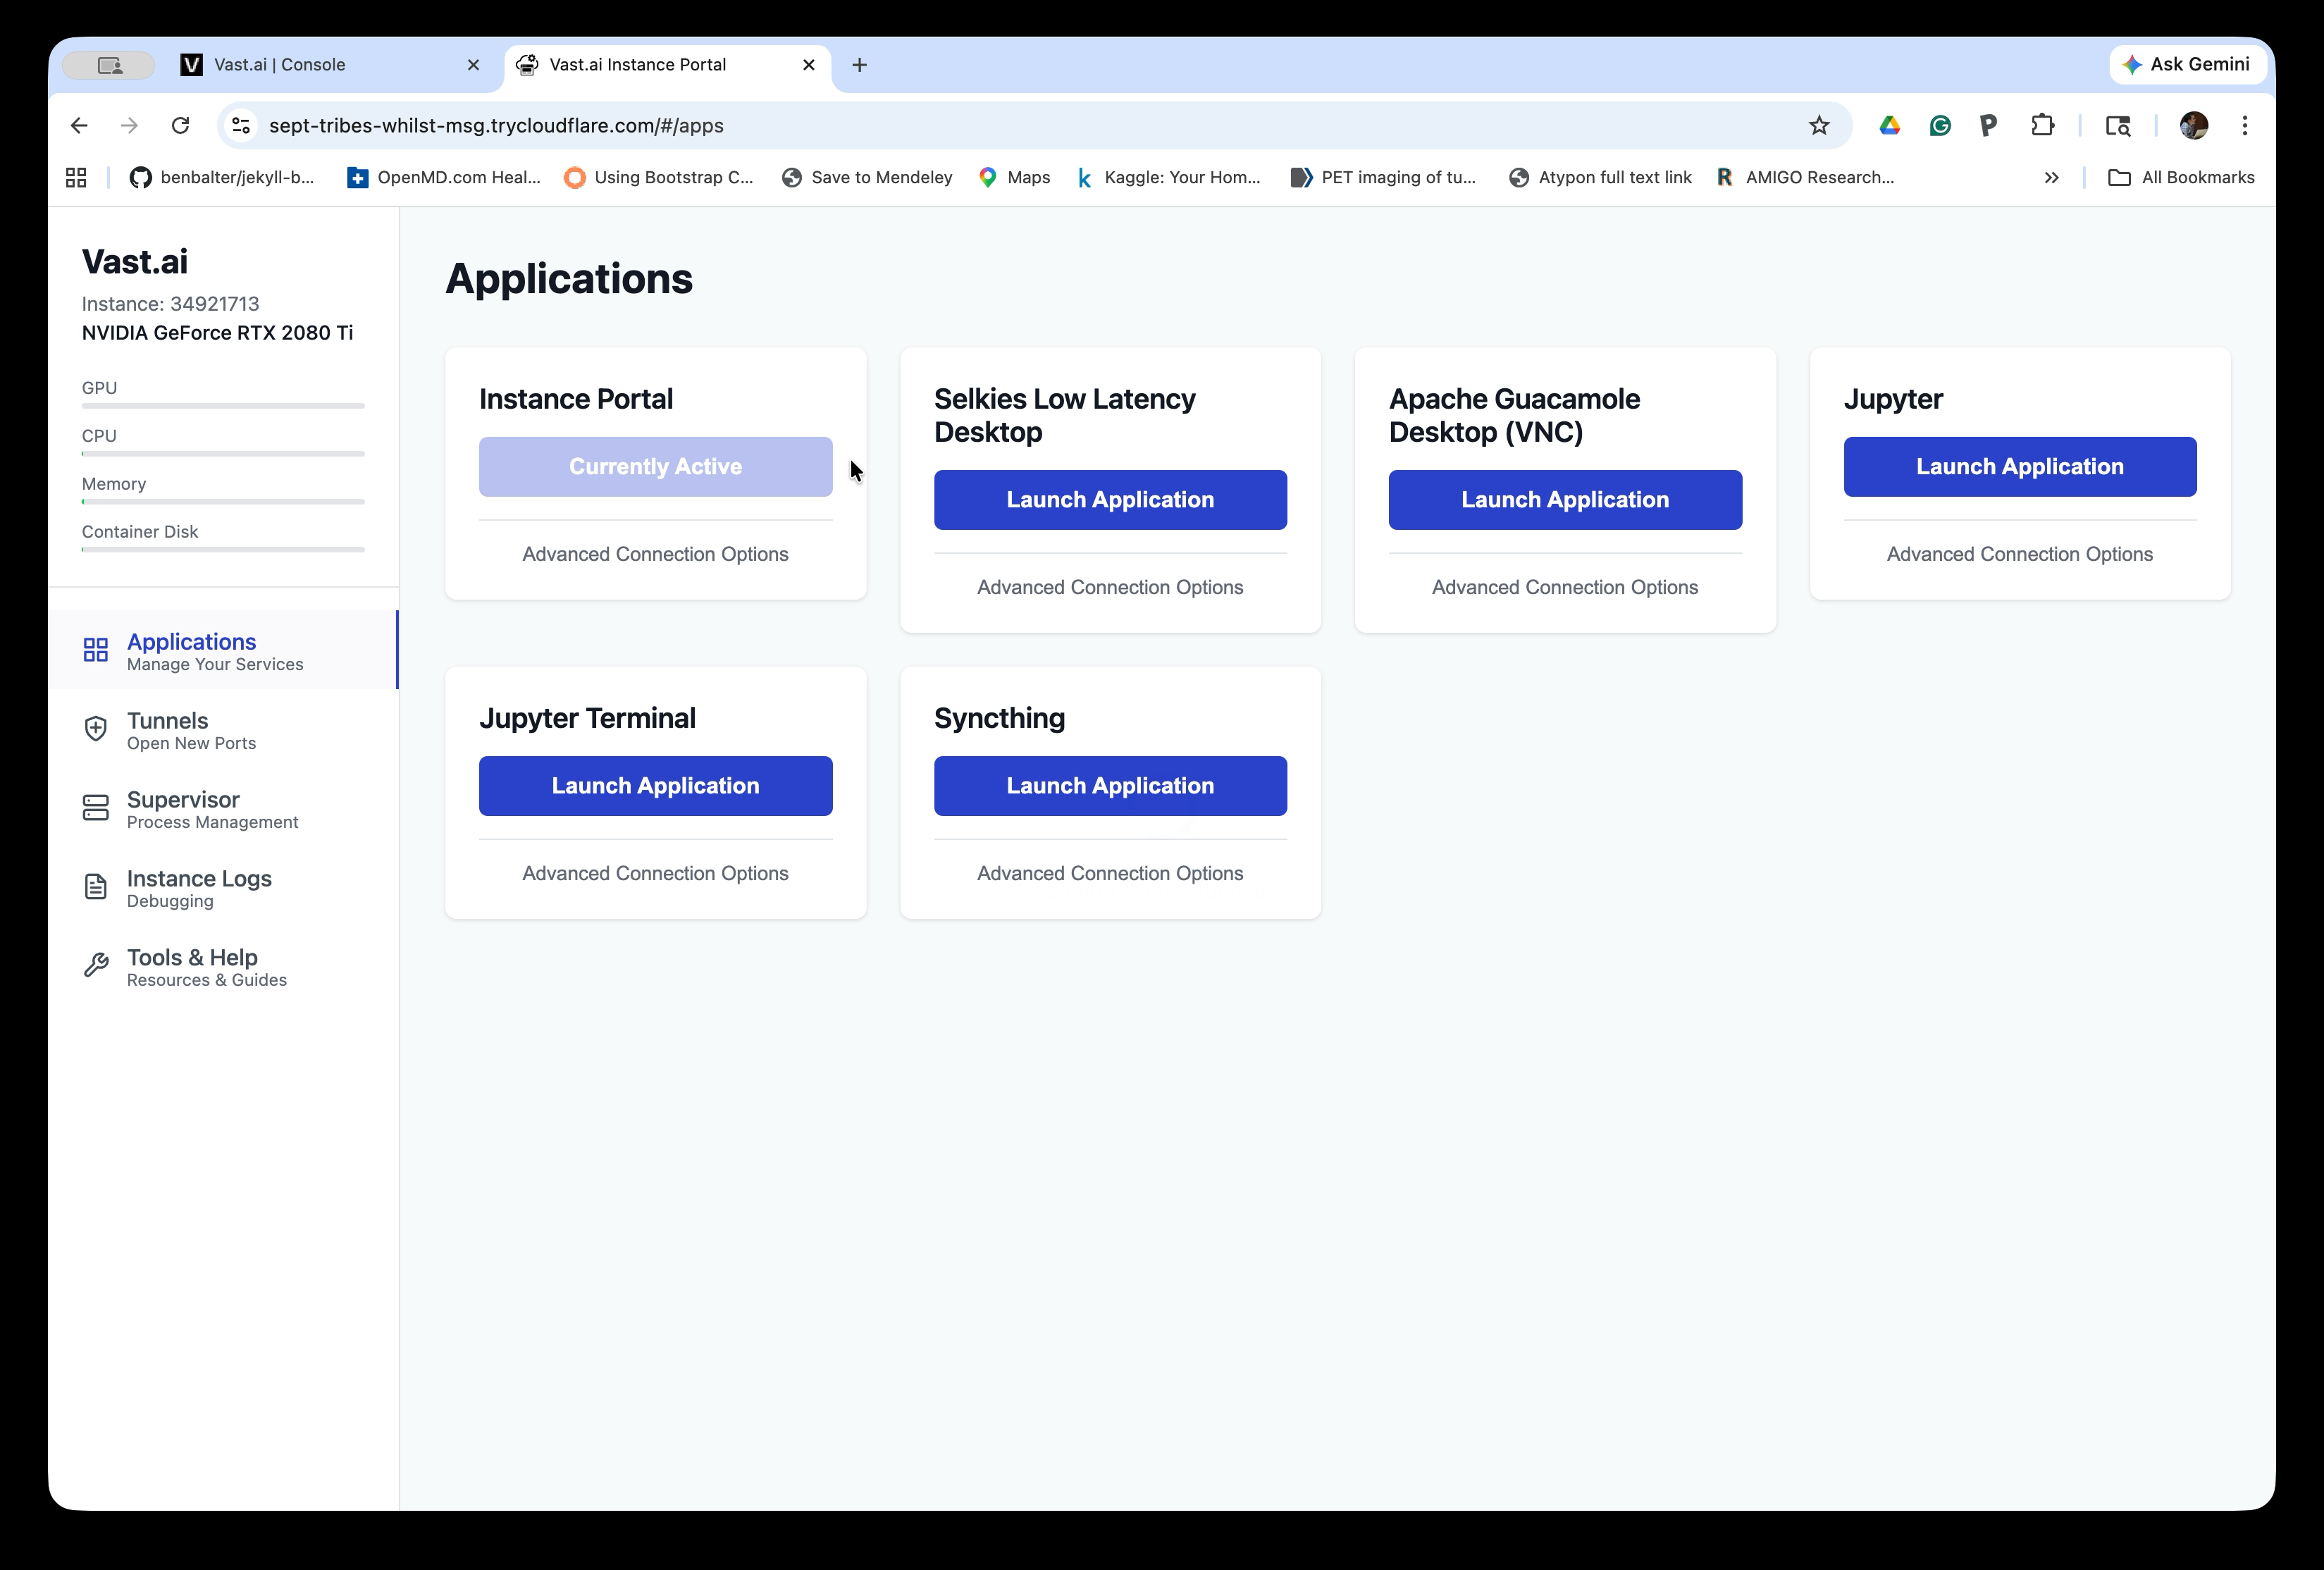
Step 5: Launch the Desktop Application
The Instance Portal opens in a new browser tab and shows the available applications. You will see options including:
- Selkies Low Latency Desktop — recommended; uses WebRTC for better performance
- Apache Guacamole Desktop (VNC) — fallback option if Selkies does not work
Click Launch Application under Selkies Low Latency Desktop. If Selkies does not connect, try Apache Guacamole Desktop (VNC) instead.
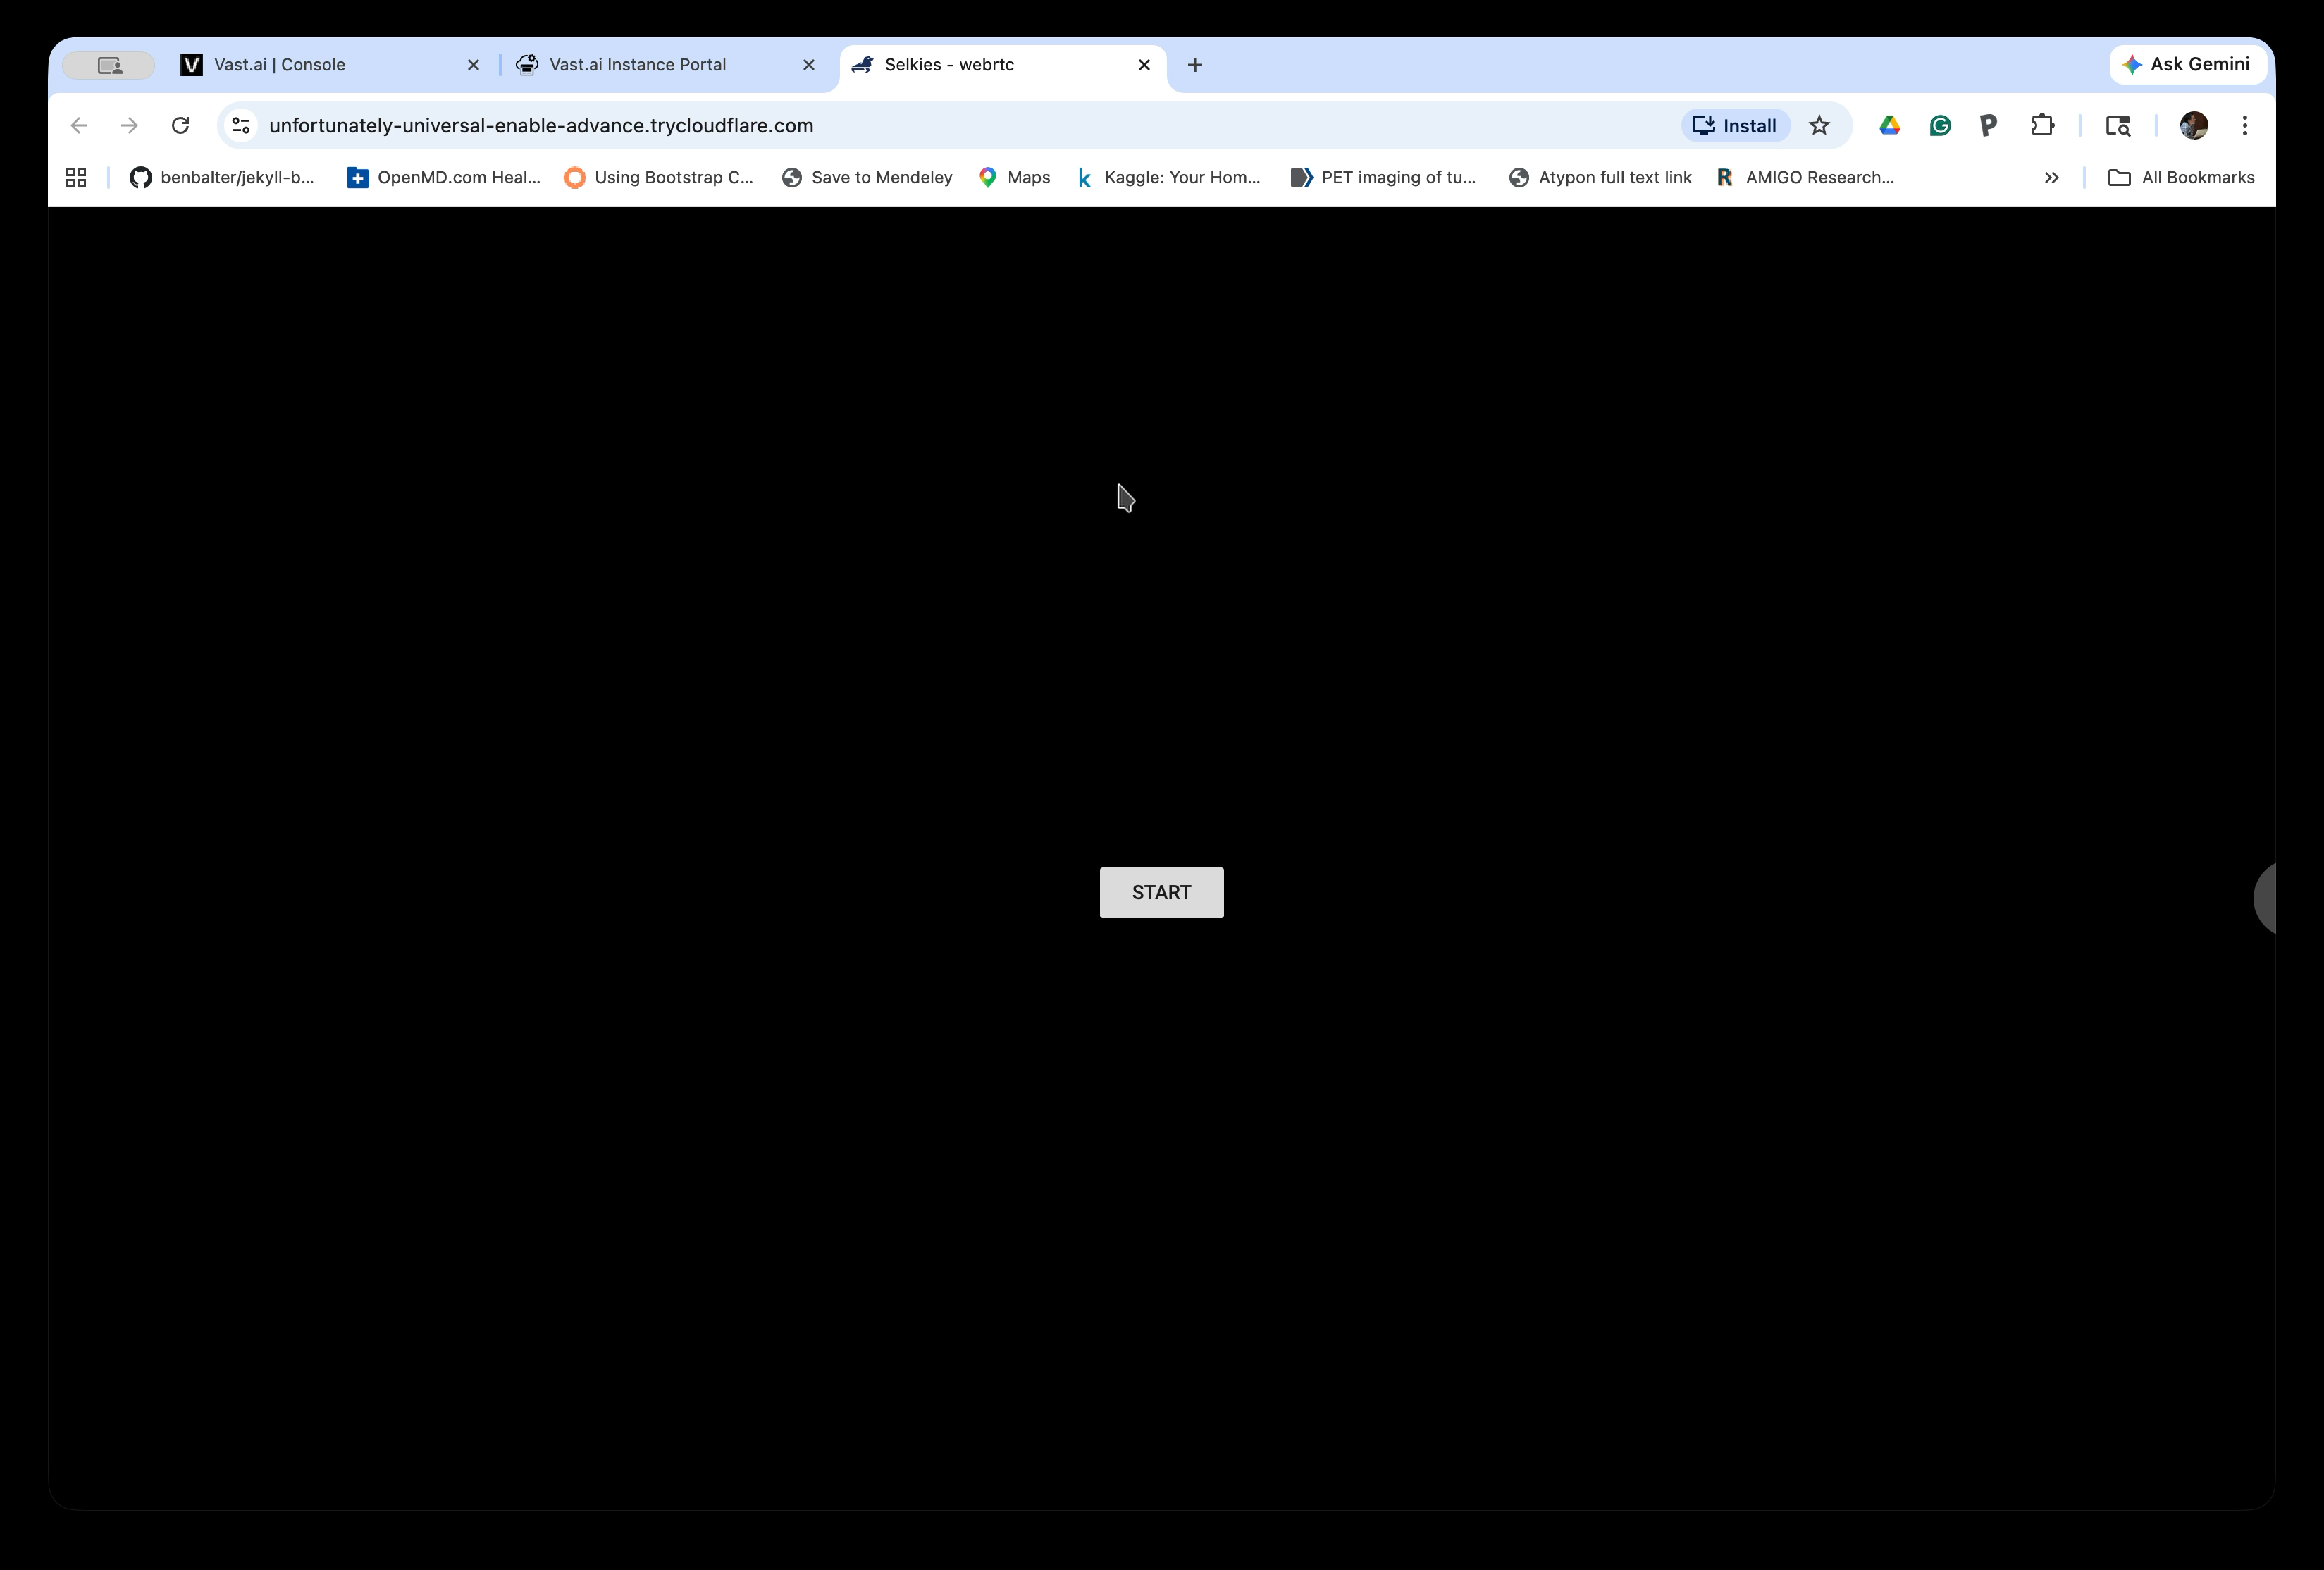
Step 6: Wait for Selkies to Load
Selkies opens in a new browser tab and begins loading. The screen will appear black with a loading animation while the desktop environment initializes. This may take up to a minute.

Step 7: Start the Desktop Session
Once loading completes, a START button appears in the center of the screen. Click it to connect to the Linux desktop.
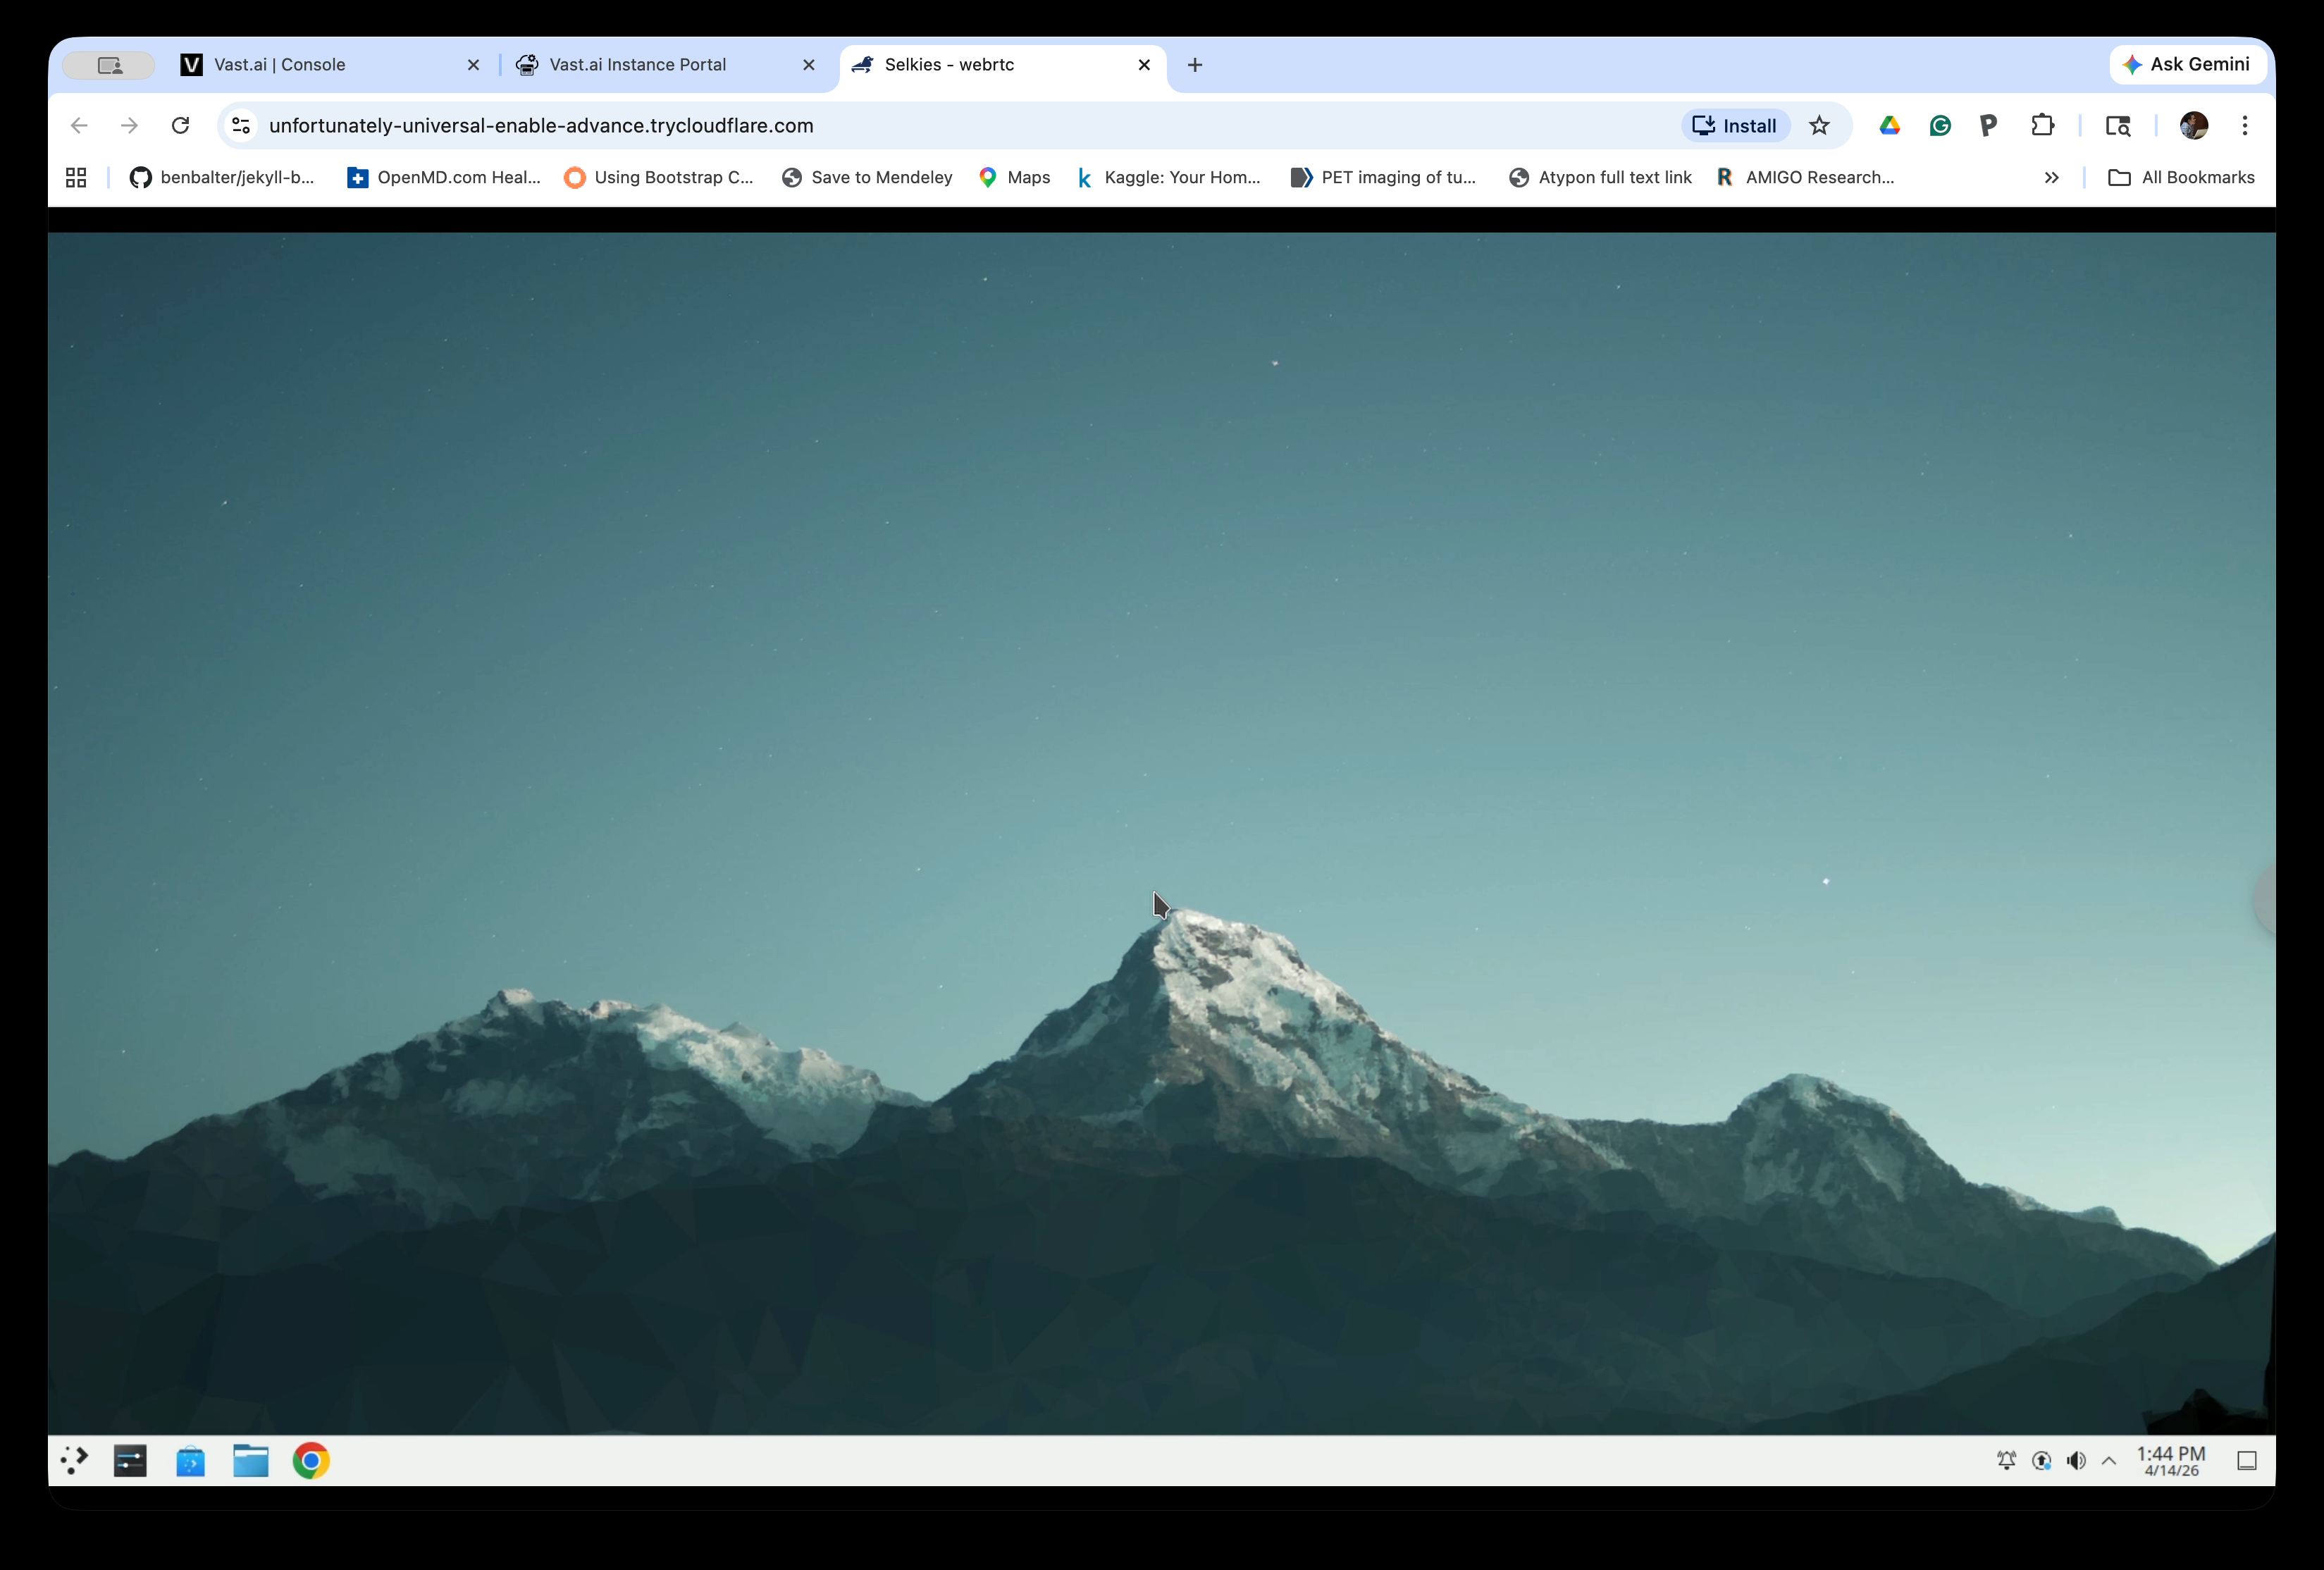
Step 8: Use the Linux Desktop
The Linux desktop environment is now running in your browser. You can interact with it just like a local desktop. The taskbar is at the bottom of the screen.
You are now ready to proceed with the tutorial.
Important: Remember to destroy your instance when you are done to avoid ongoing charges. On the Instances page, click the trash can icon to destroy the instance. Simply stopping the instance will still incur storage charges.