Creating a Catheter Model for SlicerROS2
Overview
In this tutorial, we will simulate a flexible catheter in the Gazebo dynamic simulator and visualize it in both RViz and 3D Slicer via the SlicerROS2 module. Because Gazebo is primarily designed for rigid body simulation and does not natively support soft-body objects, we model a flexible catheter as a serial robot connected via universal joints and rotary springs.
A Python script is used to generate a URDF file that defines this serial robot from a set of physical parameters (length, stiffness, damping, etc.). The generated ROS2 package can then be built and launched directly.
The workflow has four main stages:
- Clone the repository and generate a catheter model
- Build the ROS2 workspace and launch the simulation
- Control the catheter with keyboard teleop
- Visualize the catheter in 3D Slicer via SlicerROS2
Part 1: Clone the Repository and Generate a Catheter Model
Step 1: Clone the Flexible Catheter Simulation Repository
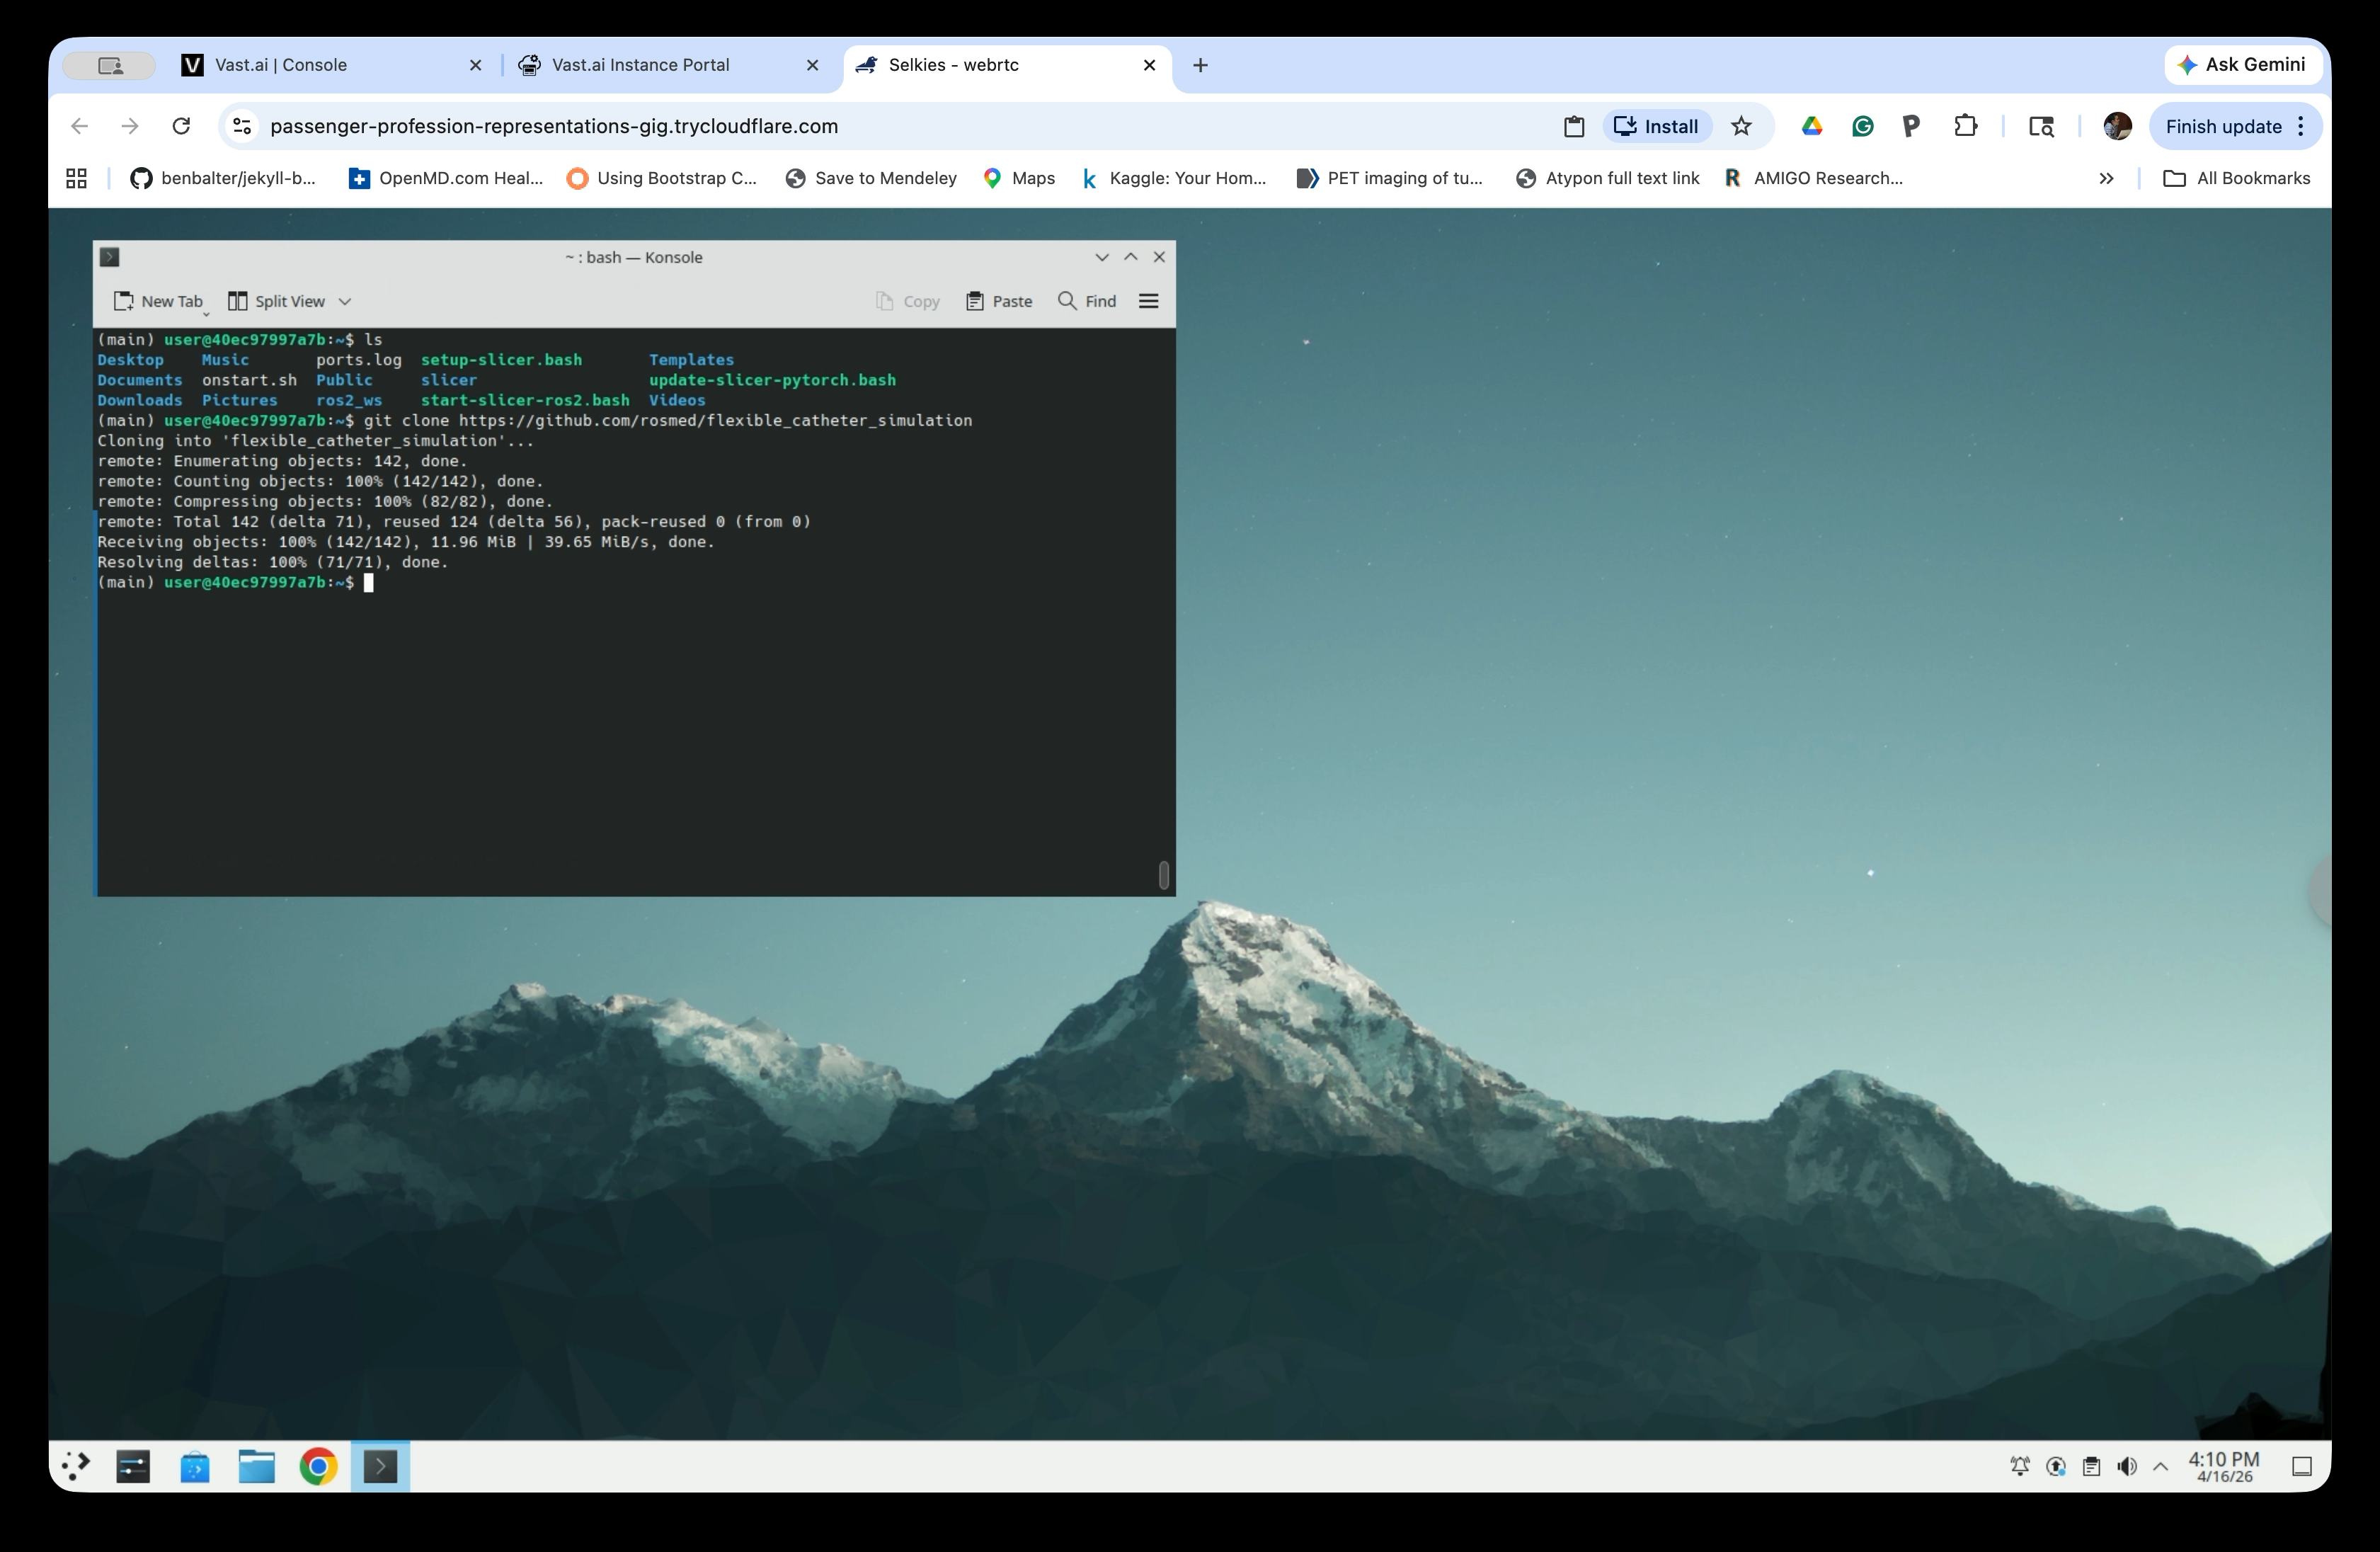
Open a terminal in the Linux desktop and clone the repository:
cd  # Move to the home directory
git clone https://github.com/rosmed/flexible_catheter_simulation

Wait for the clone to complete. The repository will be downloaded to ~/flexible_catheter_simulation.
Step 2: Source the ROS2 Workspace
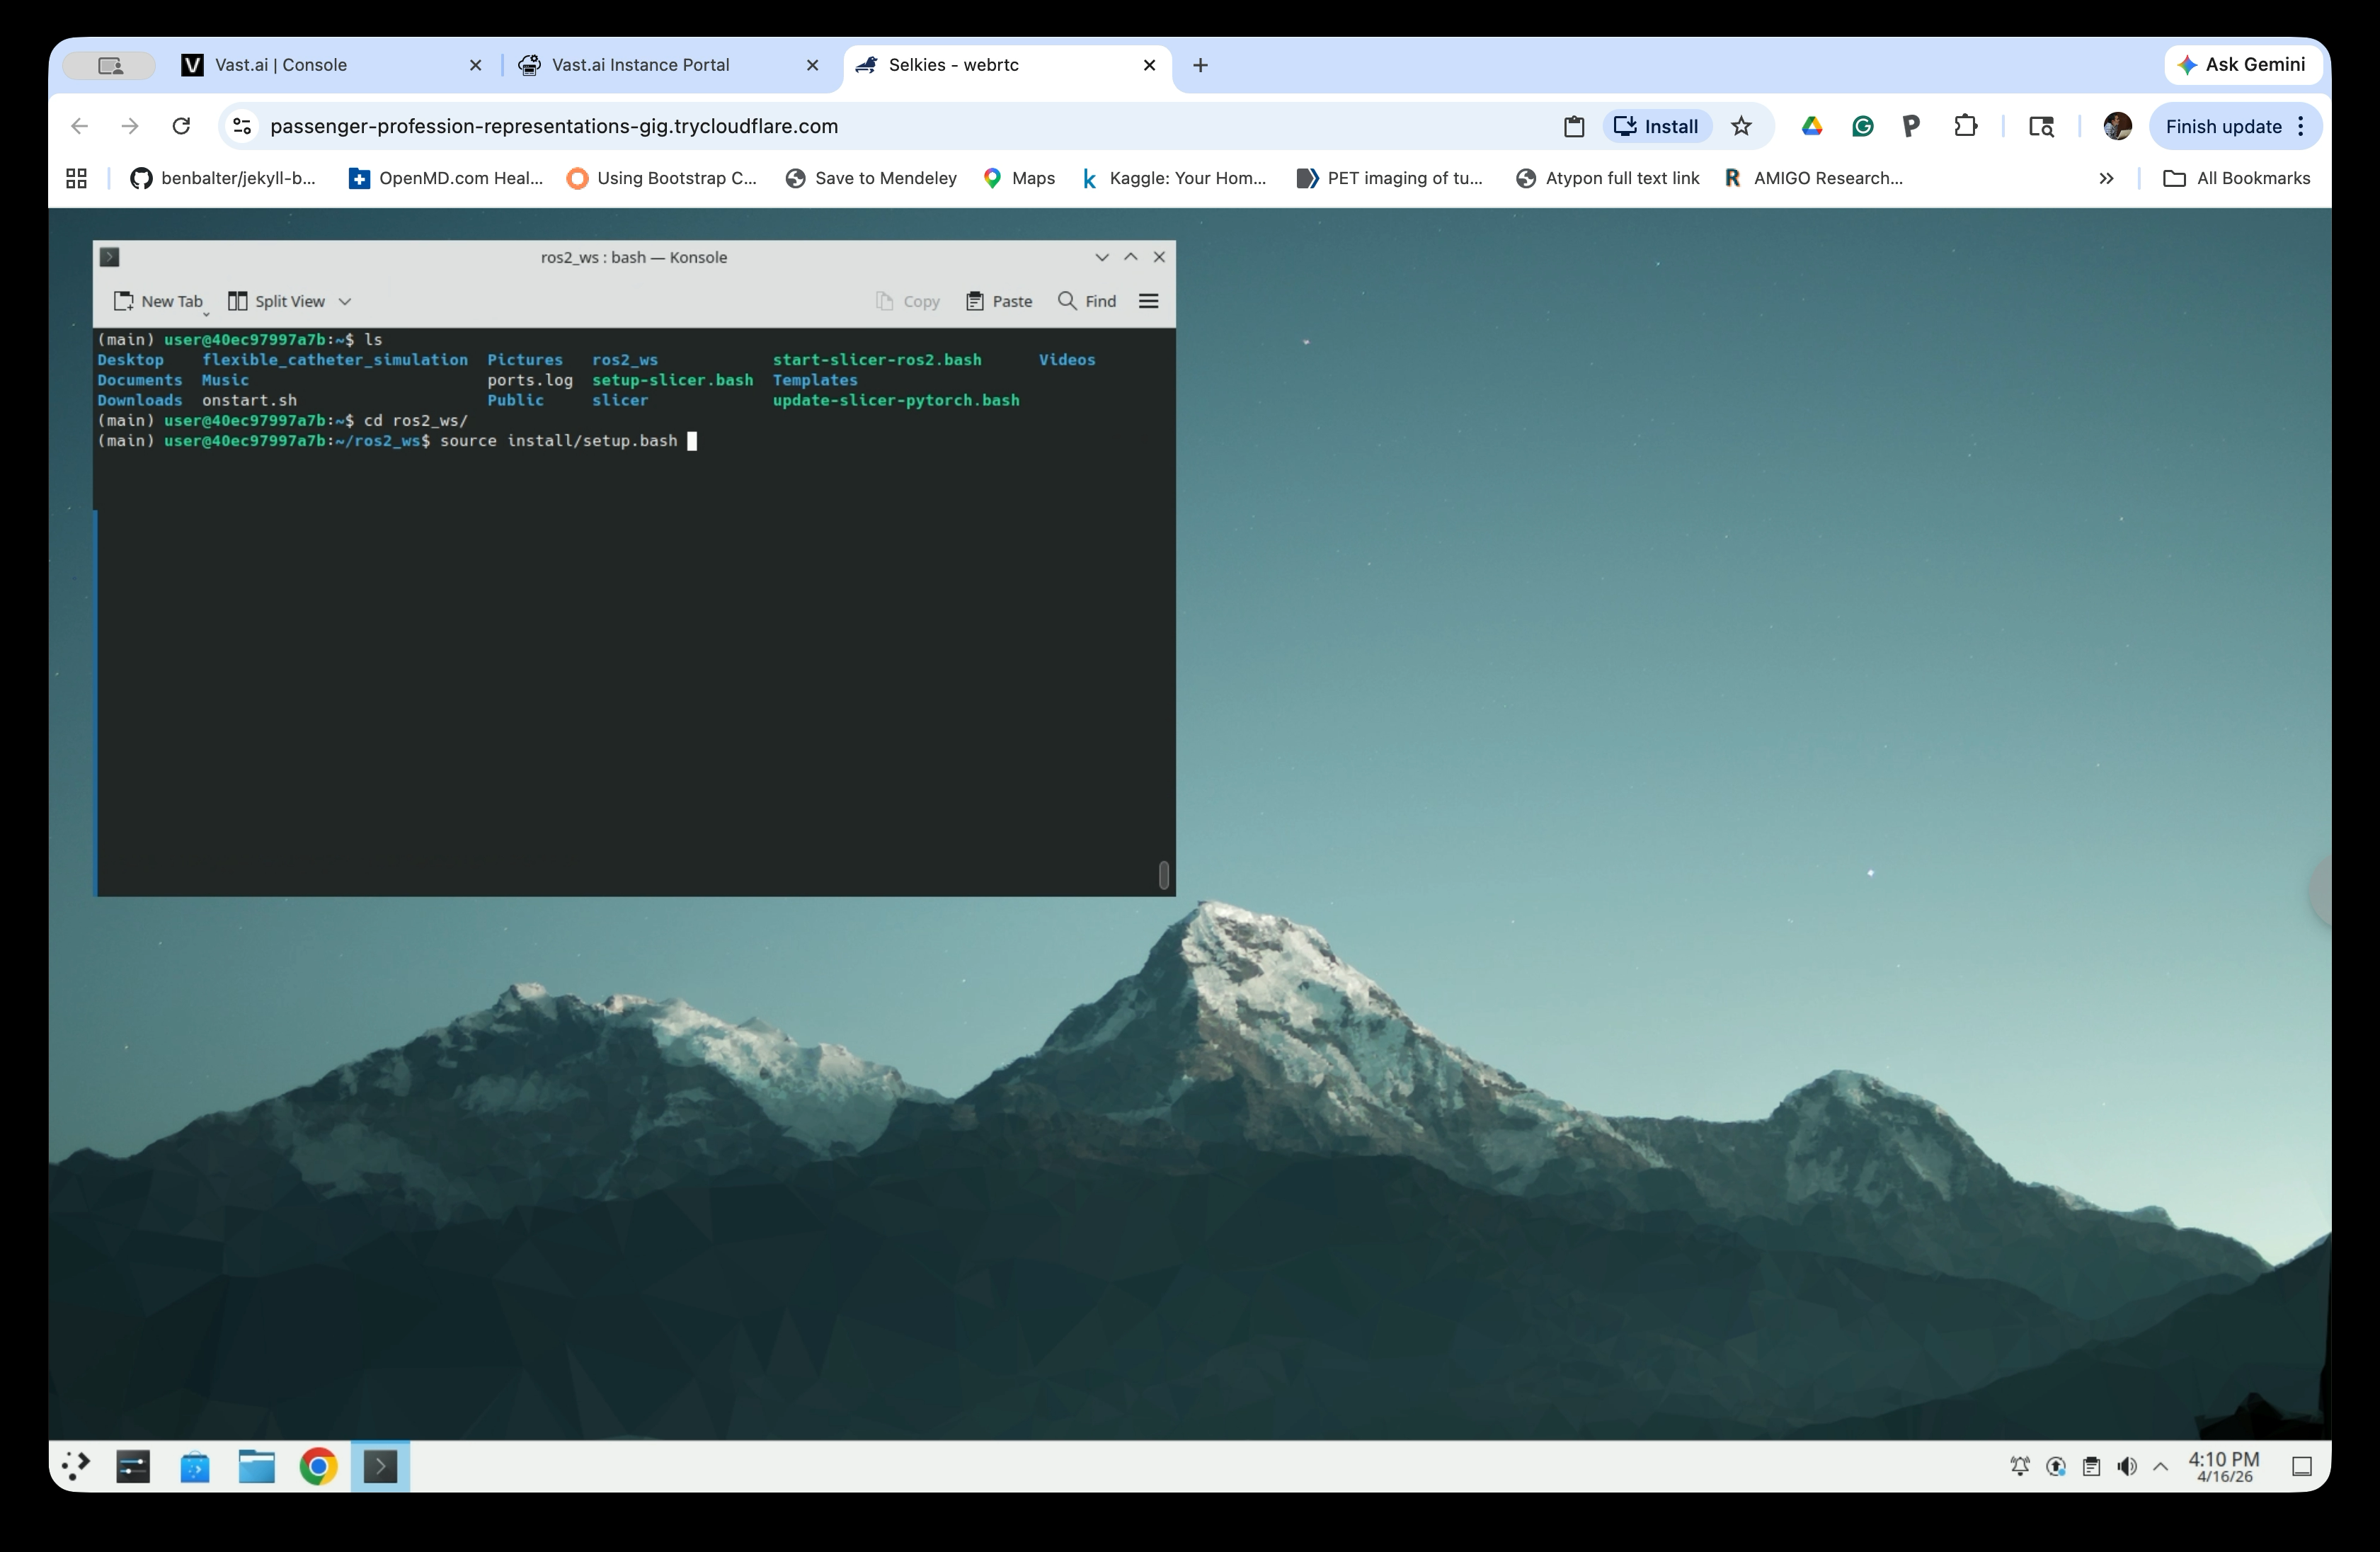
Navigate to the ROS2 workspace and source the setup file:
cd ros2_ws
source install/setup.bash
Step 3: Install Required Python Packages and Generate the Catheter Model
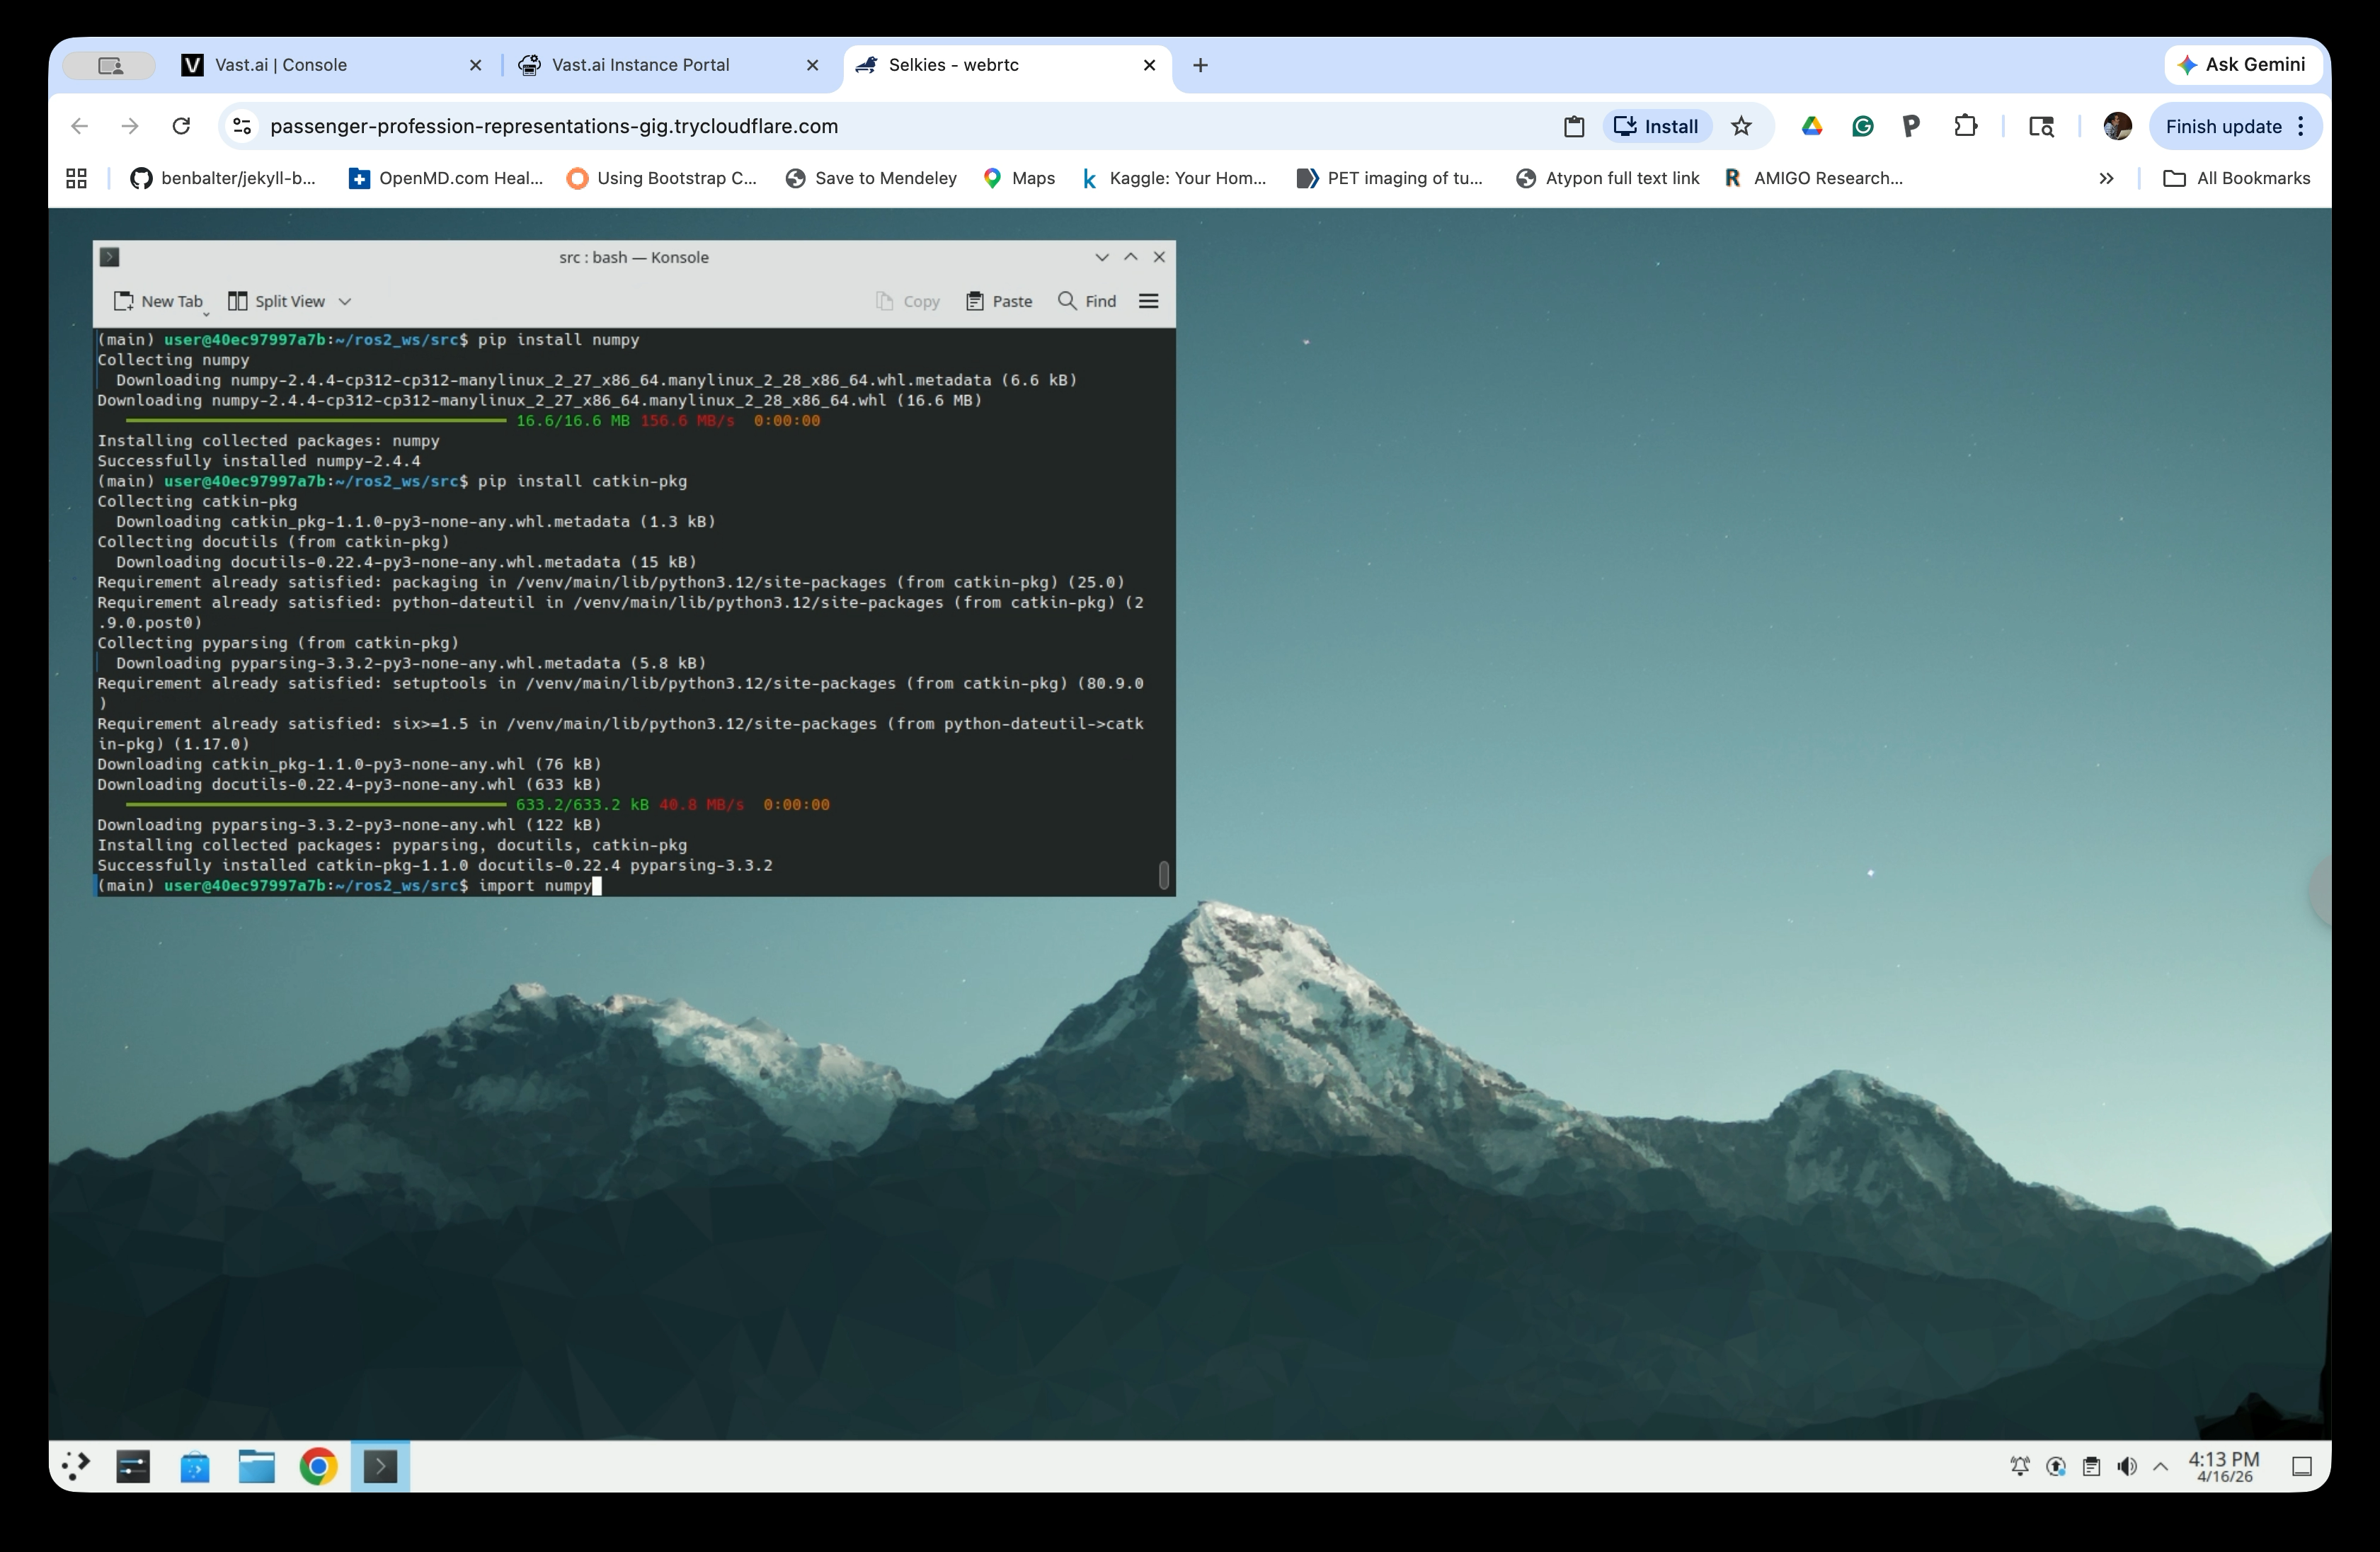
Install the required Python dependencies:
pip install numpy
pip install catkin-pkg
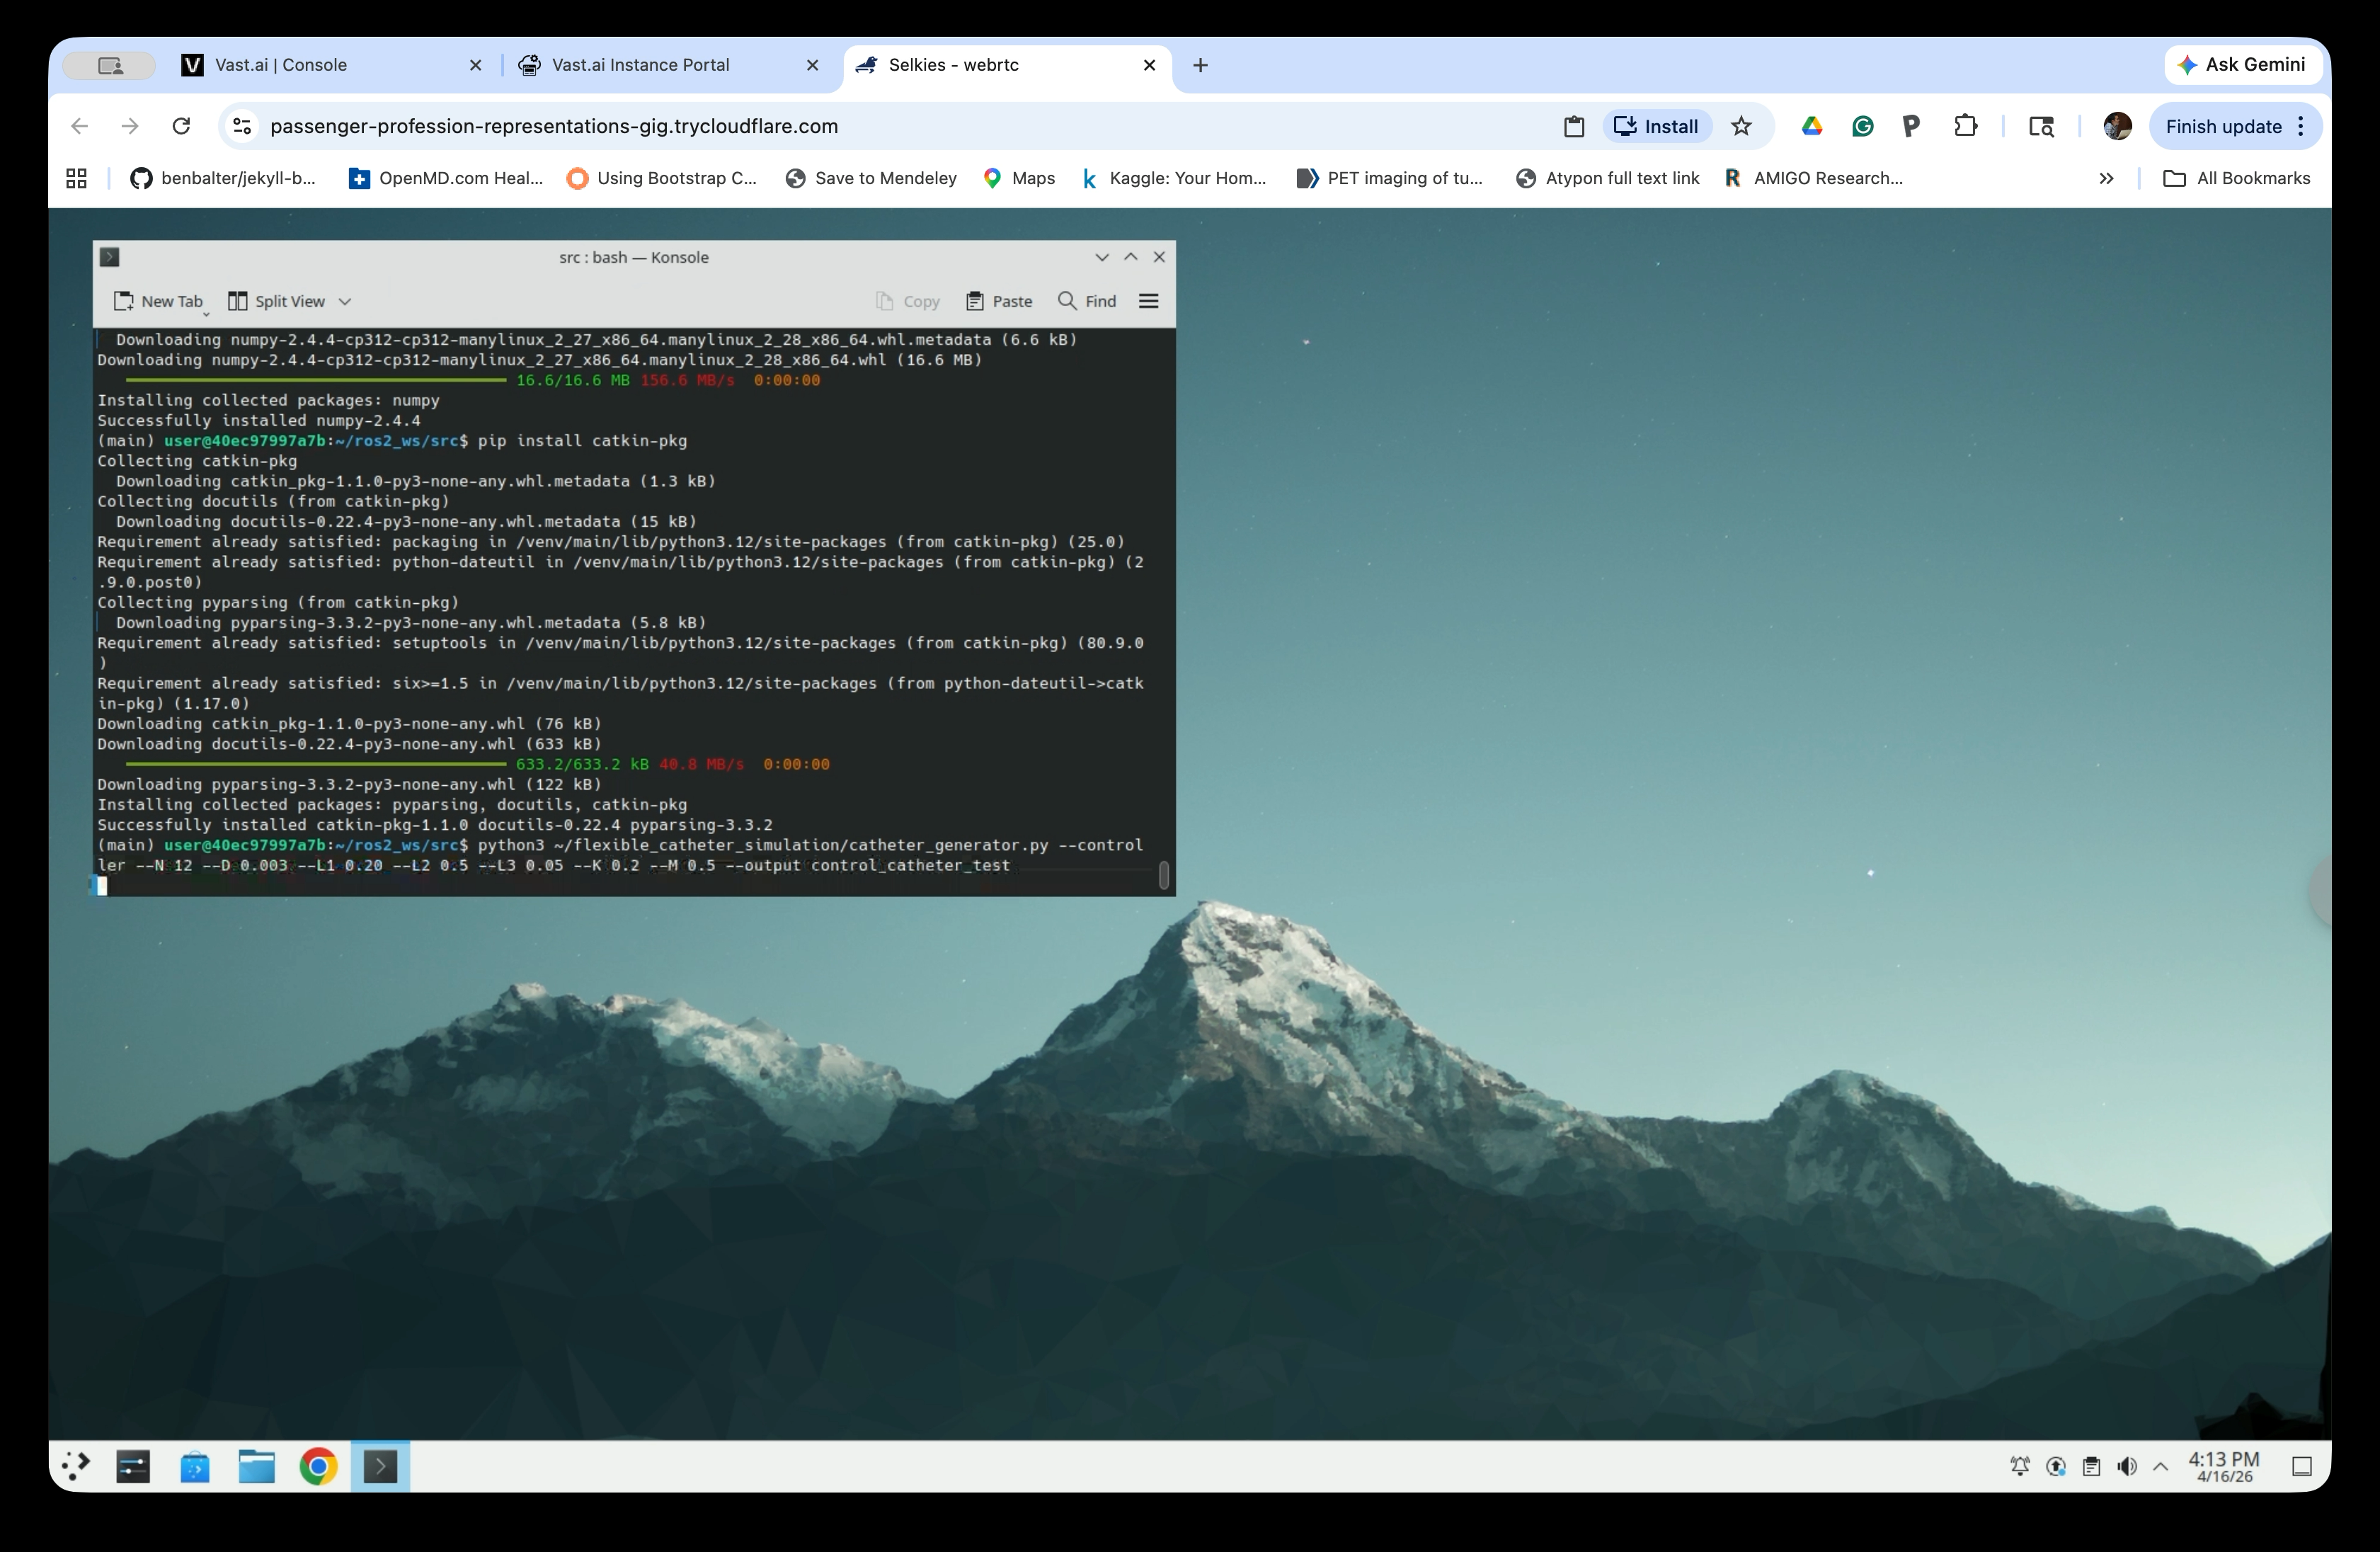
Run the catheter generator script to create the ROS2 package:
cd src  # Move to the home directory
python3 ~/flexible_catheter_simulation/catheter_generator.py \
    --controller \
    --N 12 --D 0.003 --L1 0.20 --L2 0.5 --L3 0.05 --K 0.2 --M 0.5 \
    --output control_catheter_test
The key parameters are:
--N: Number of segments--D: Segment diameter (m)--L1: Base link length (m)--L2: Bending section total lengths (m)--L3: Tip link length (m)--K: Joint spring stiffness (Nm/rad)--M: Total catheter mass (Kg)--Kd: Joint damping coefficient--Kf: Joint friction coefficient
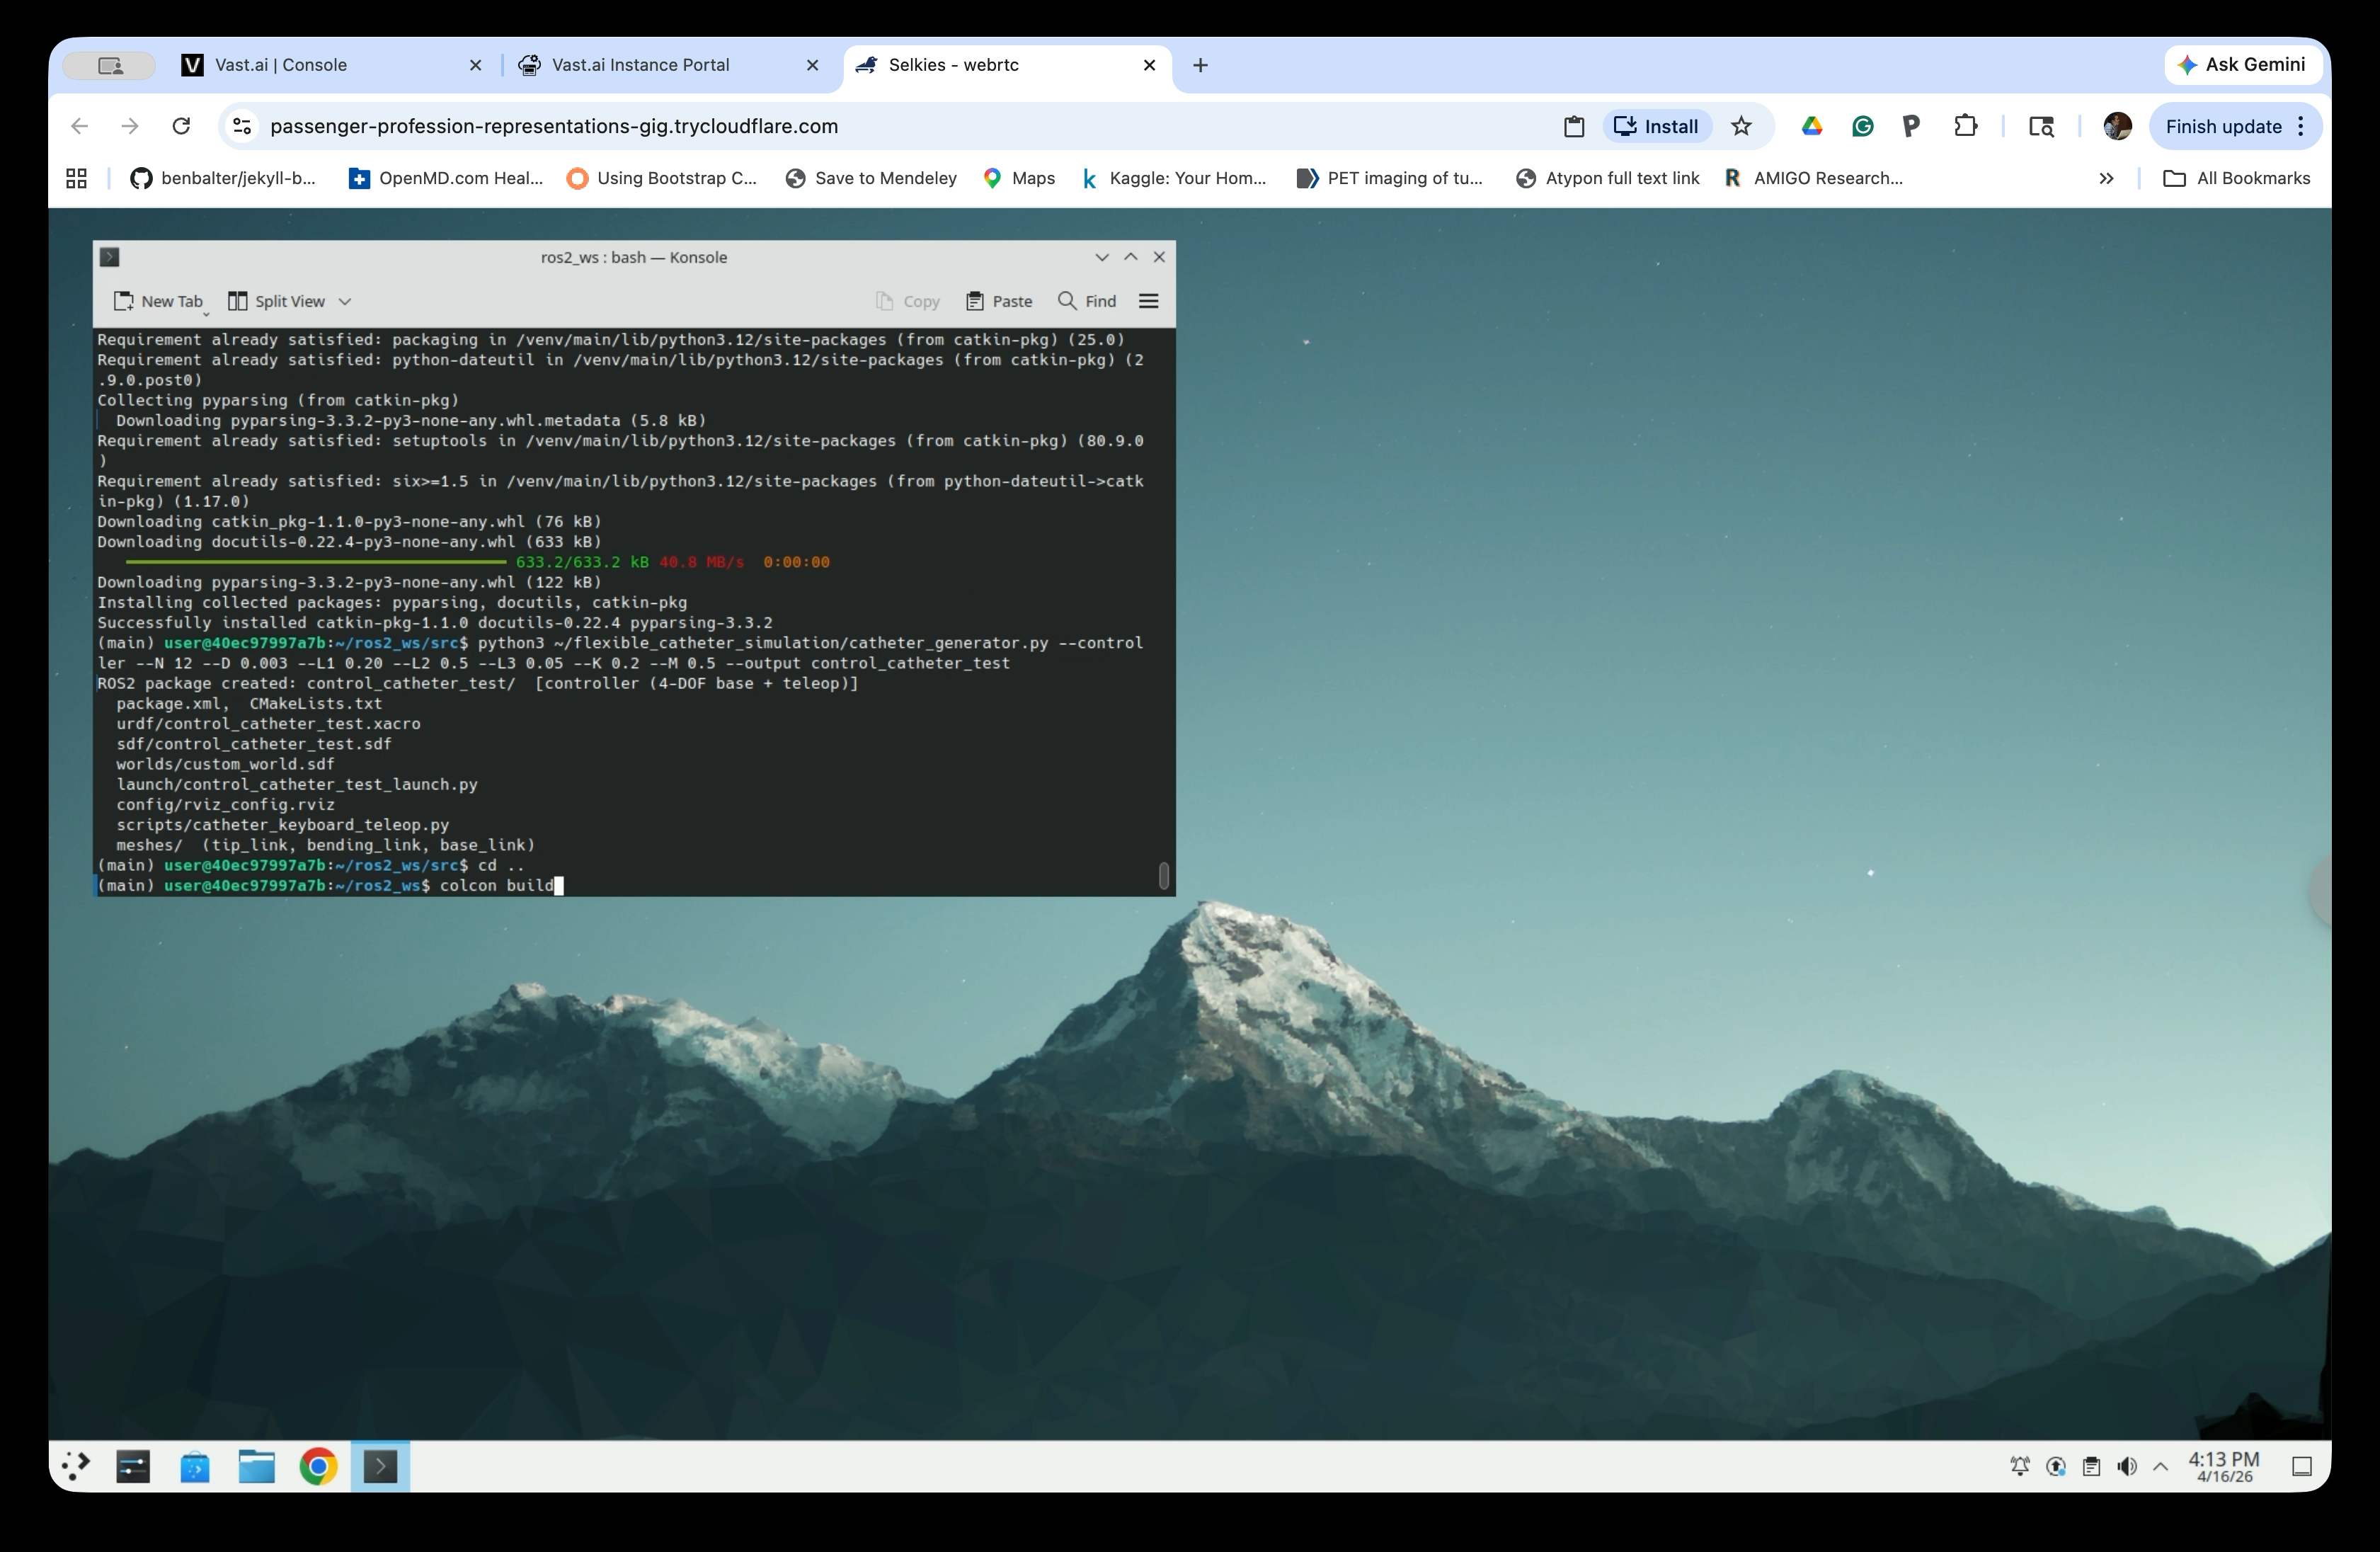
The script generates a complete ROS2 package named control_catheter_test containing the URDF, launch files, world file, and teleop script.
Part 2: Build the ROS2 Workspace and Launch the Simulation
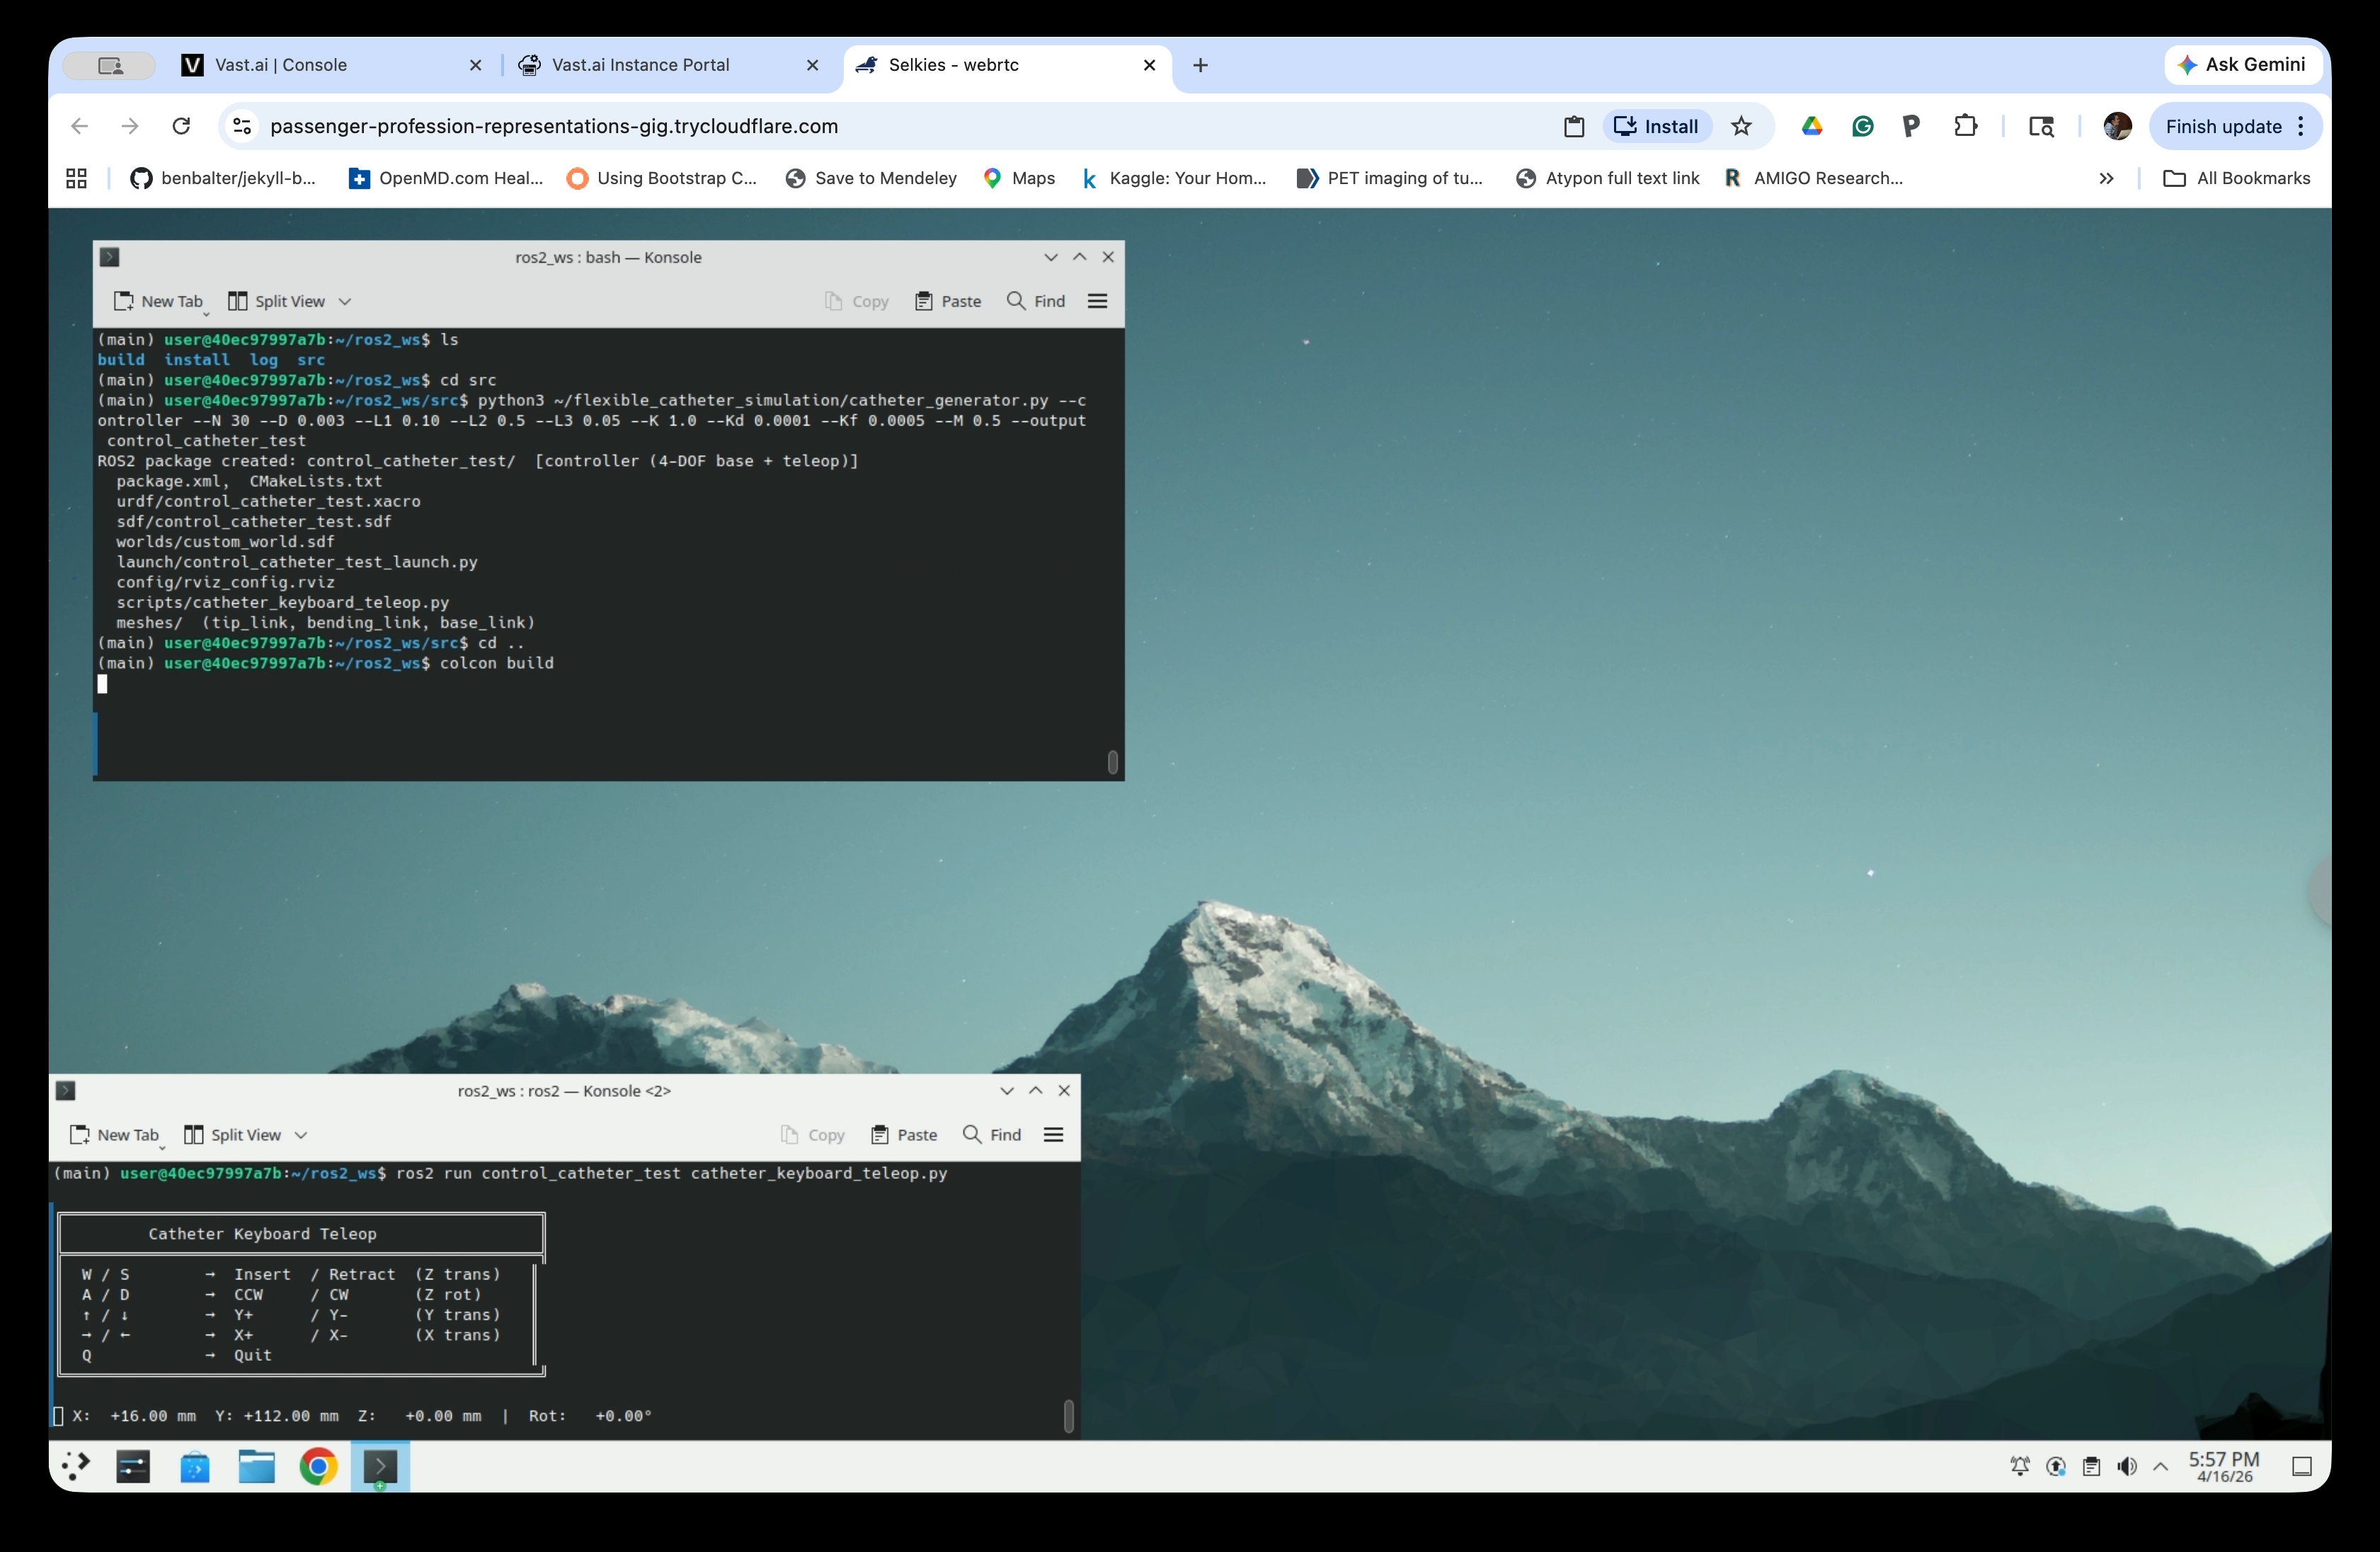
Step 4: Build with colcon
From the ros2_ws directory, build the workspace:
cd .. # Move to ~/ros2_ws
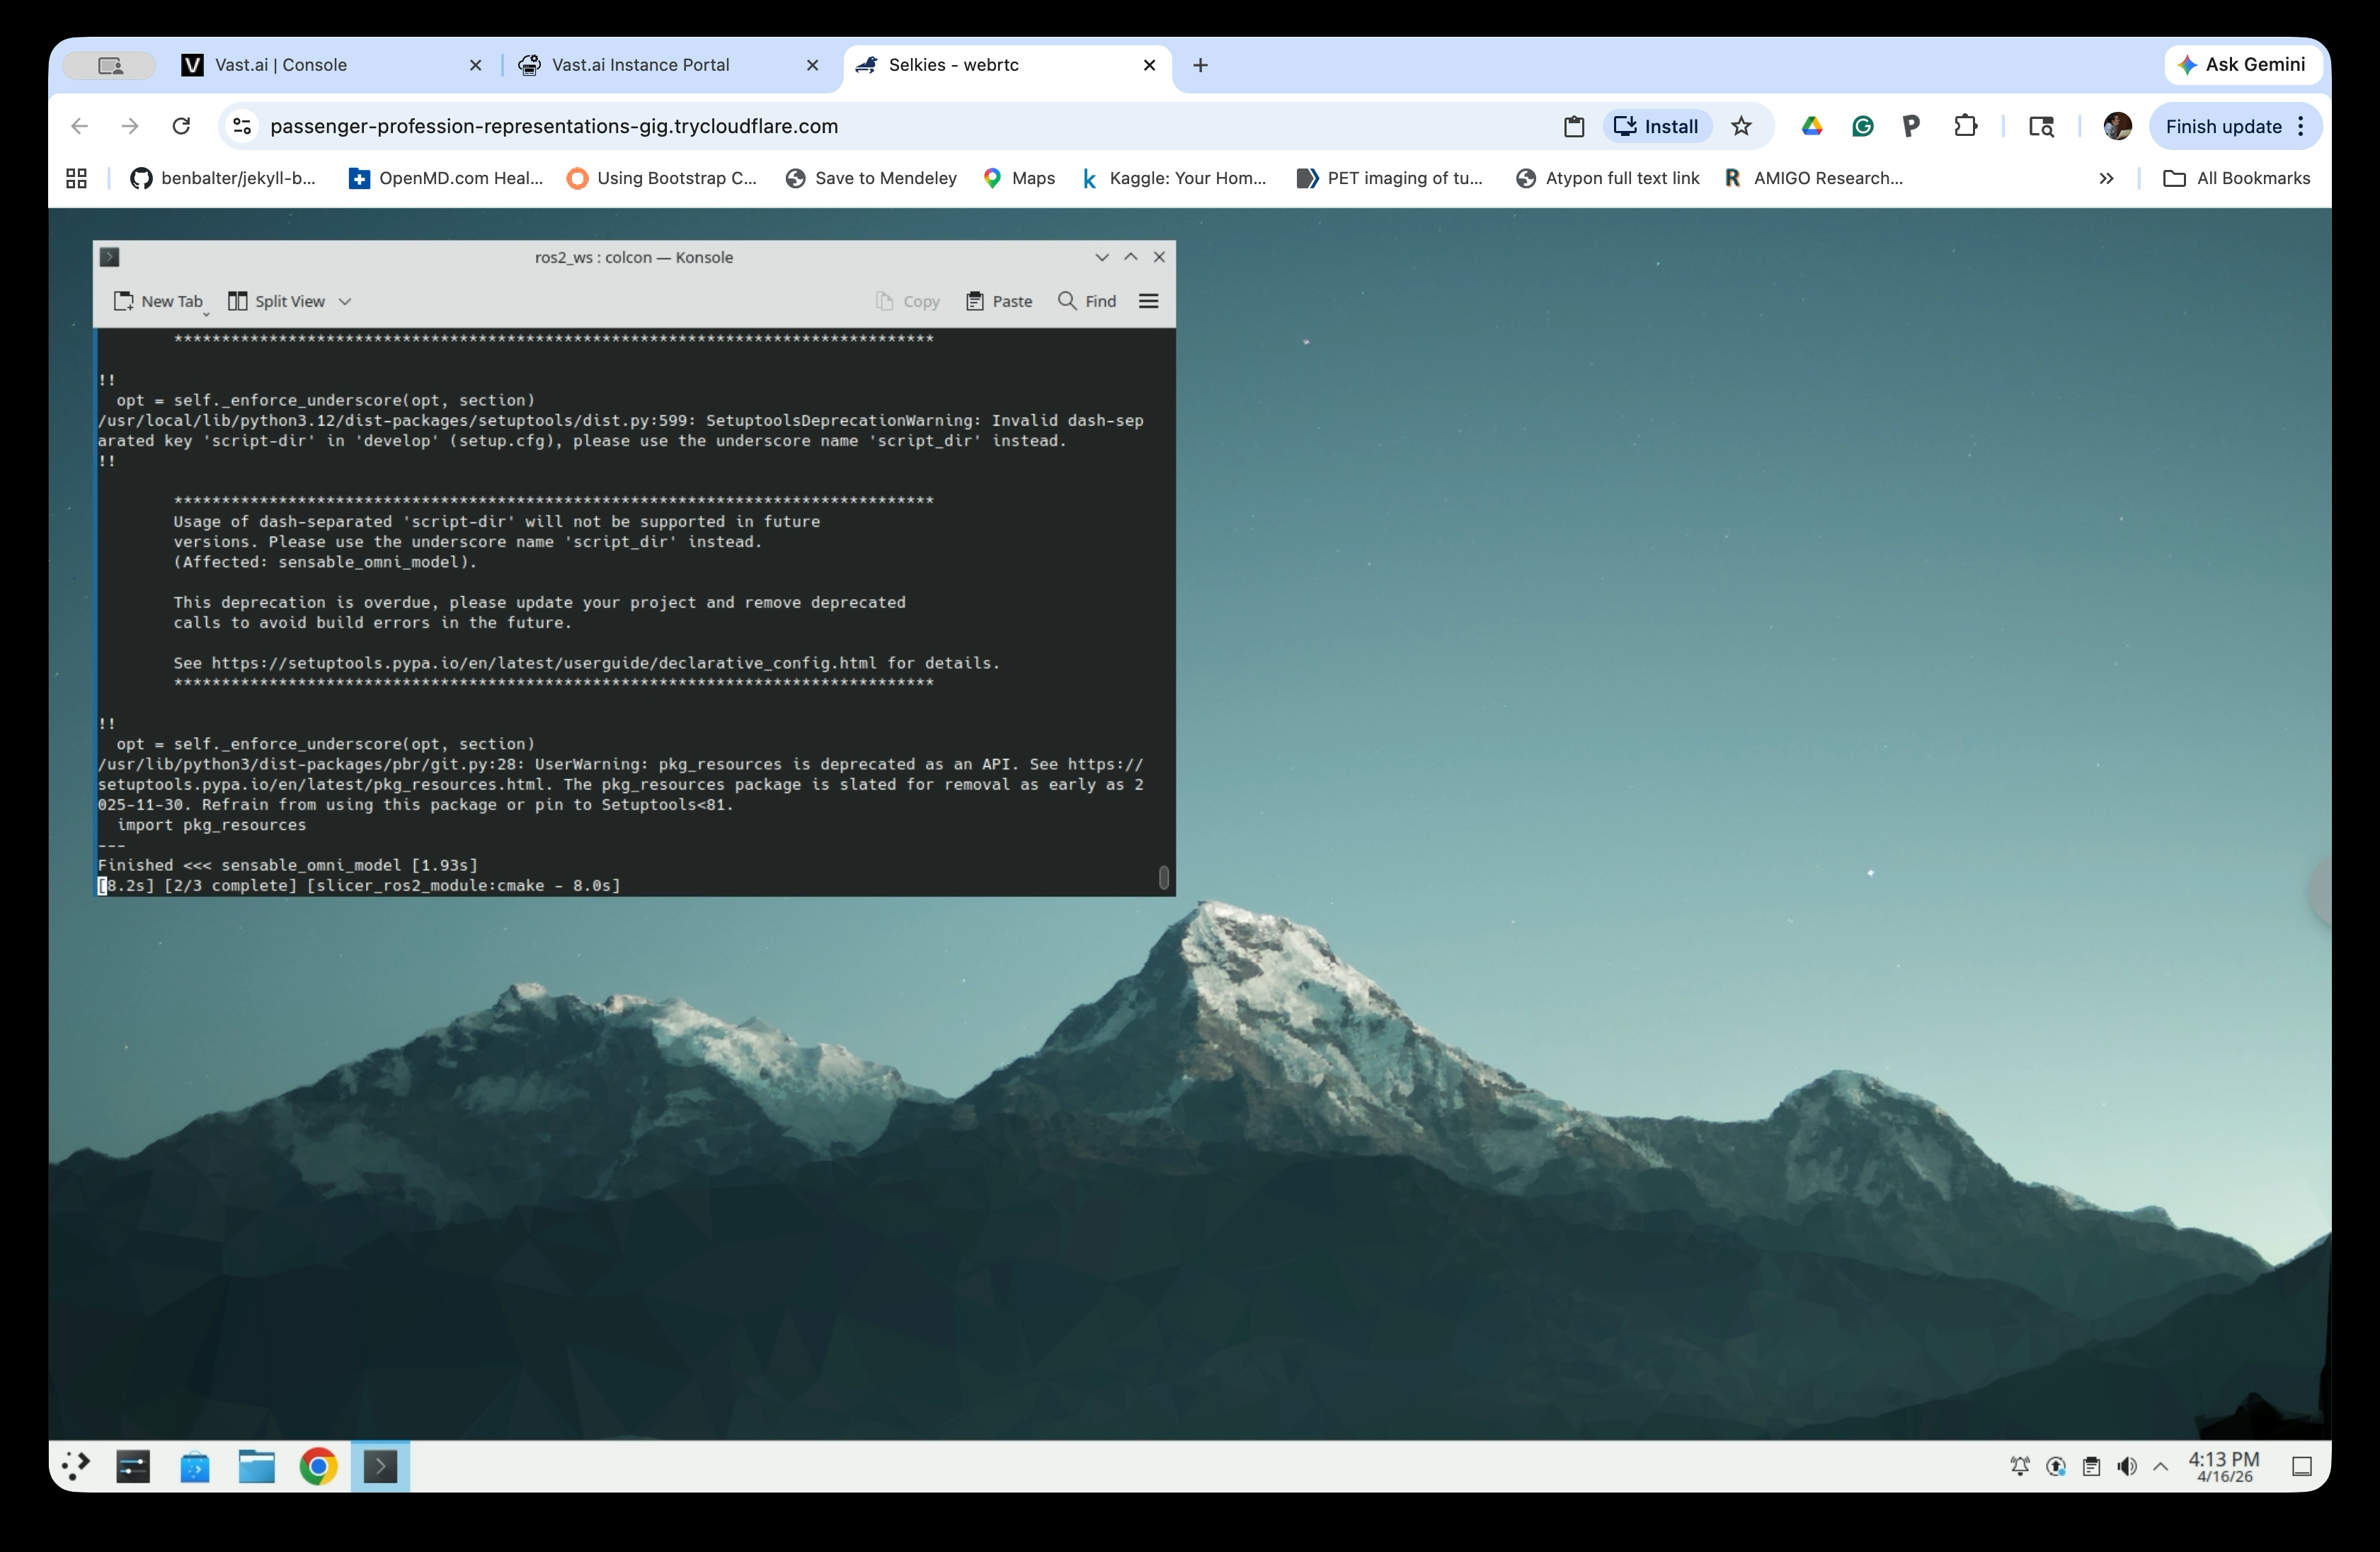
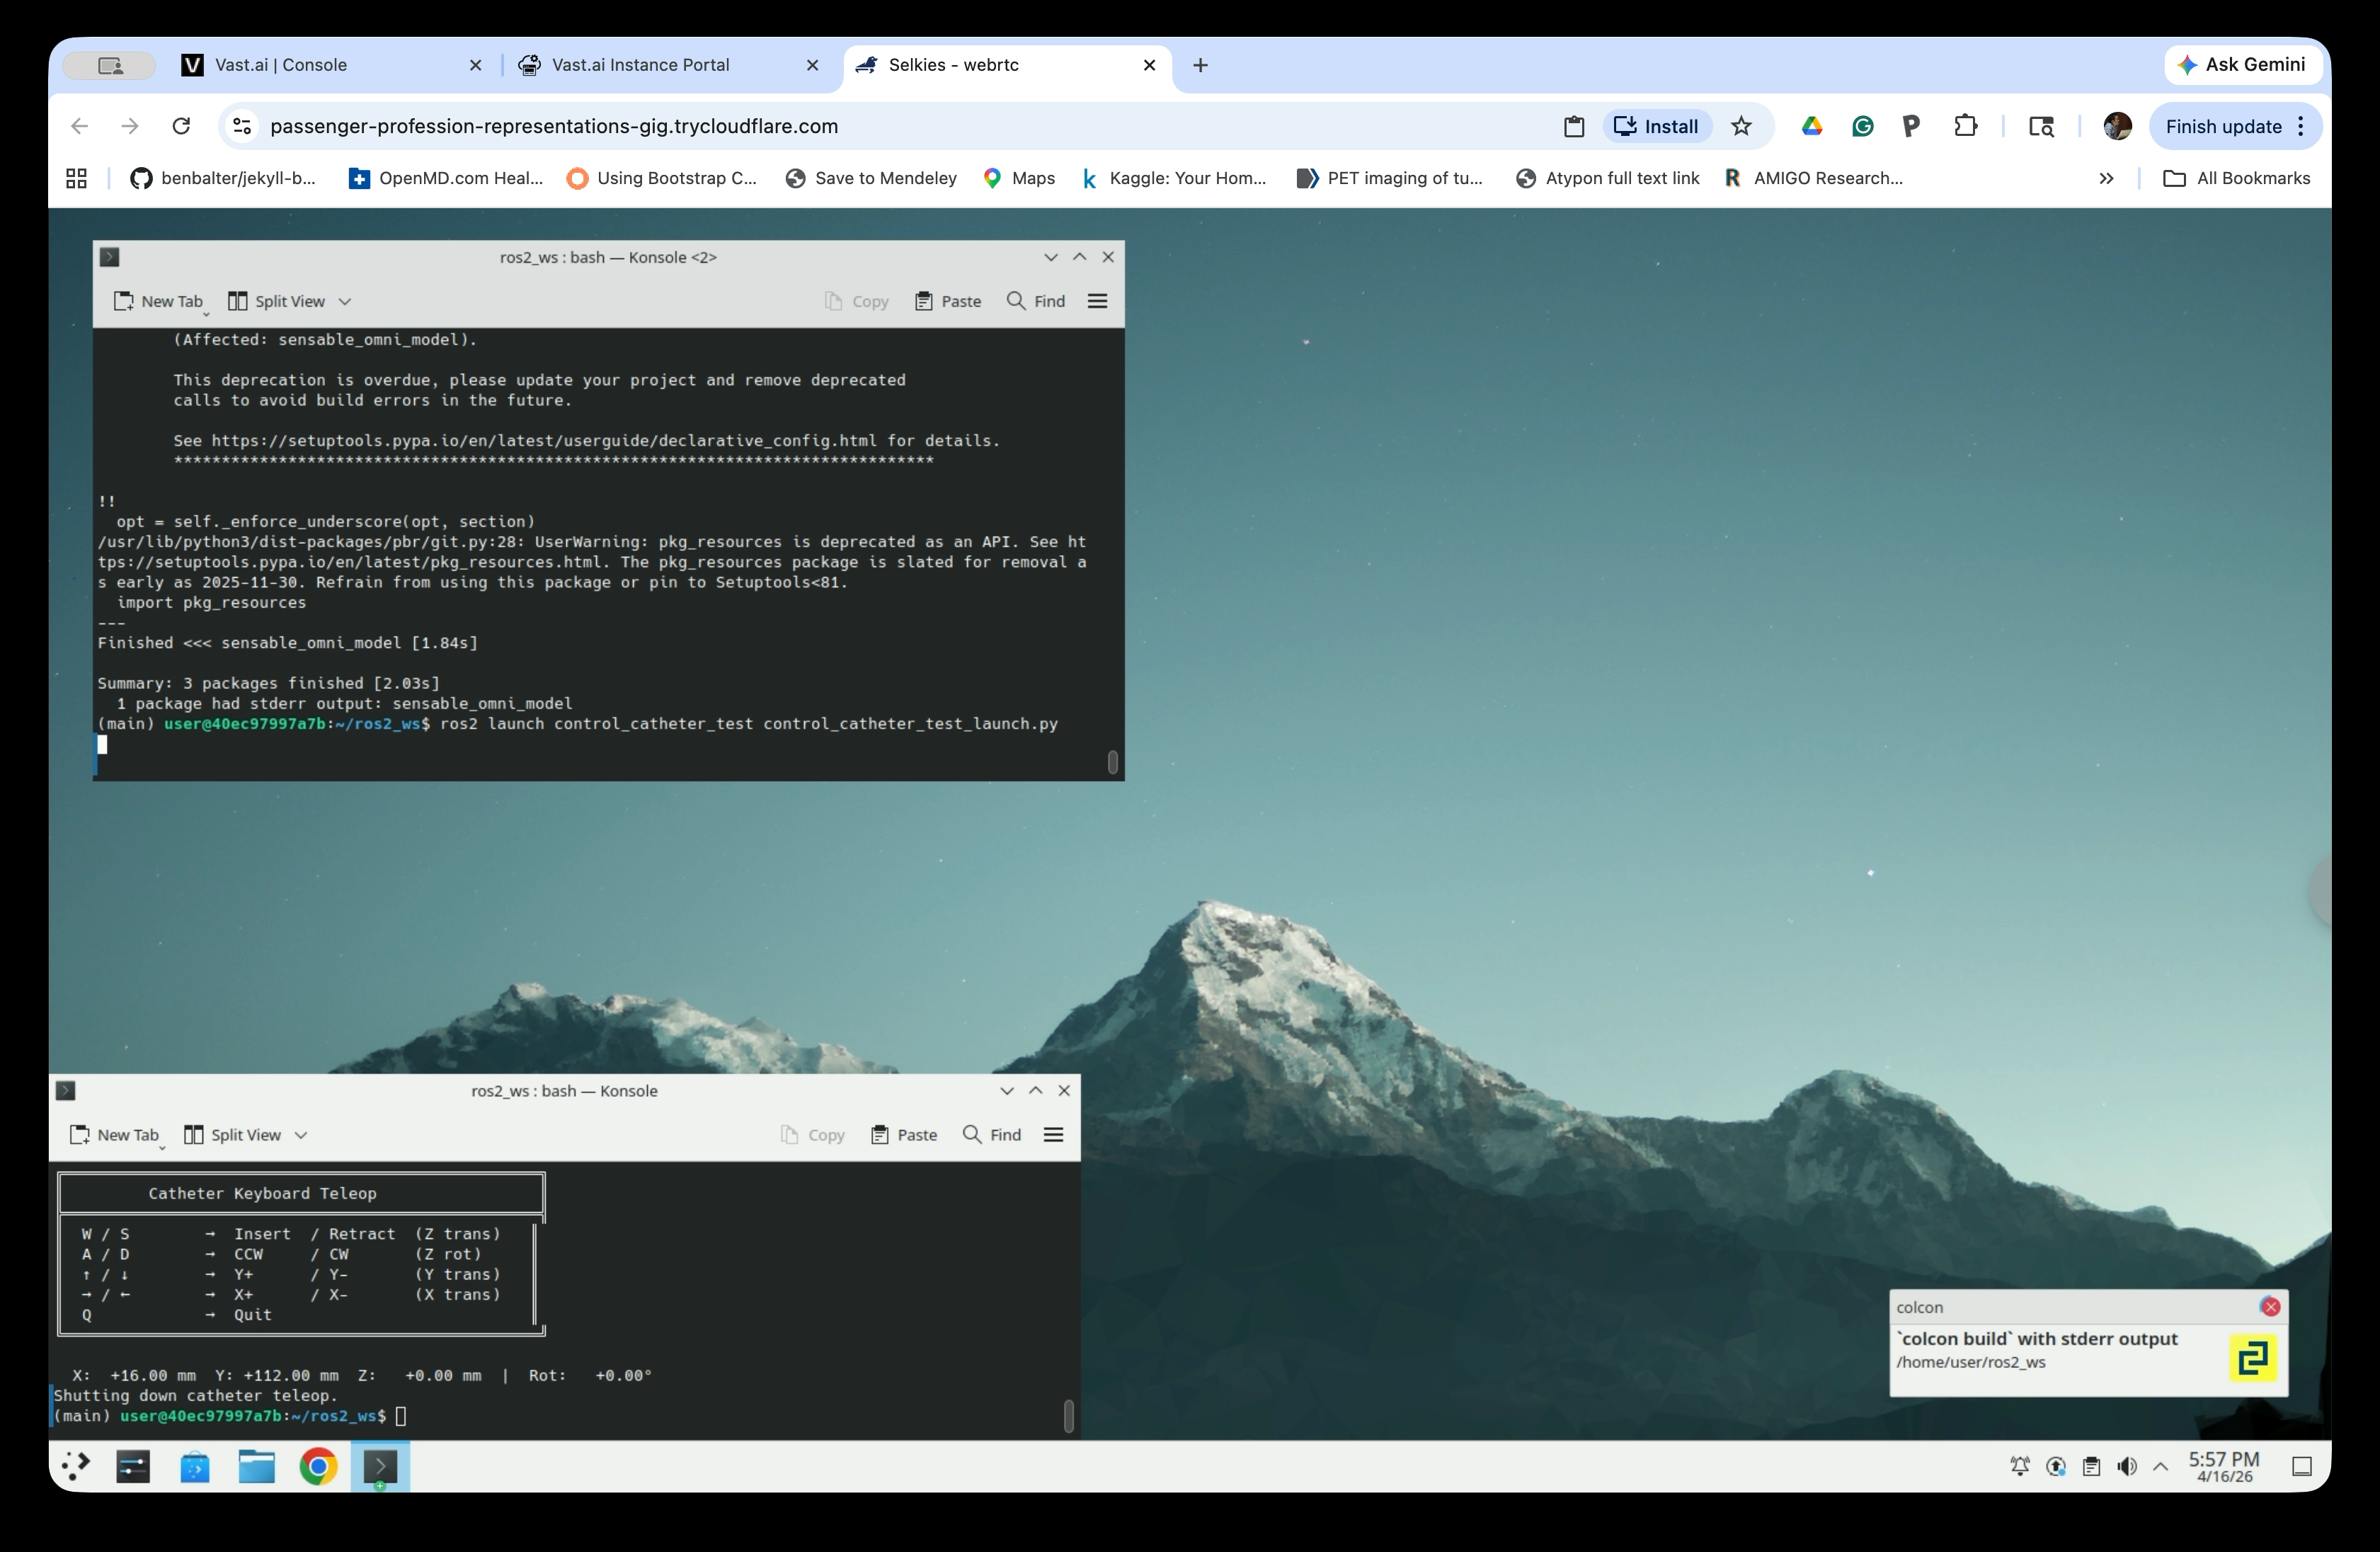
colcon build
The build may take several minutes. Some deprecation warnings are expected and can be ignored.
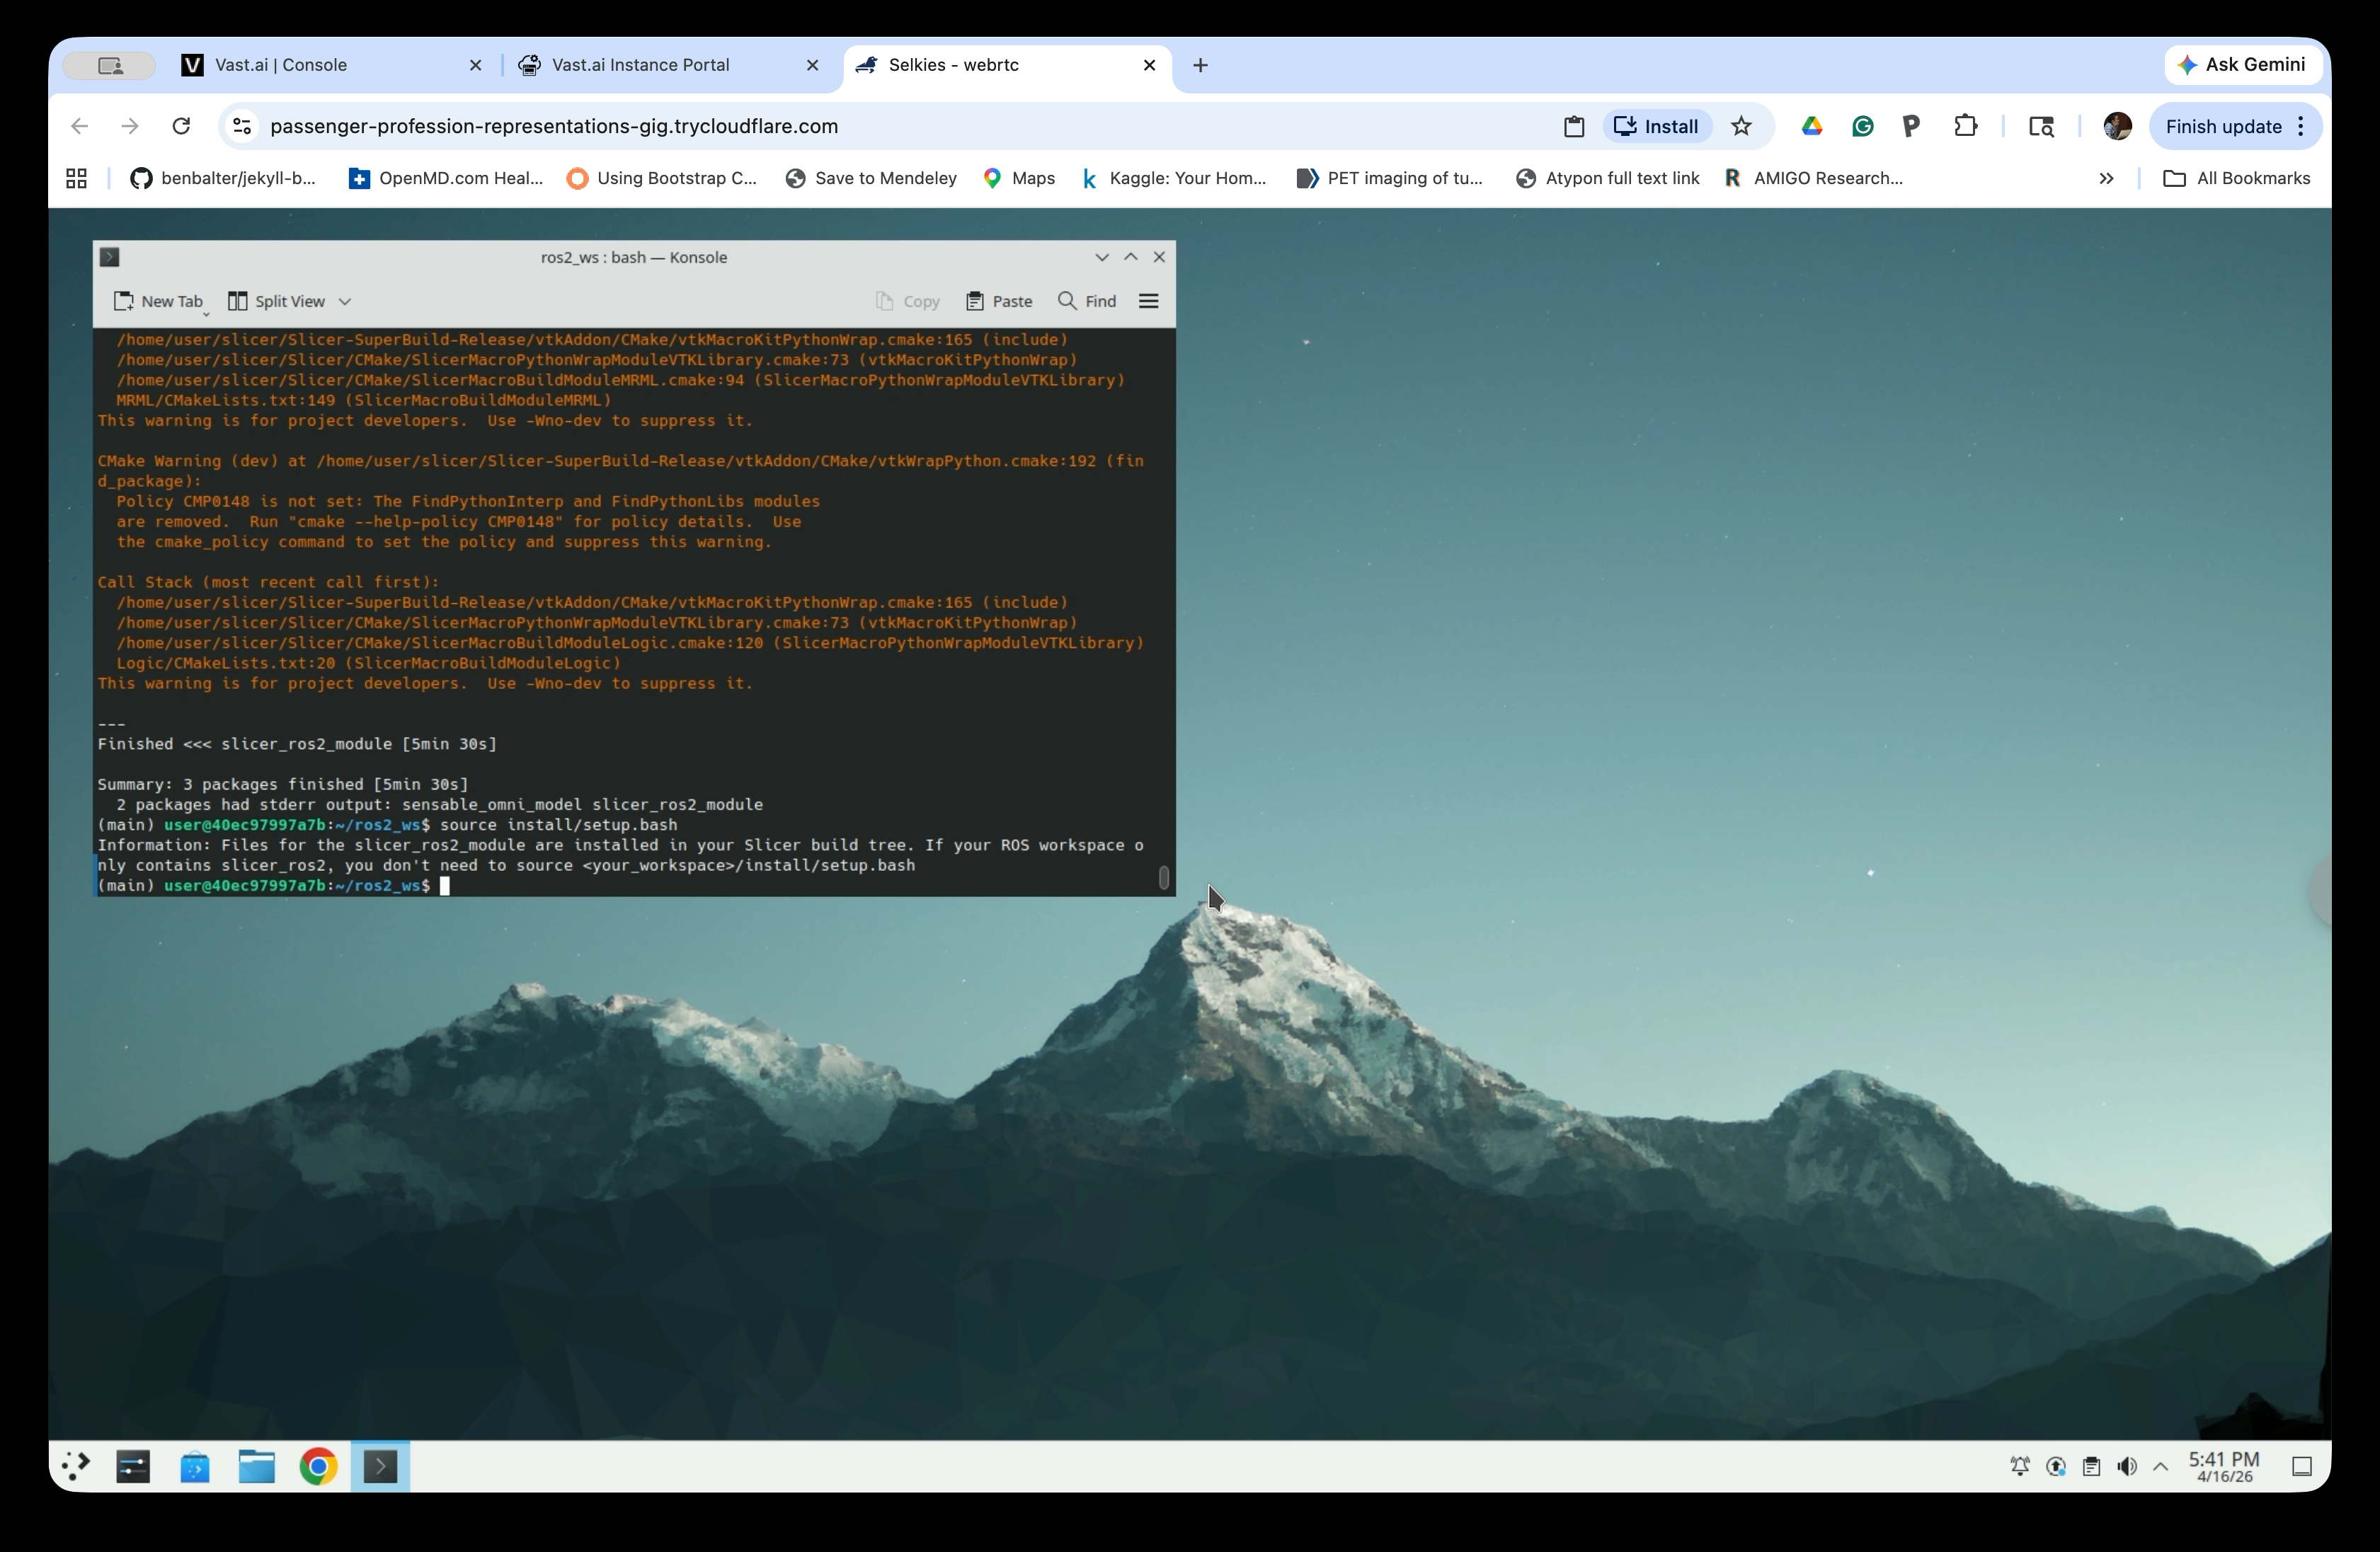
Wait for the build to complete. The summary should show 3 packages finished.
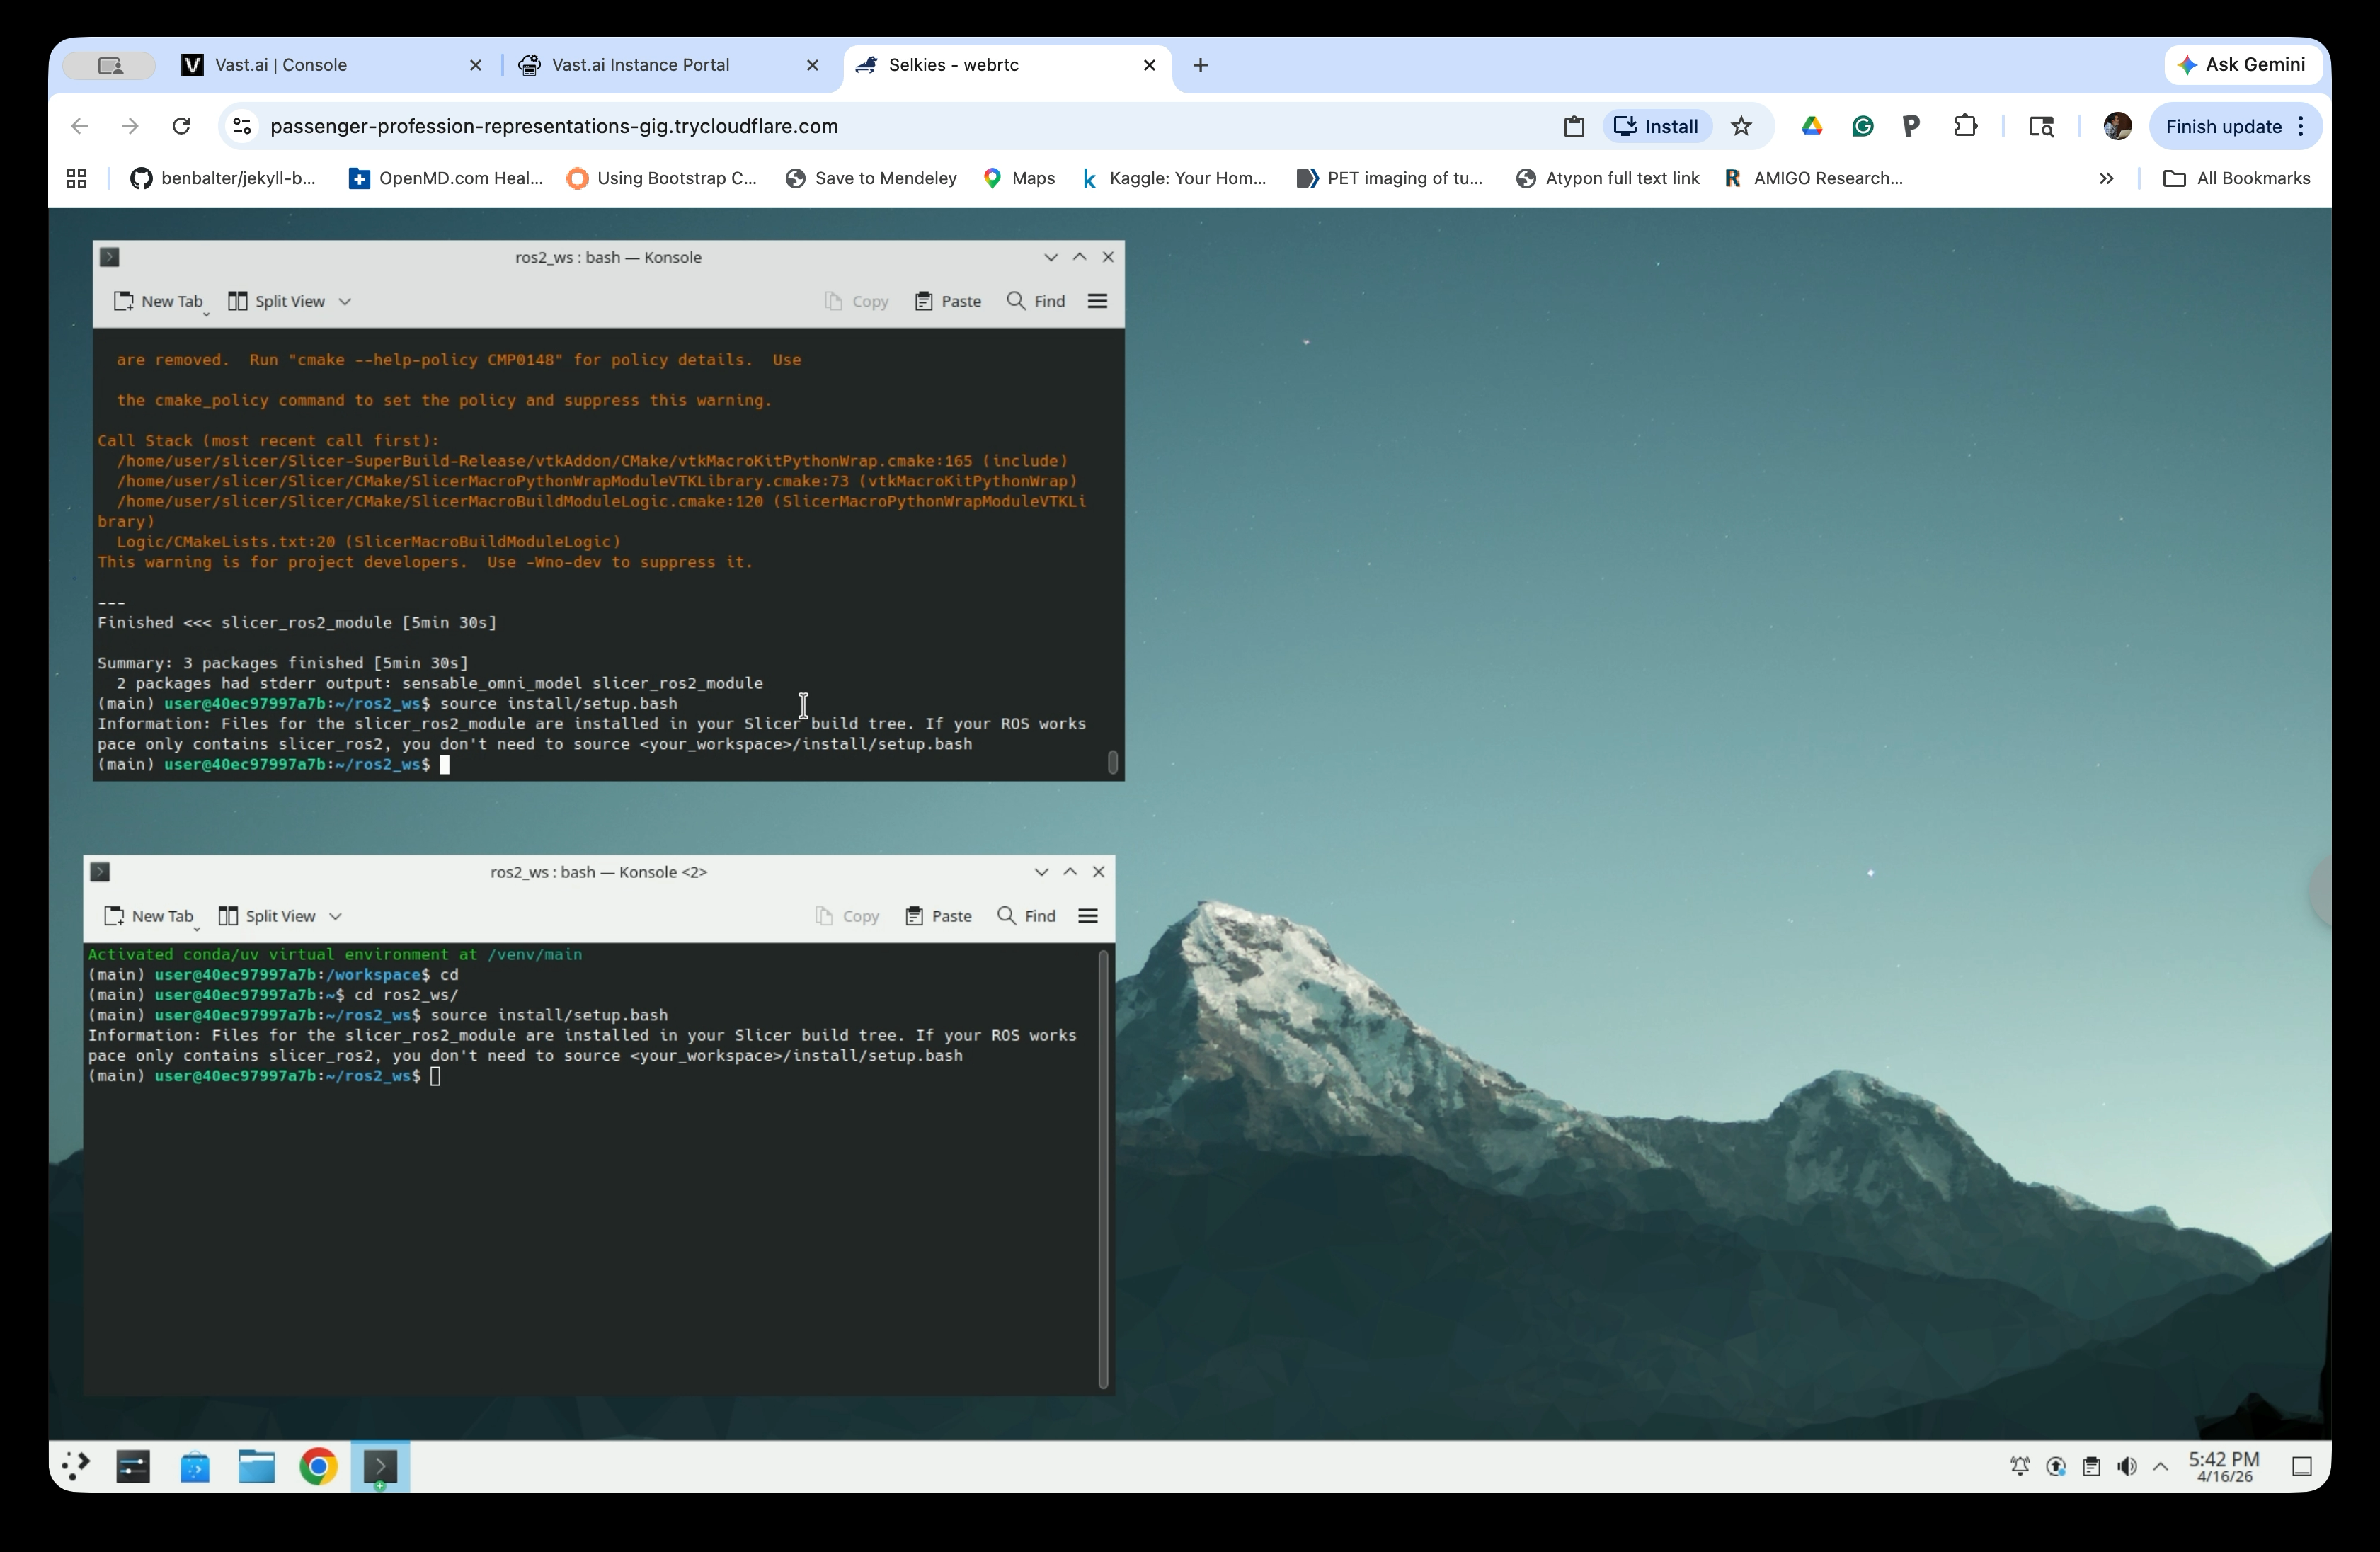
Step 5: Source the Updated Workspace
After building, source the workspace again to pick up the new package:
source install/setup.bash
Step 6: Open a Second Terminal and Source It
Open a new terminal tab (use New Tab in Konsole), navigate to the workspace, and source it:
cd ros2_ws # Move to ~/ros2_ws
source install/setup.bash
Keep both terminals open — the first will run the simulation, the second will run the teleop controller.
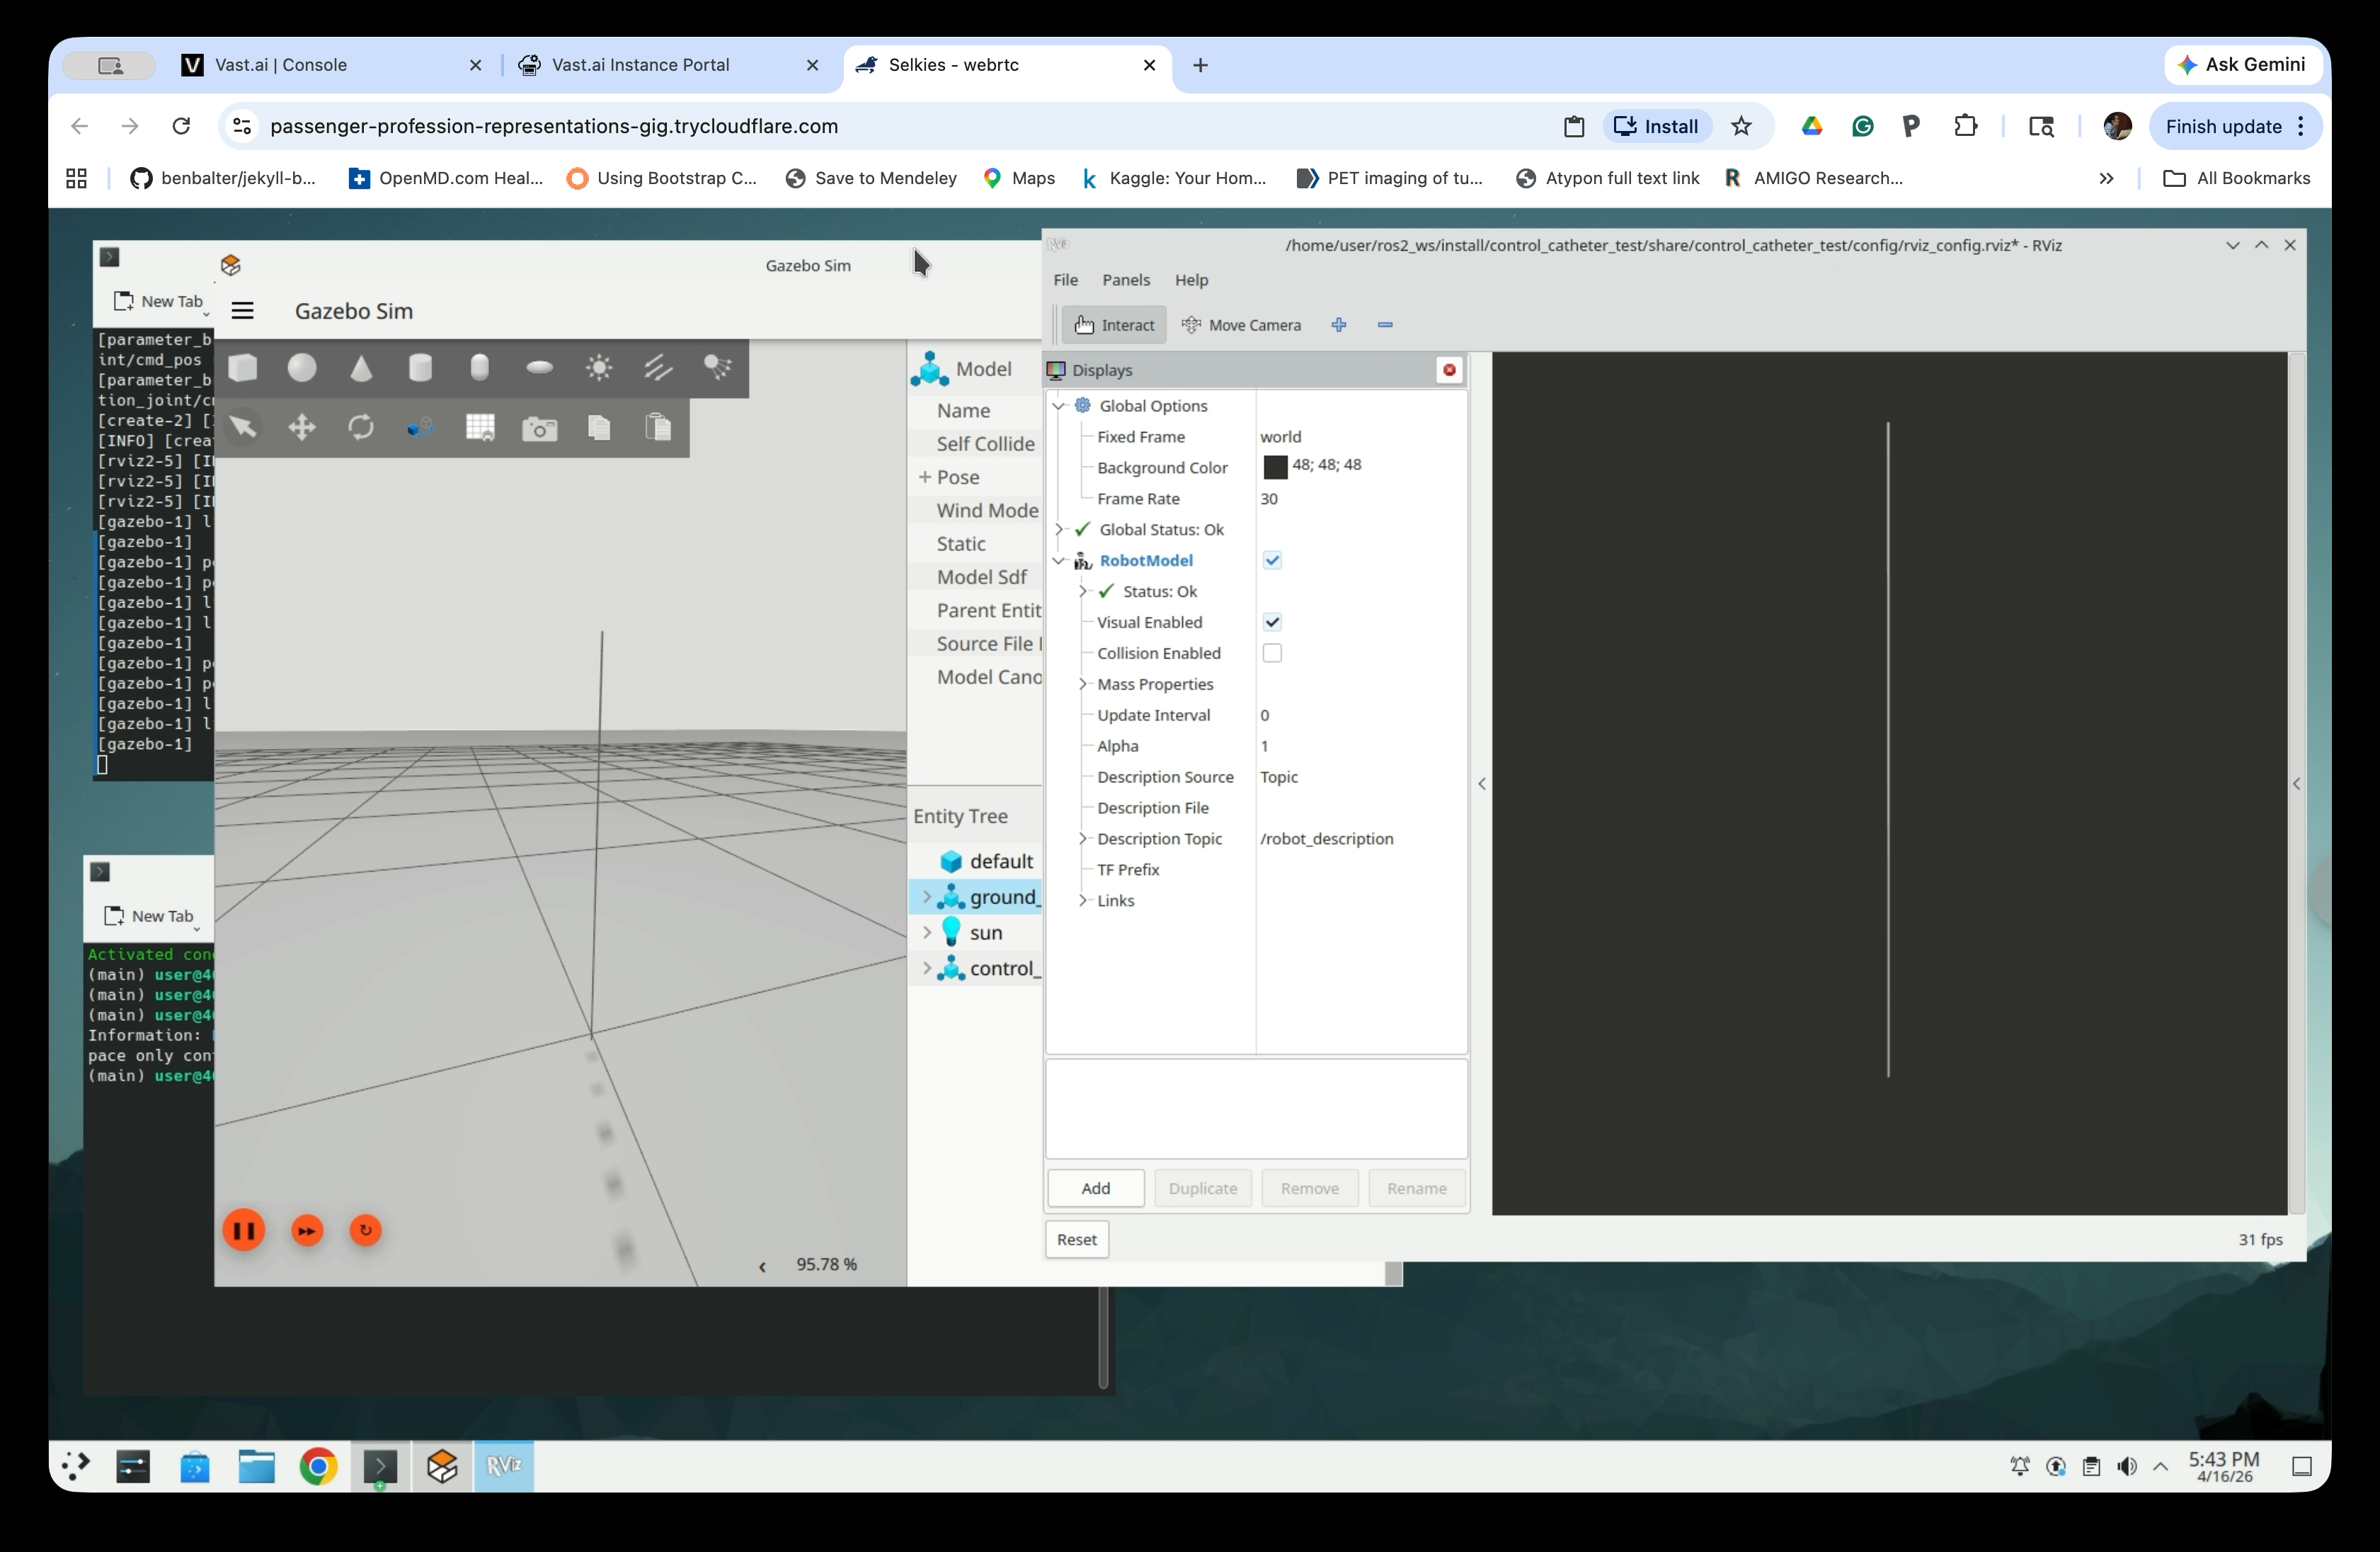
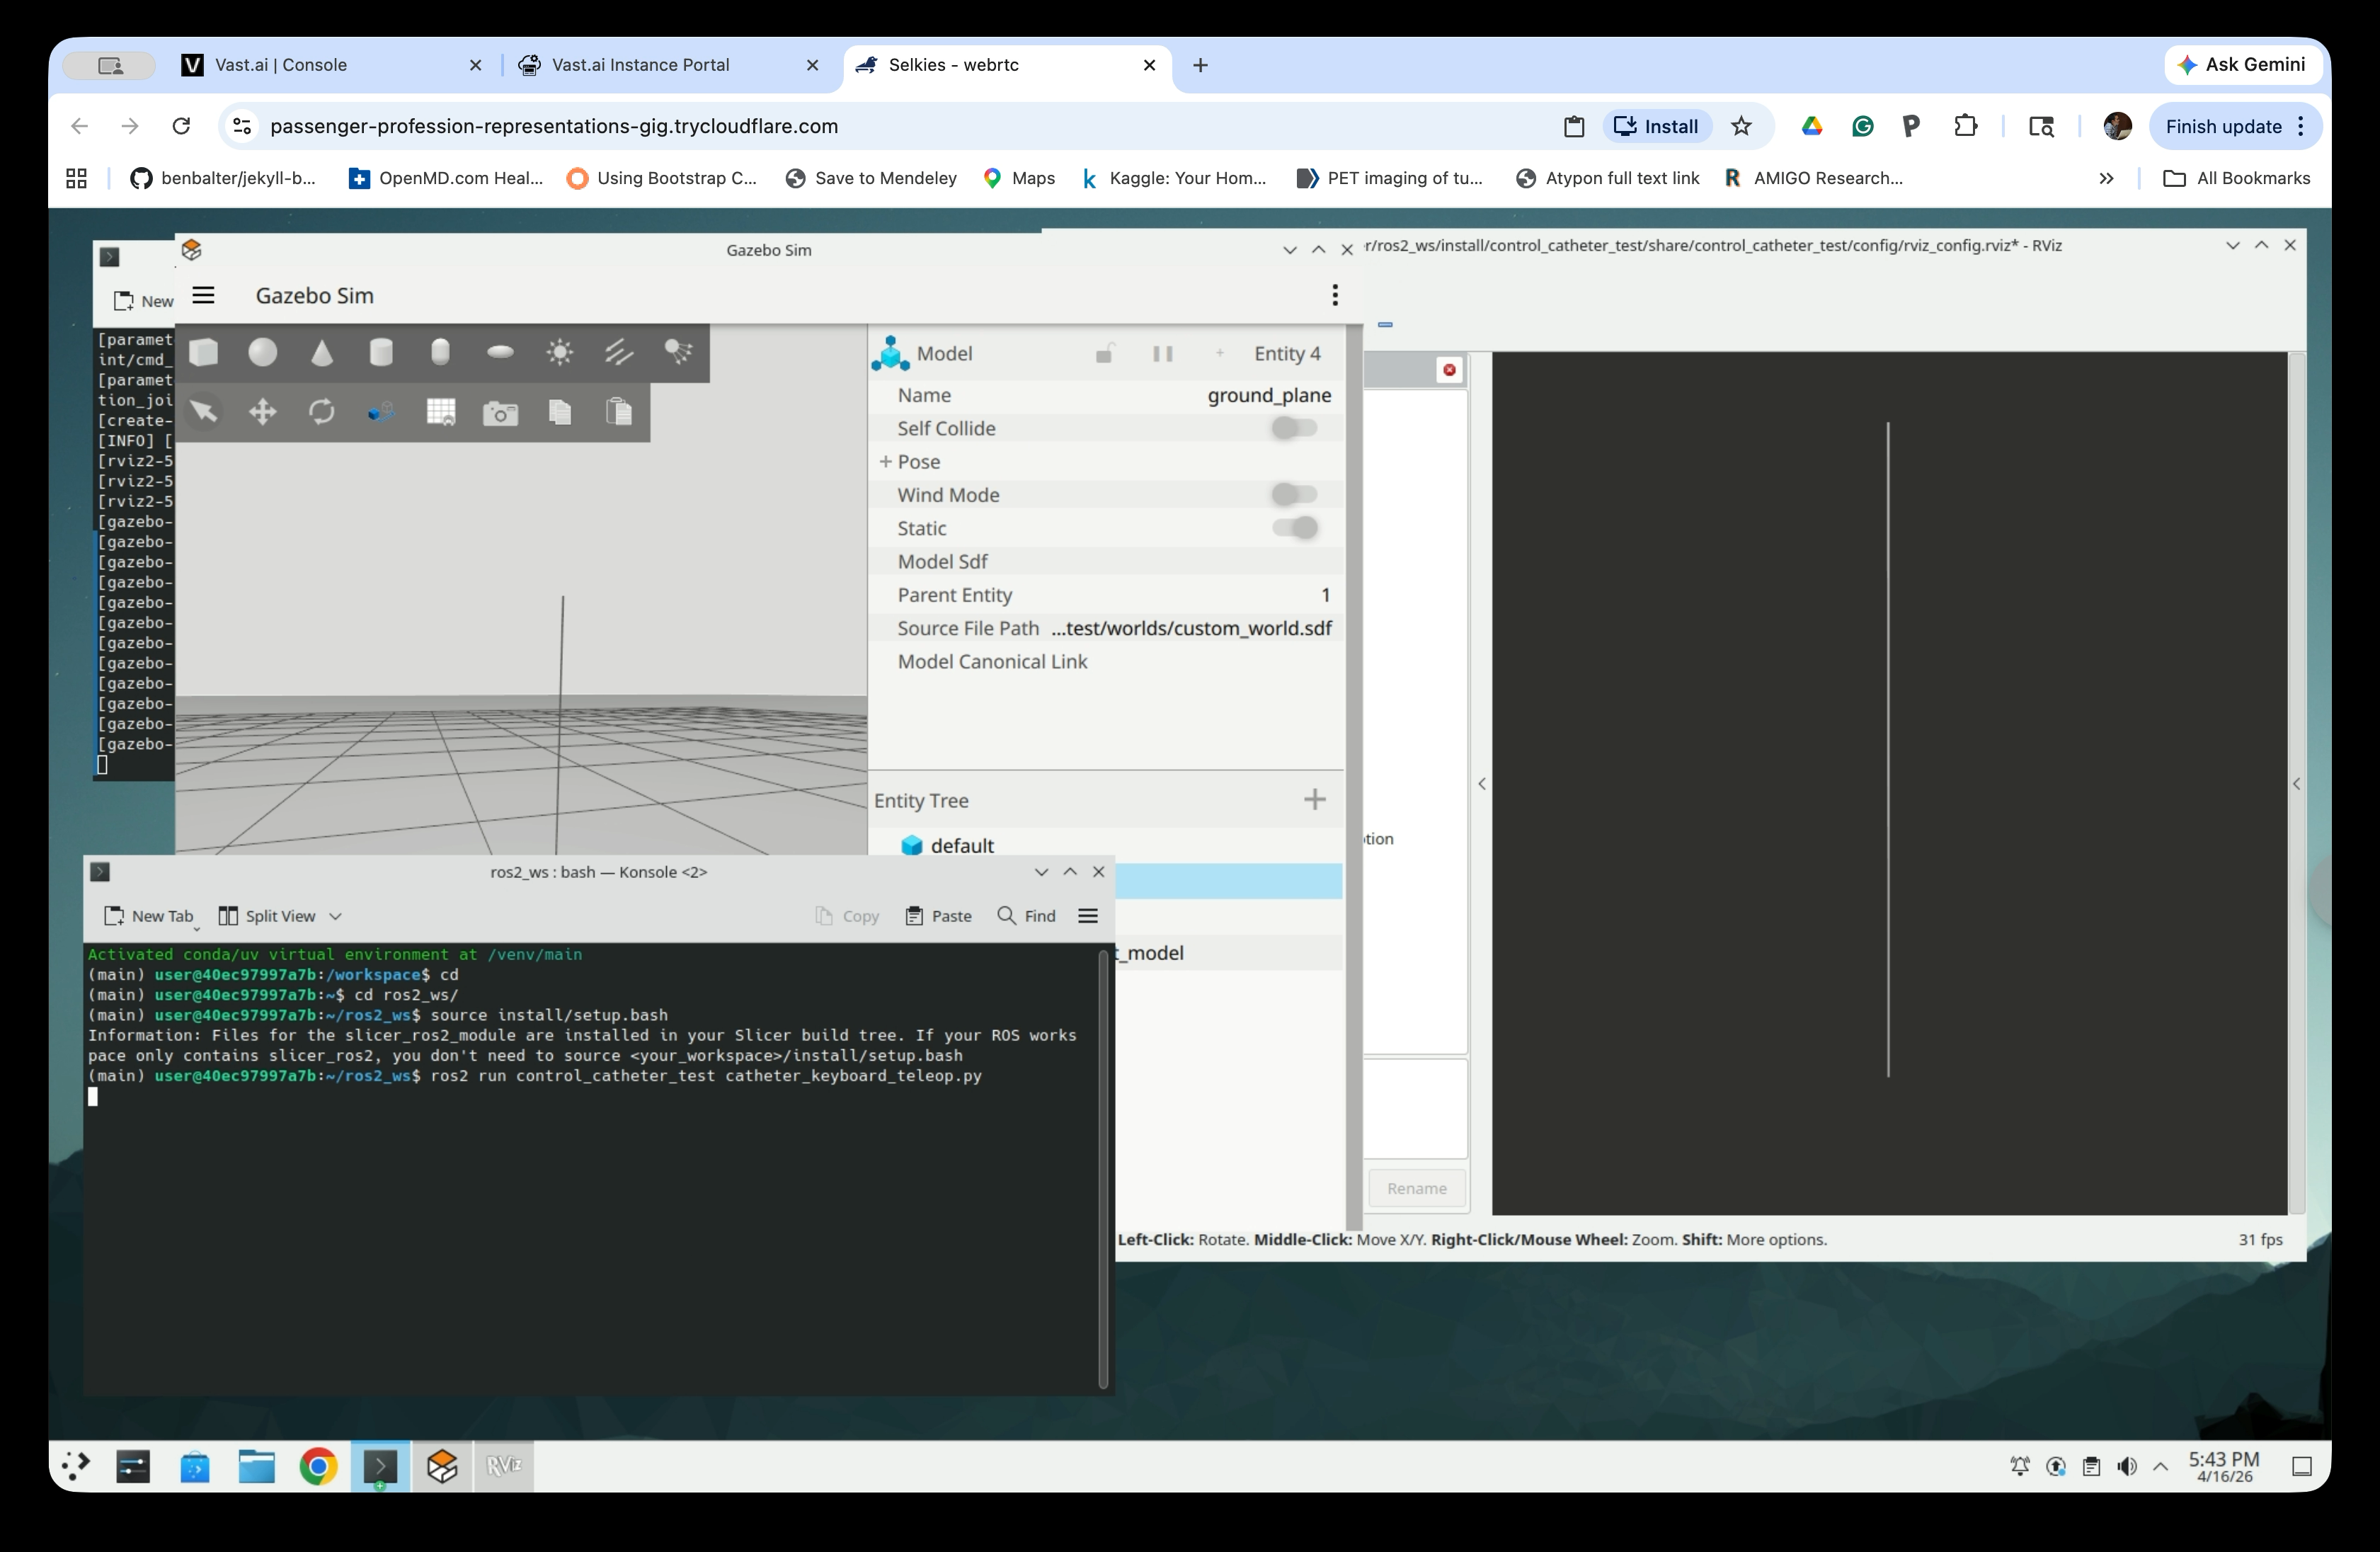
Step 7: Launch the Catheter Simulation
In the first terminal, launch the simulation:
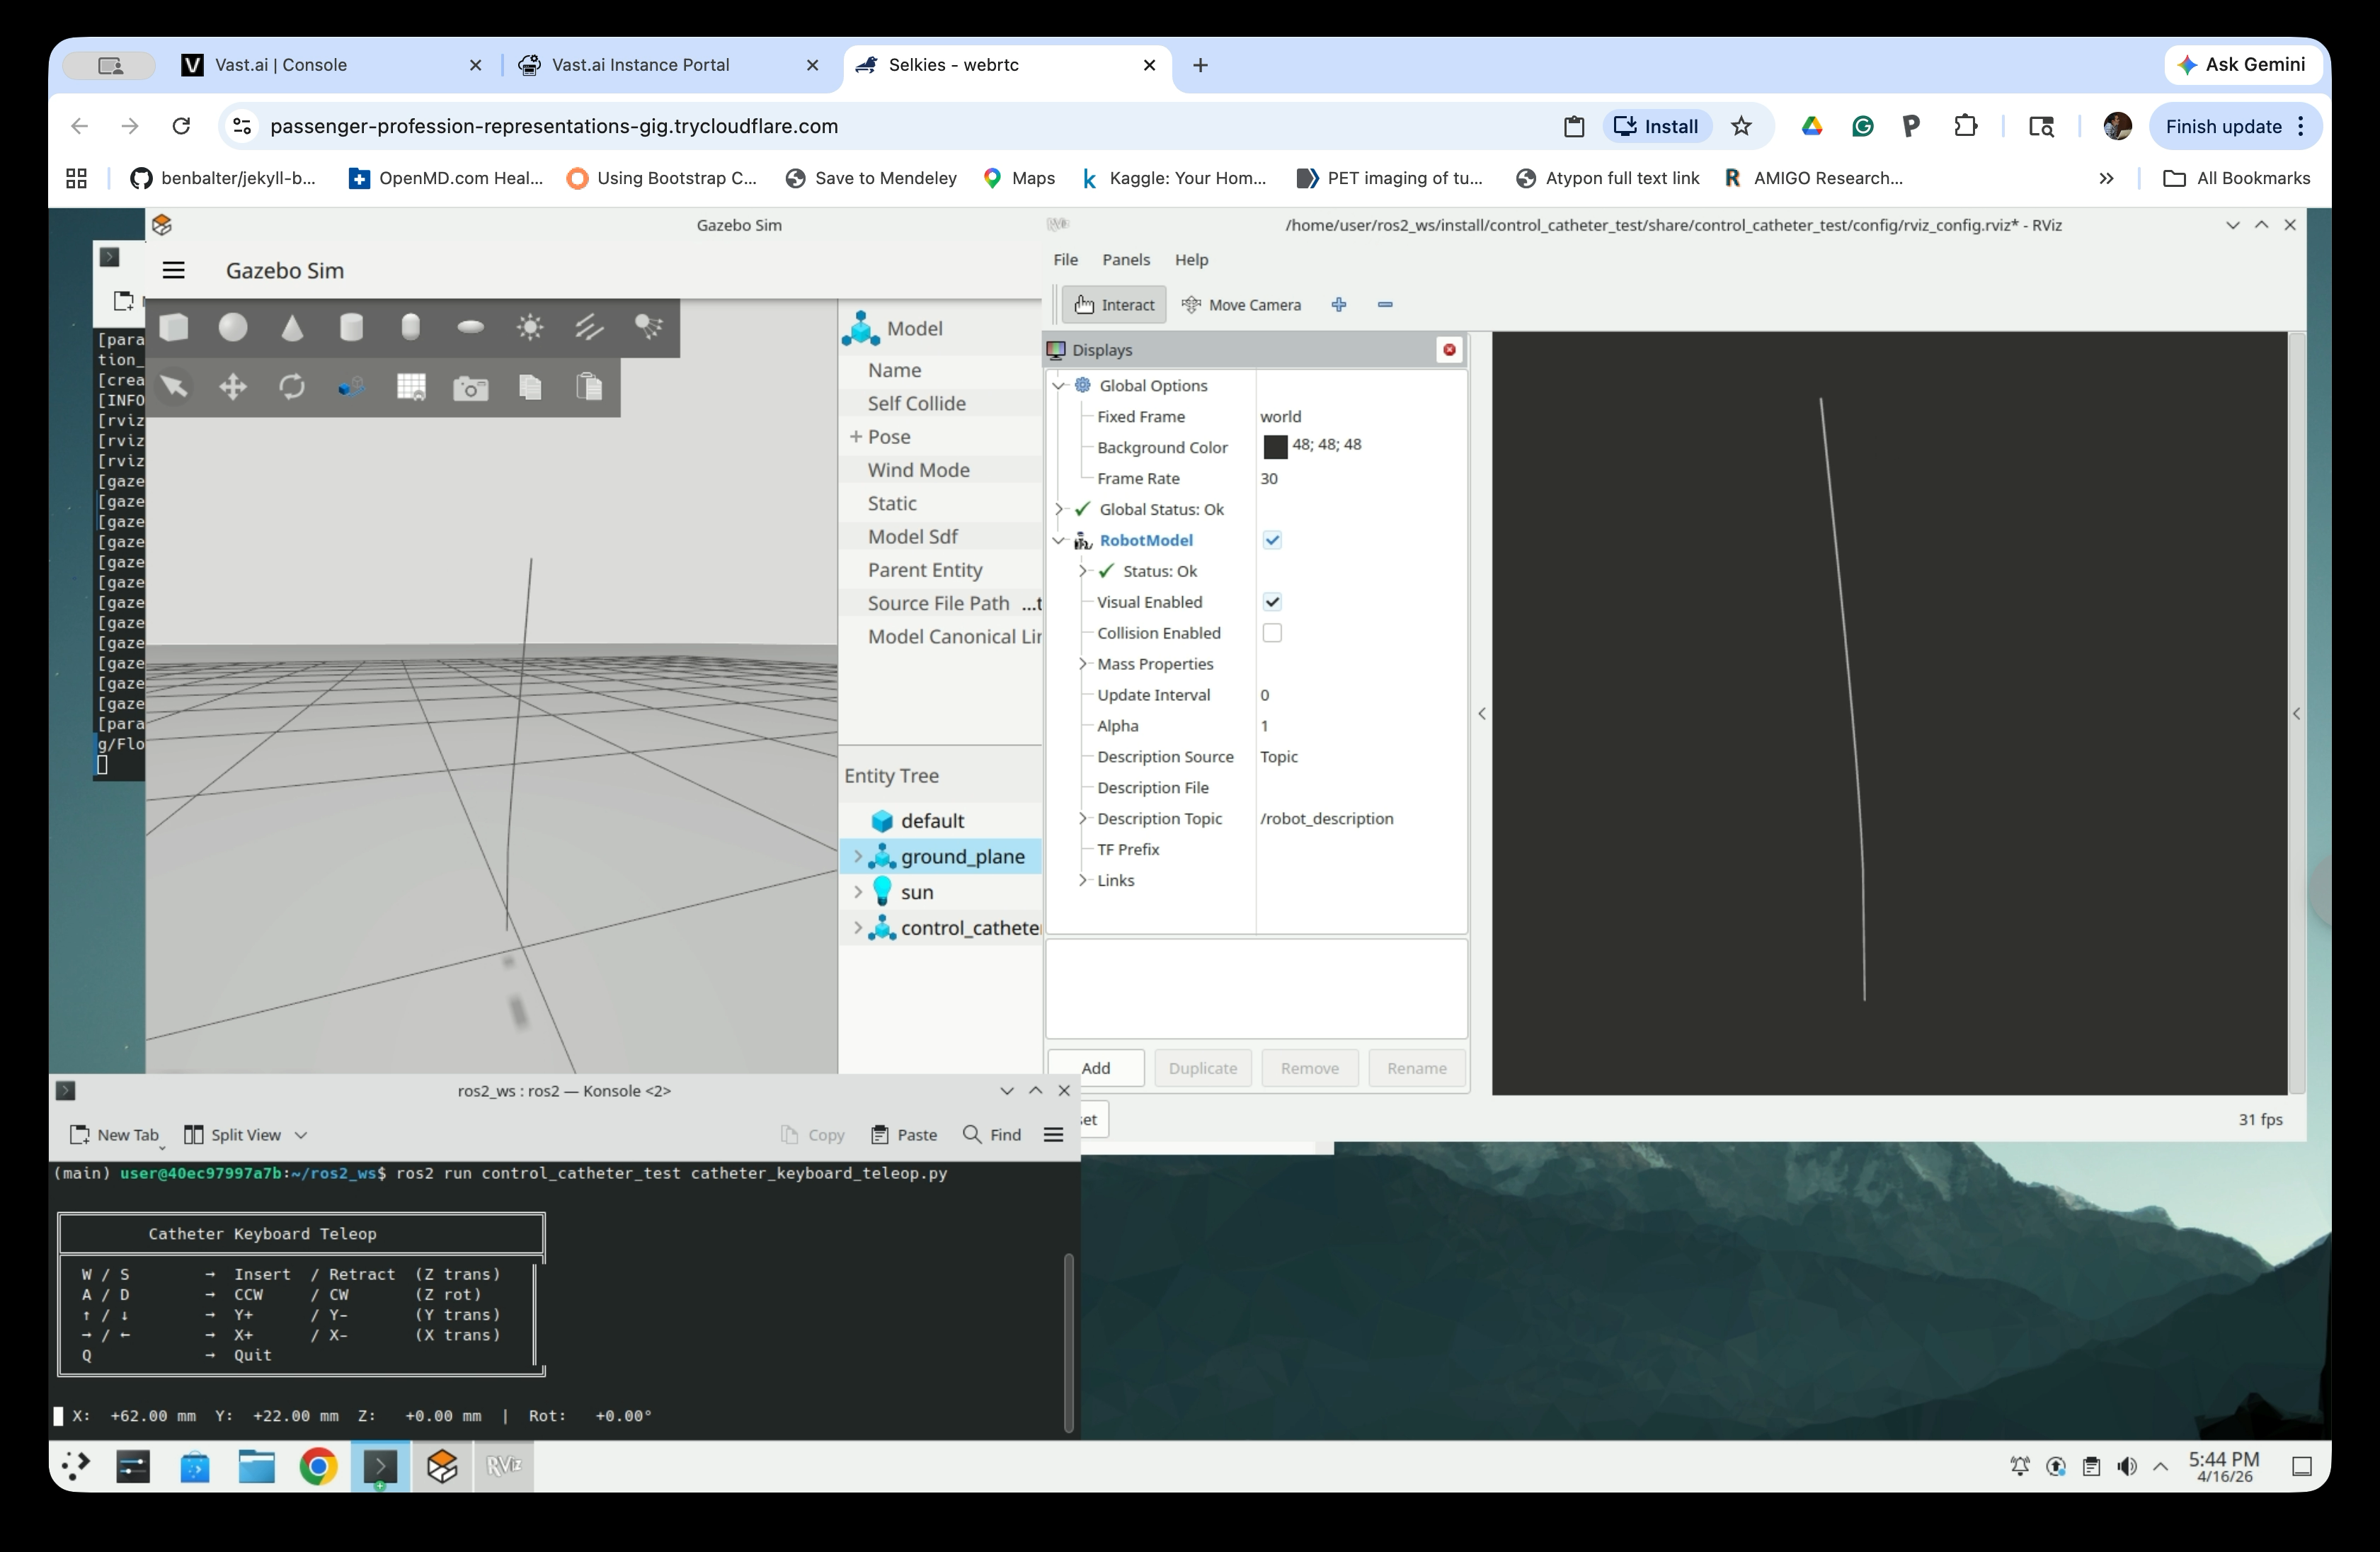
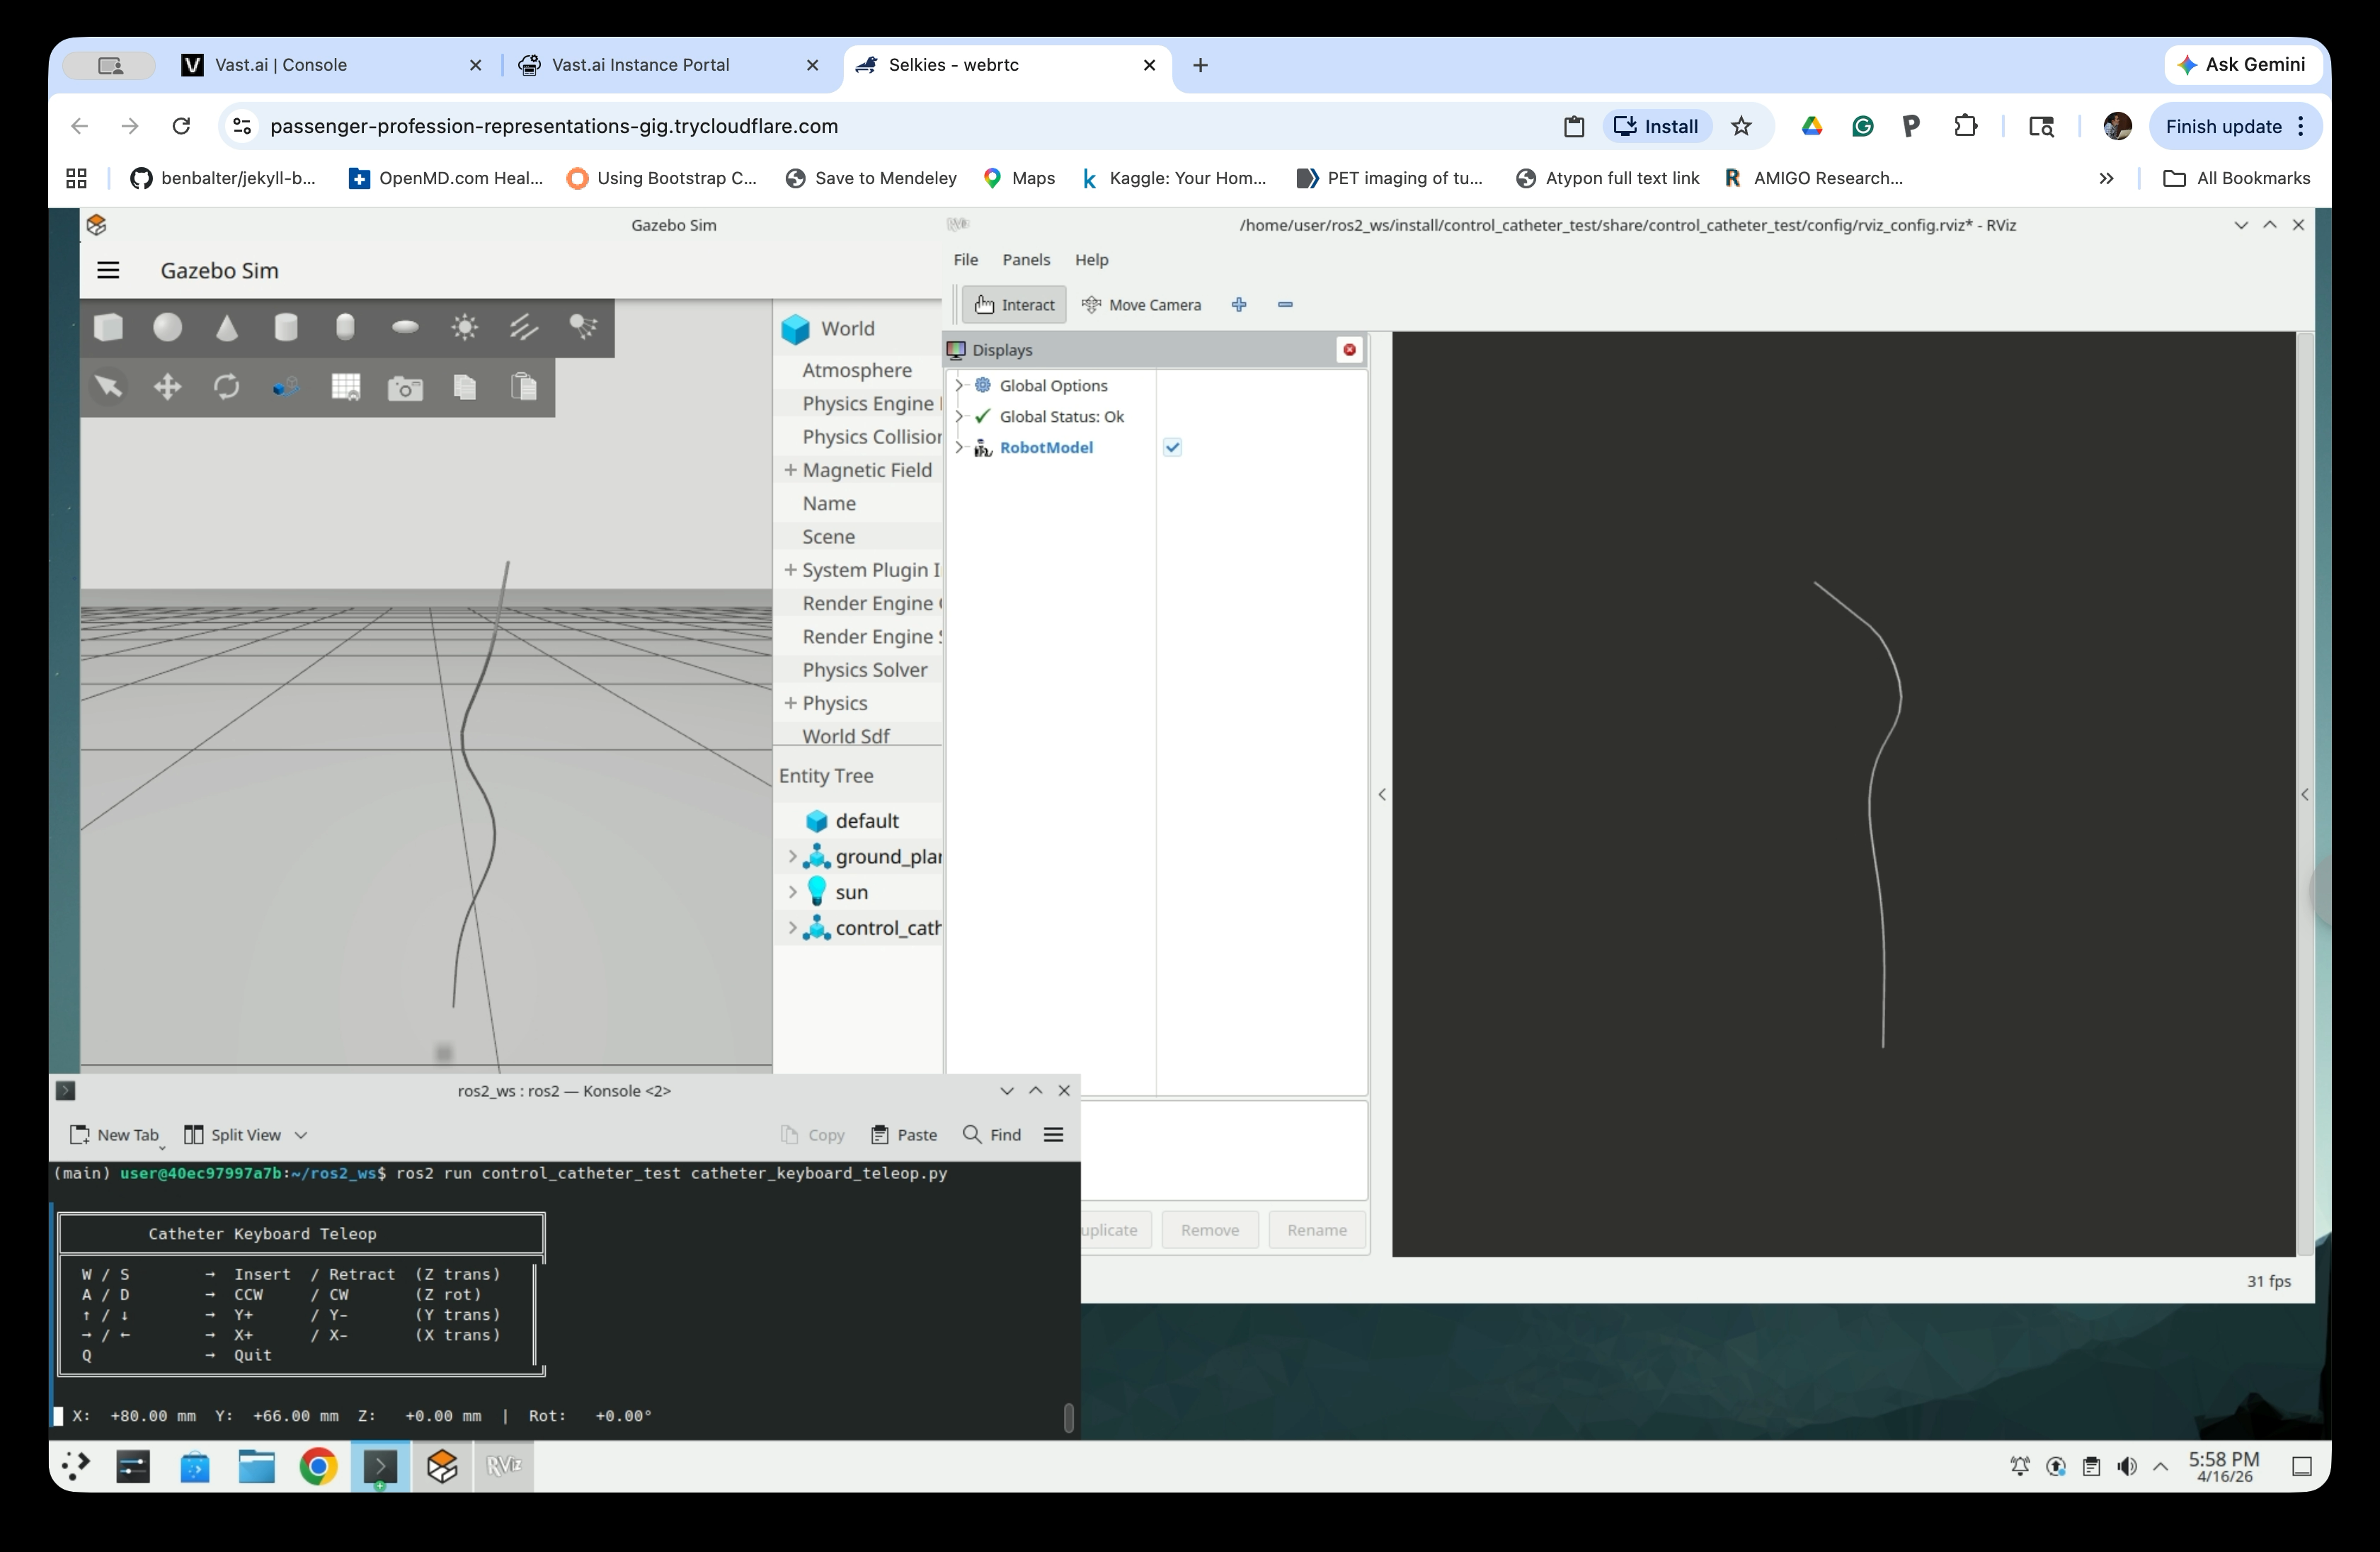
ros2 launch control_catheter_test control_catheter_test_launch.py

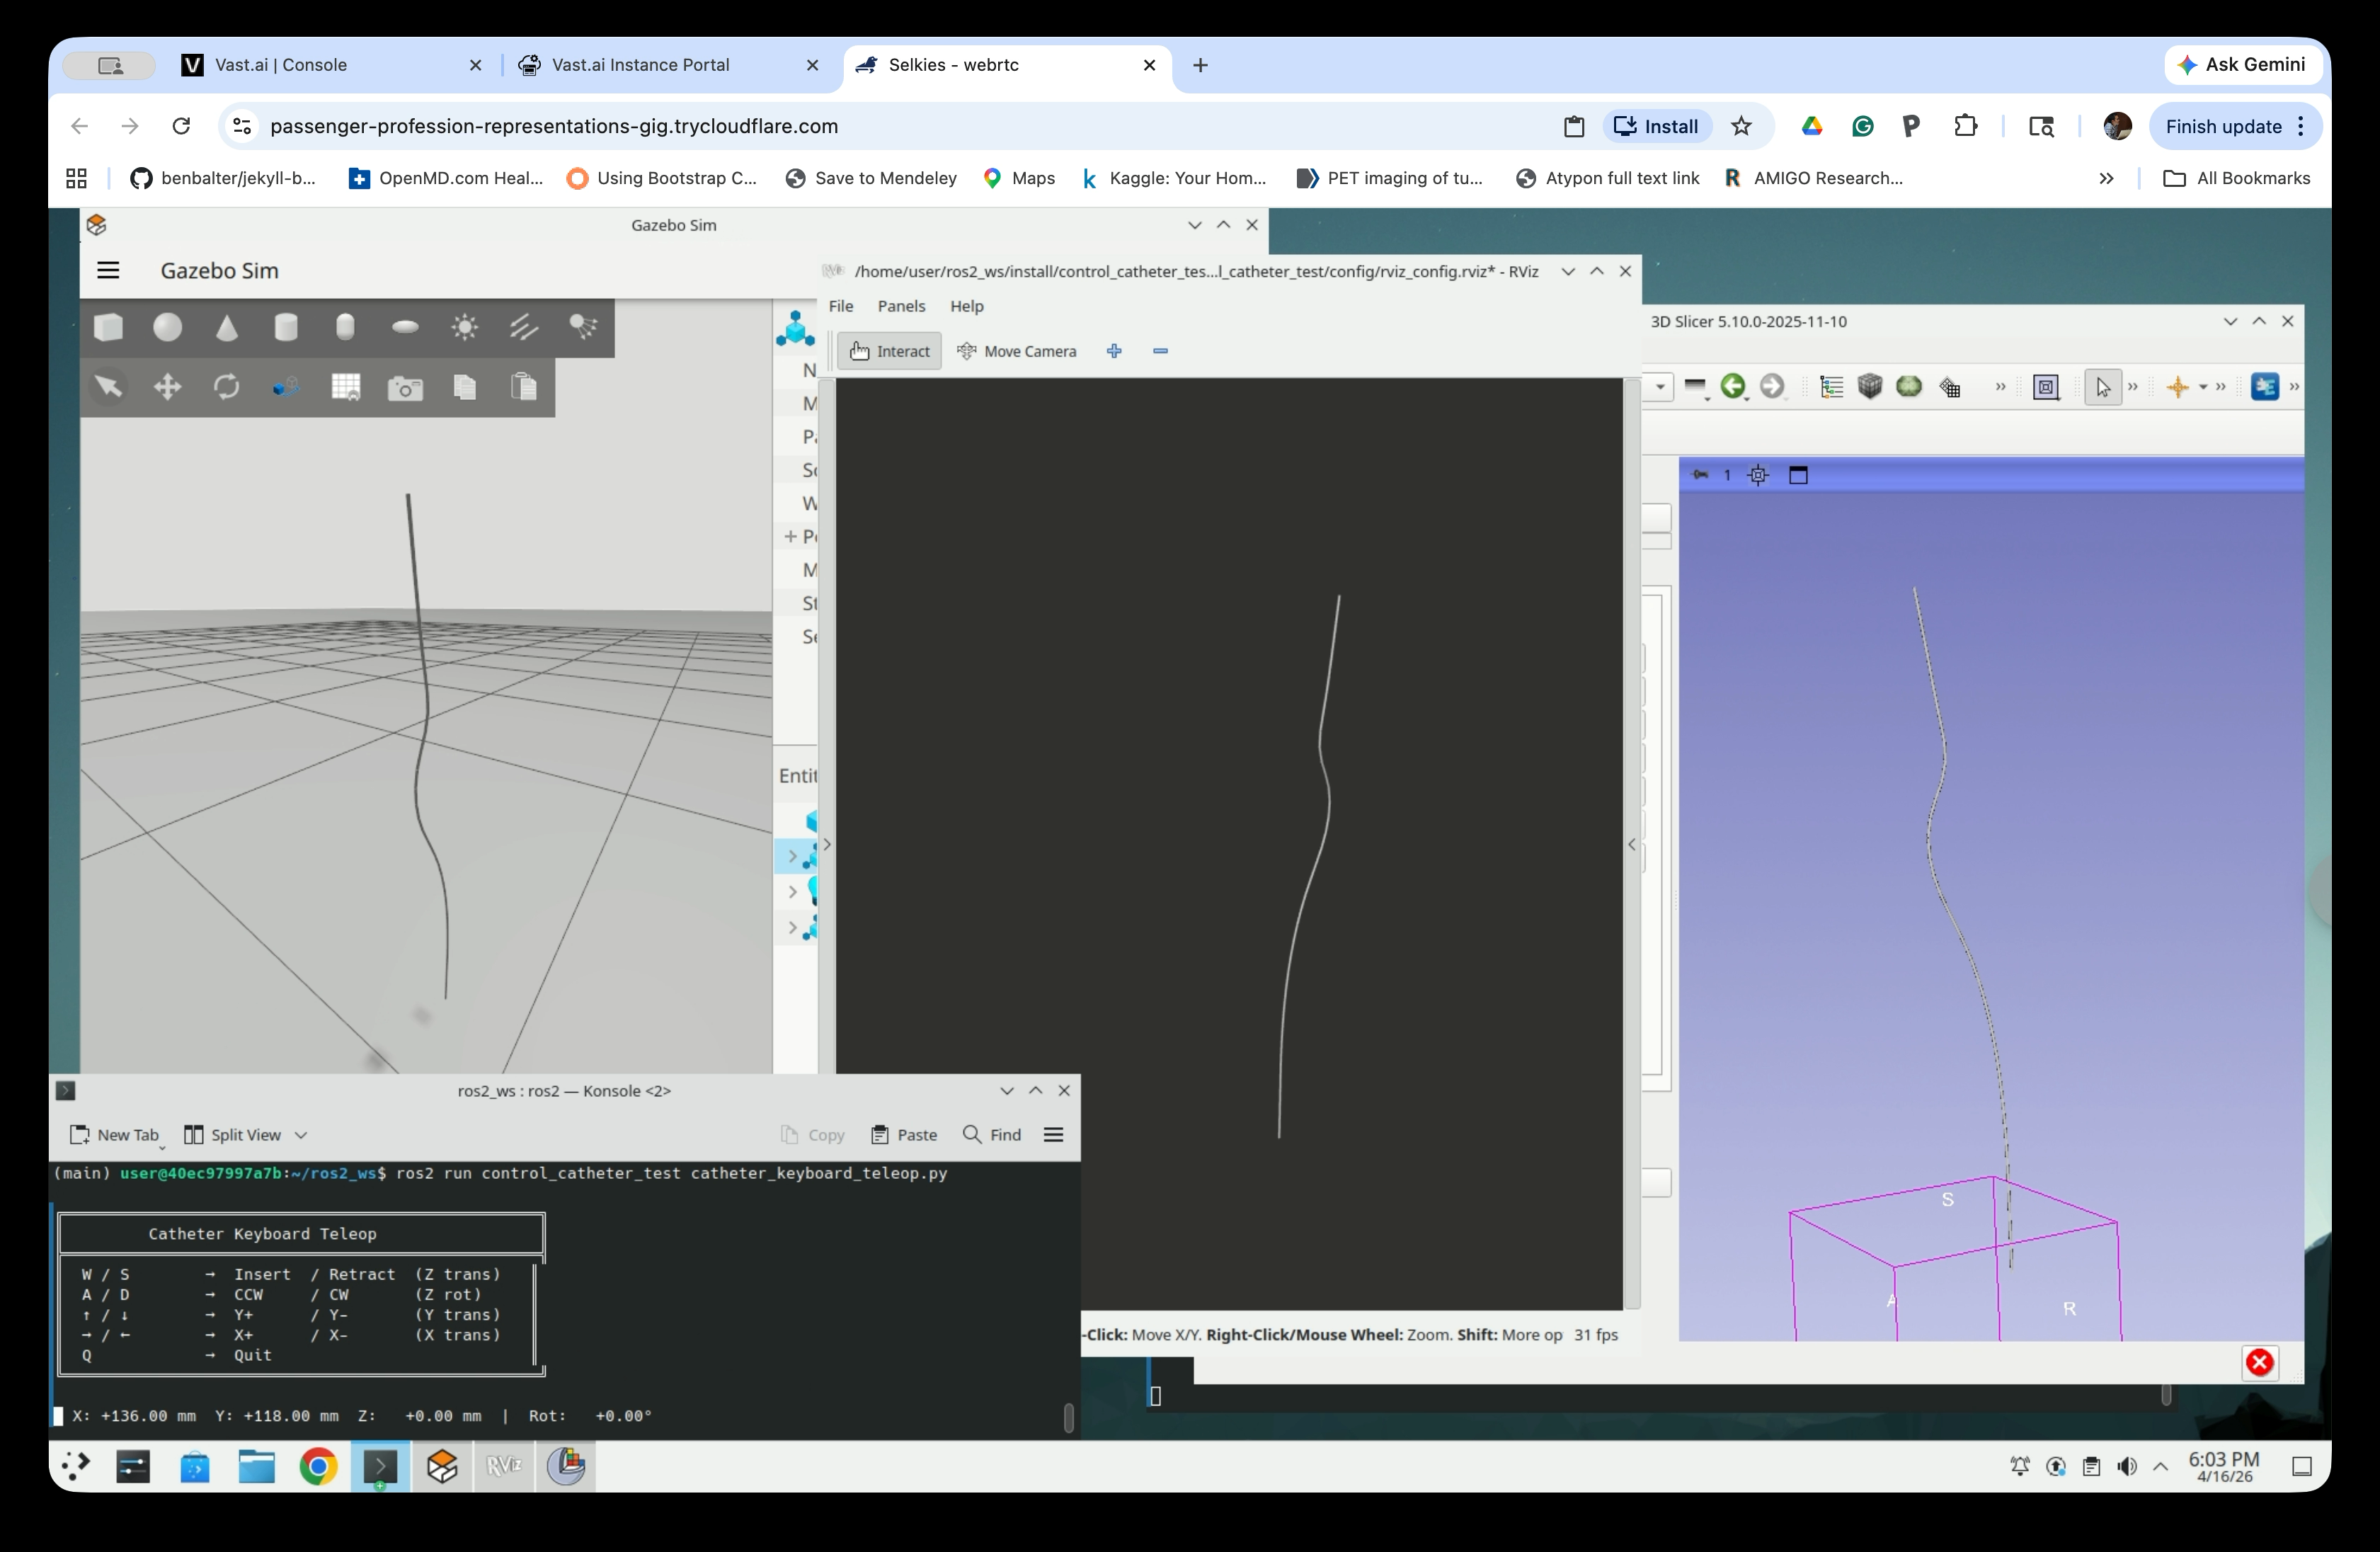
Gazebo Sim and RViz will open.
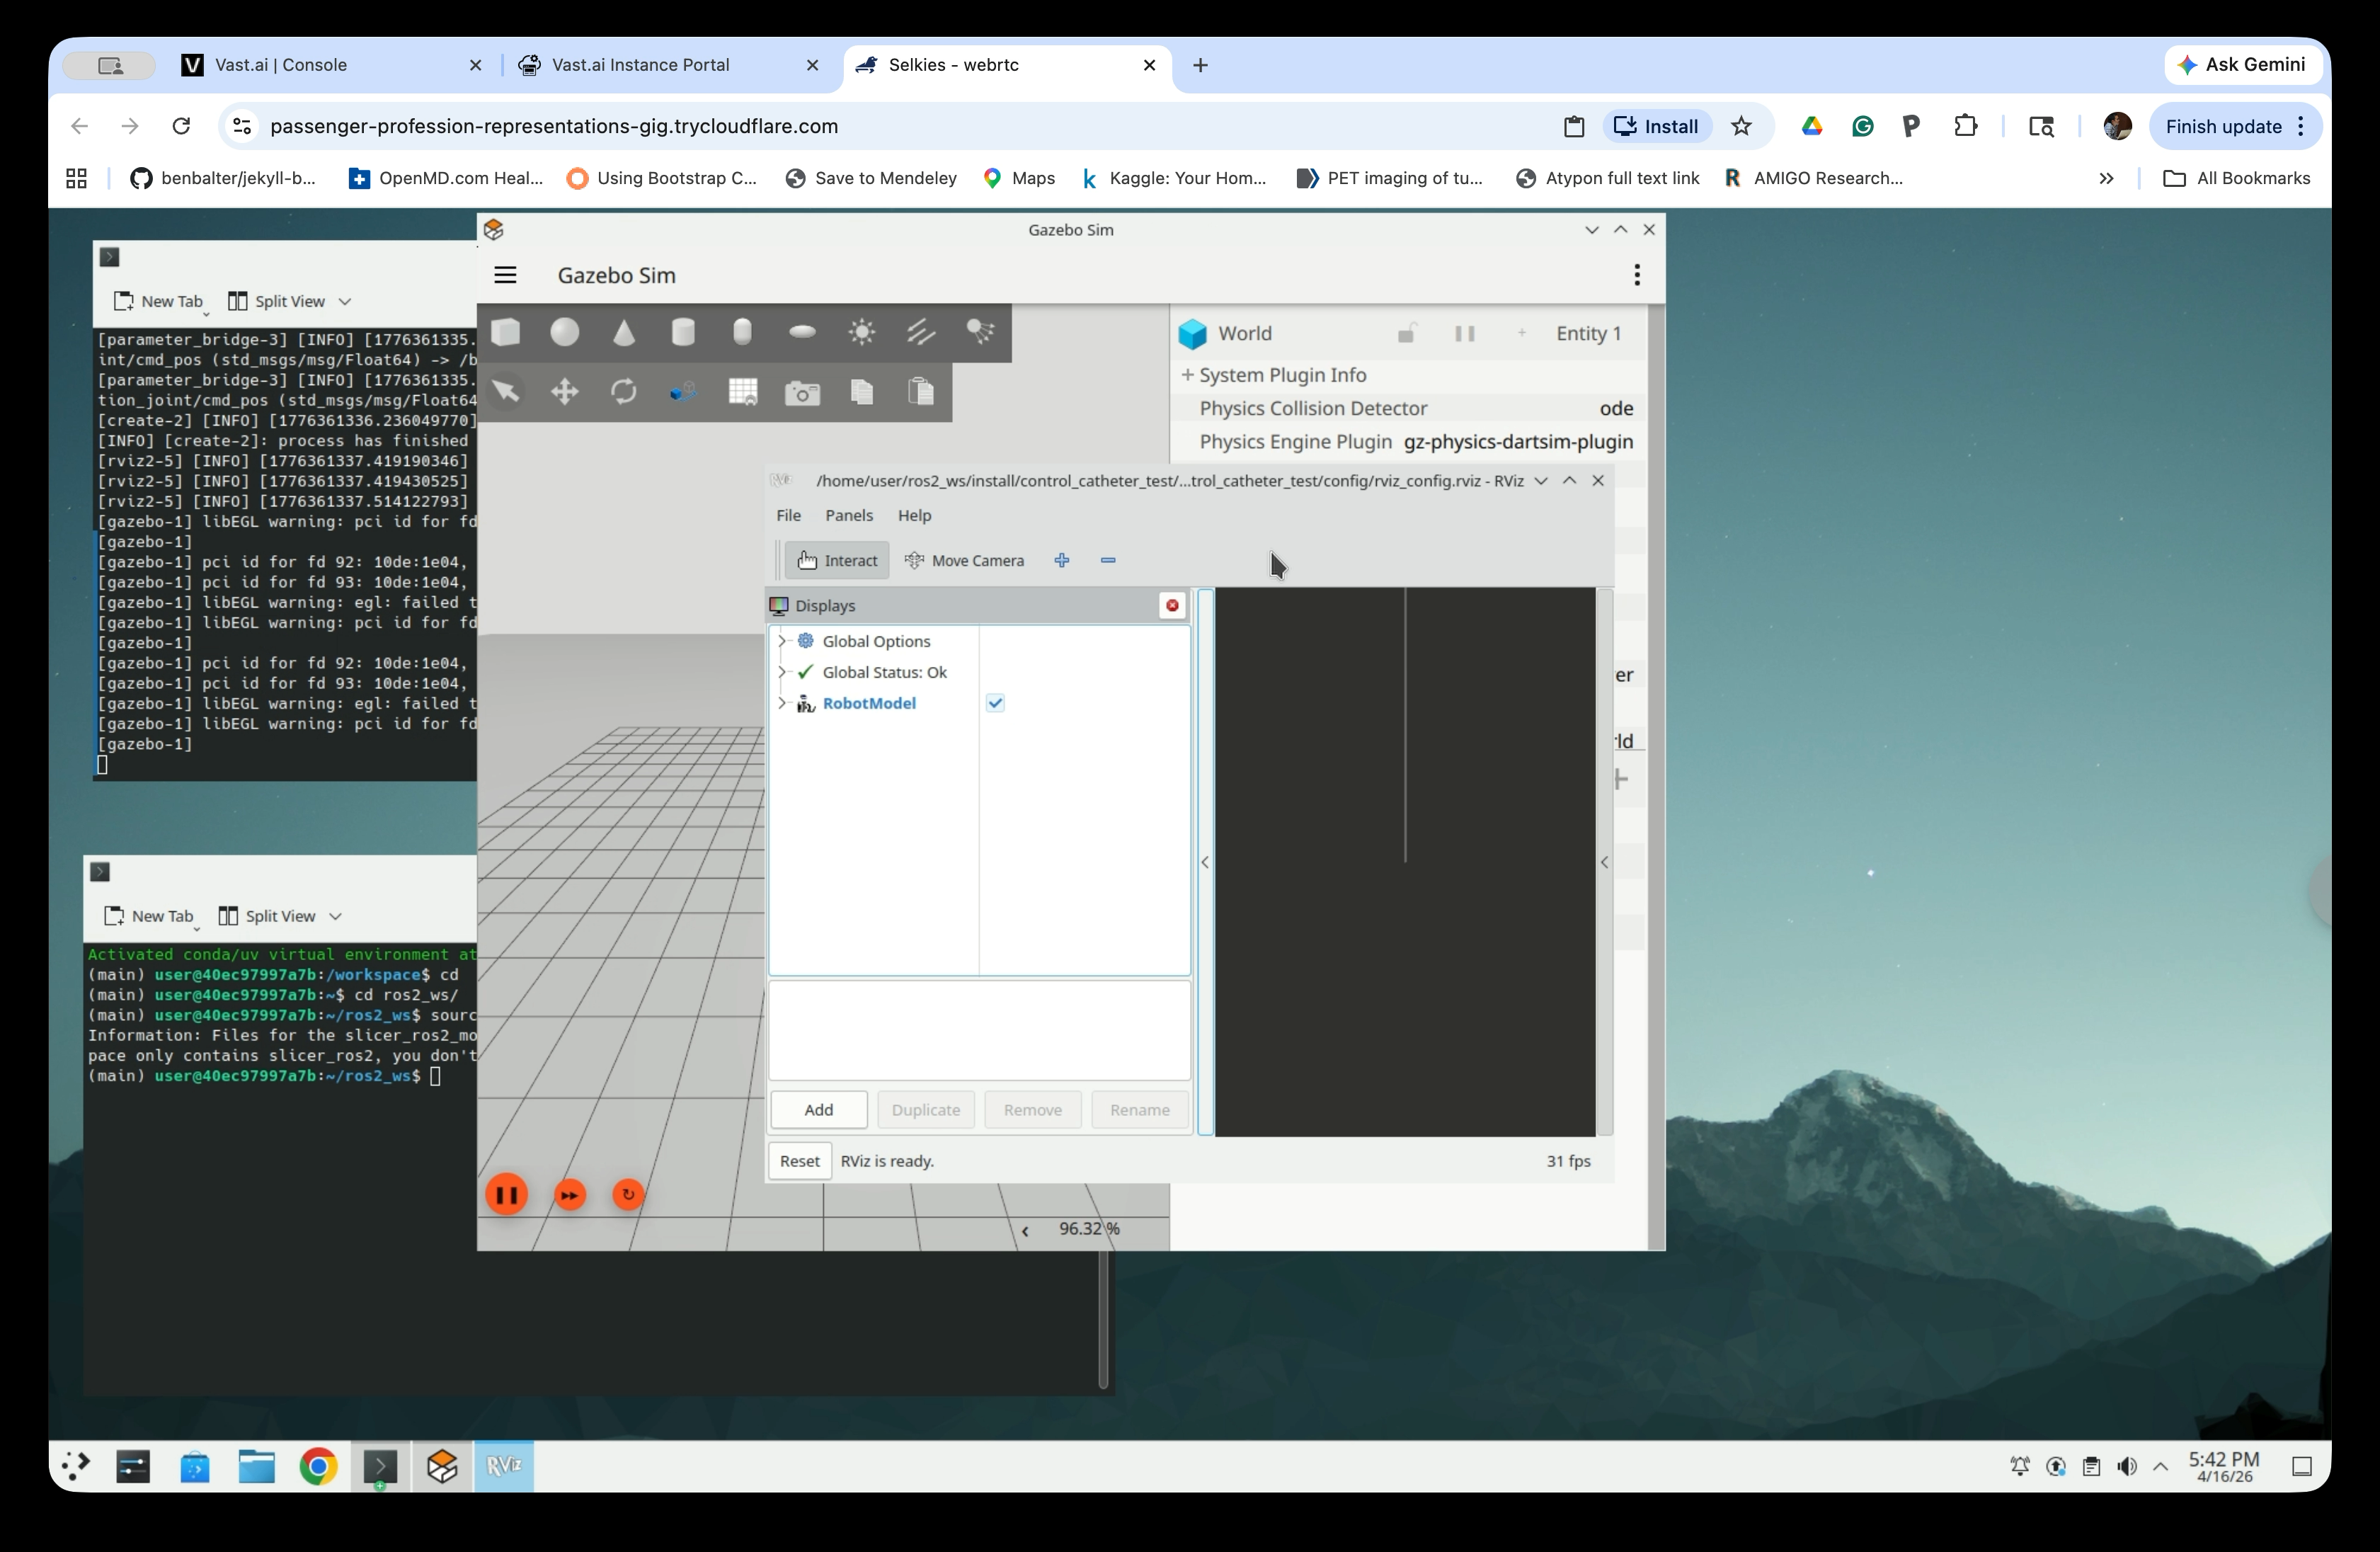
Arrange and resize the windows so both are visible.
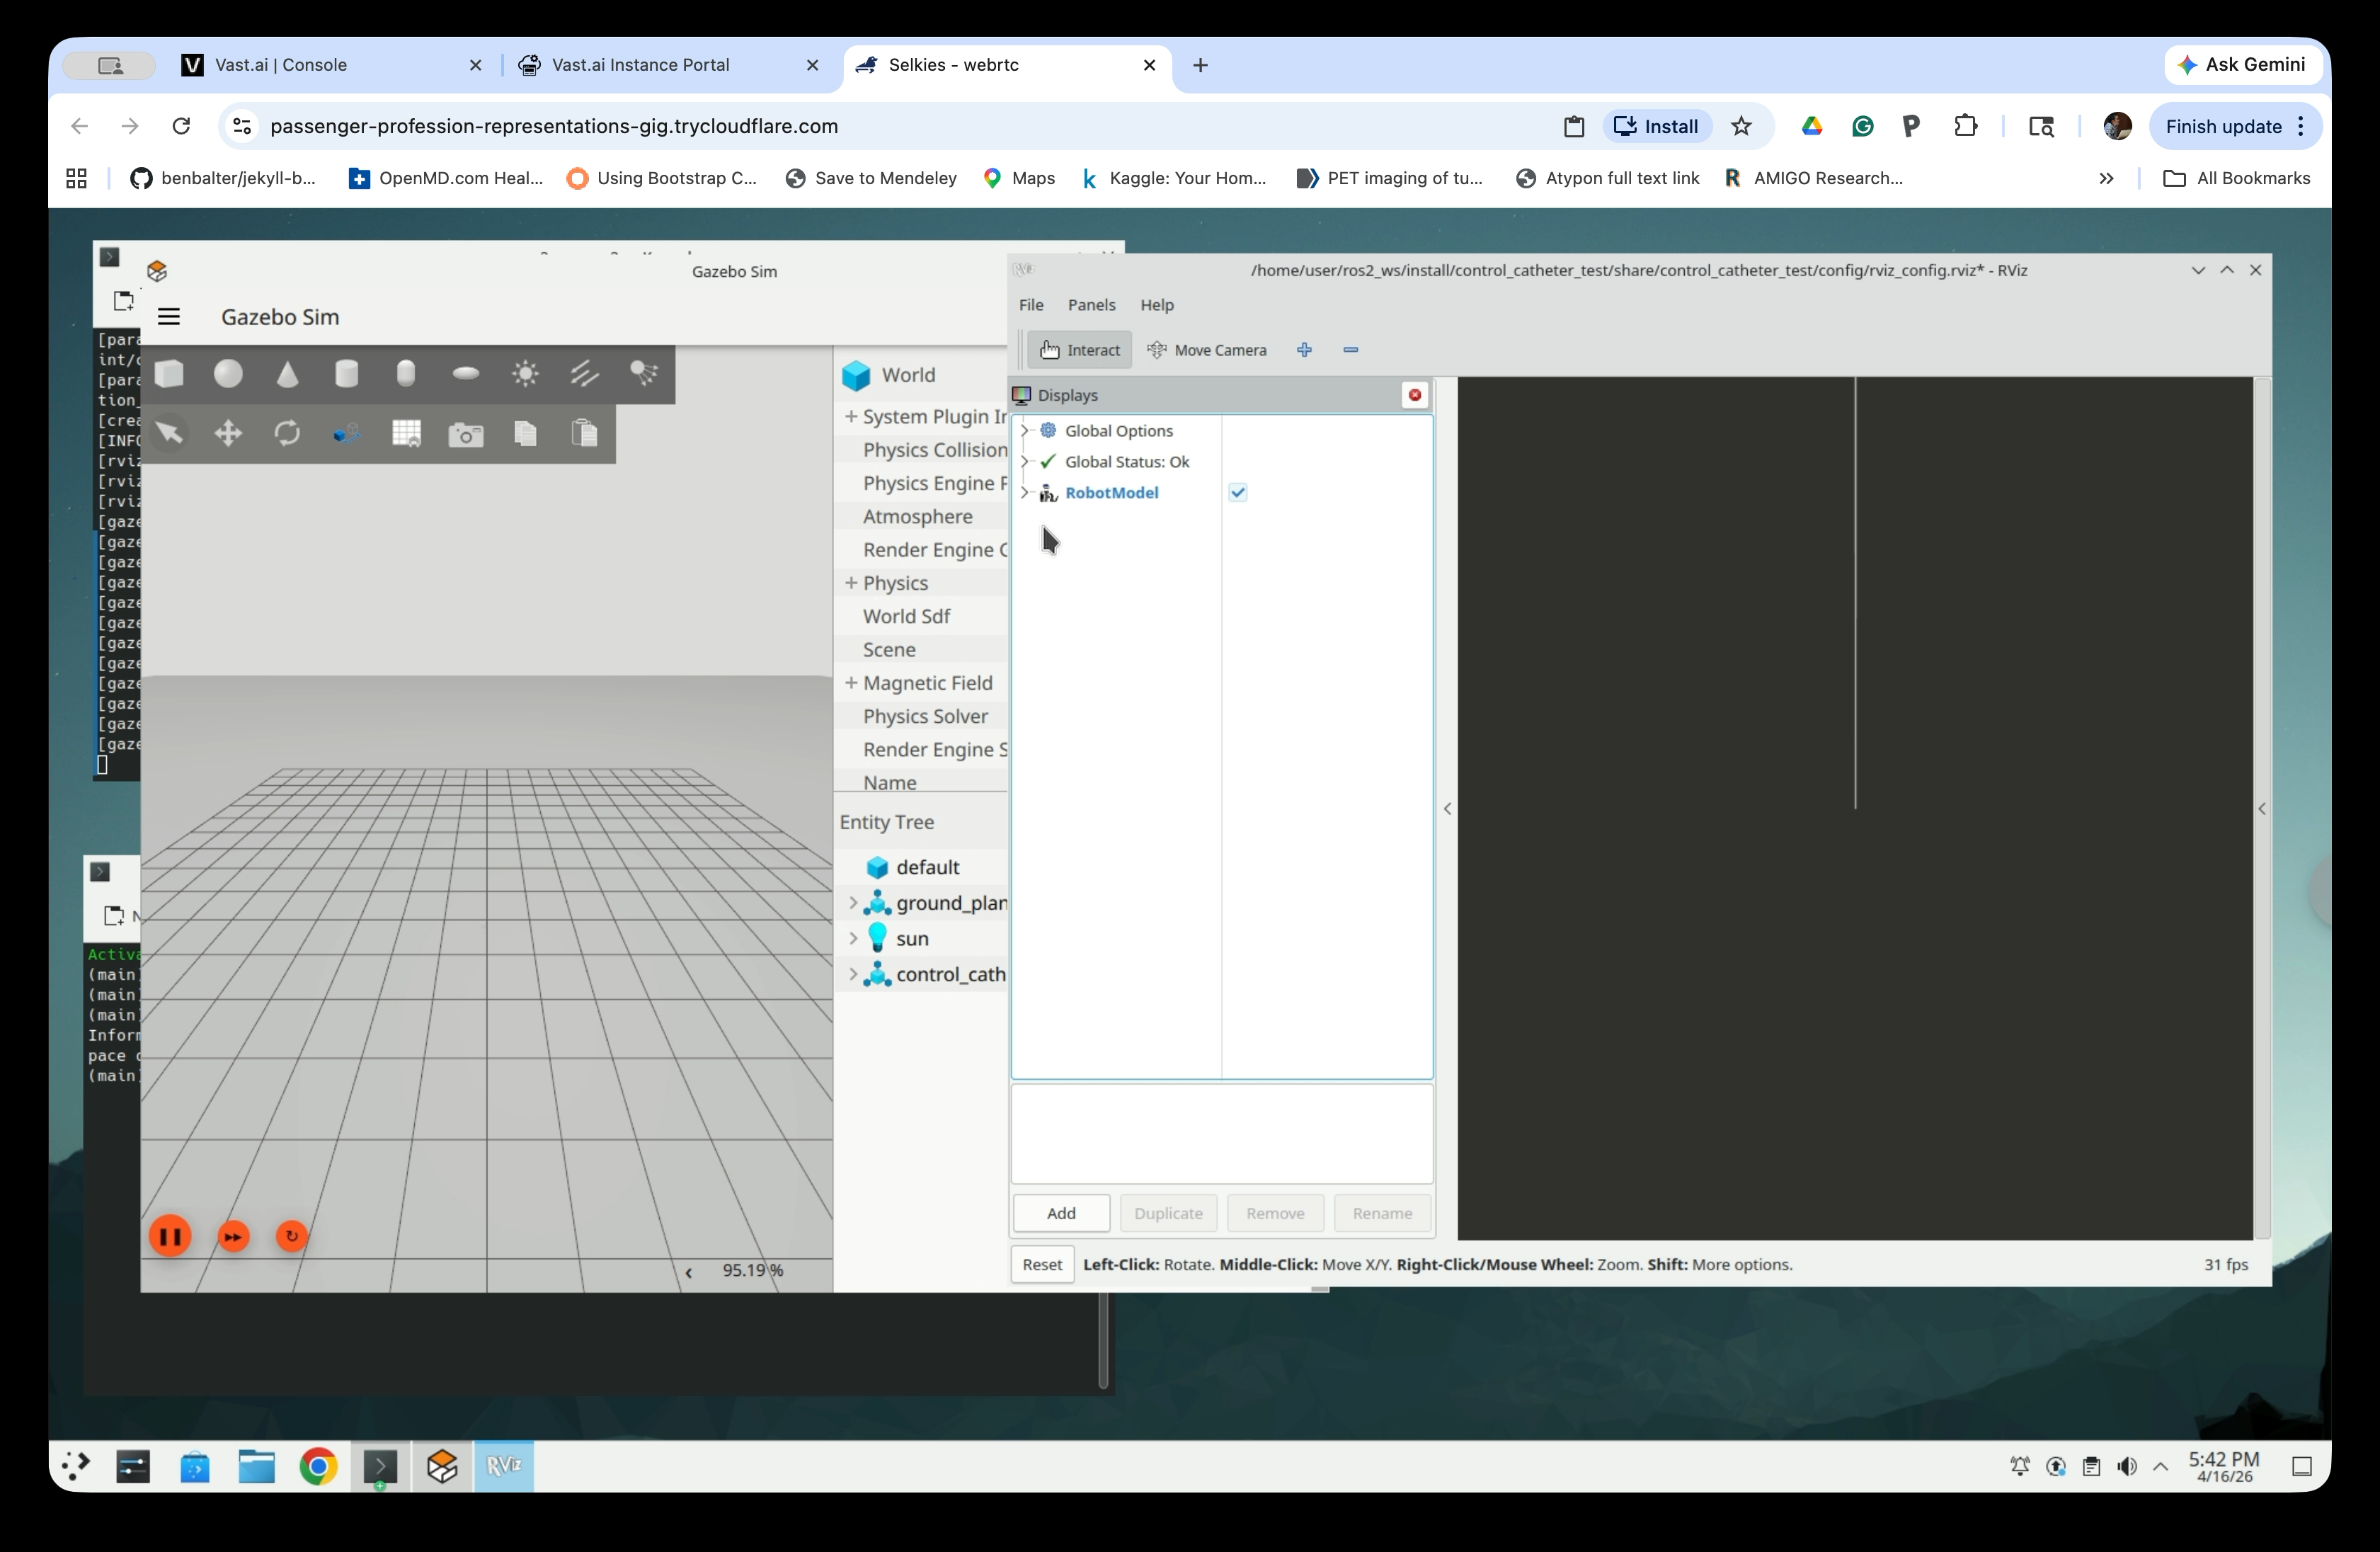
Zoom in on both Gazebo and RViz to see the catheter model.
Part 3: Control the Catheter with Keyboard Teleop
Step 8: Launch the Keyboard Teleop Controller
In the second terminal, run the teleop script:
ros2 run control_catheter_test catheter_keyboard_teleop.py
The Catheter Keyboard Teleop interface will appear in the terminal:
Catheter Keyboard Teleop
  W / S   → Insert  / Retract  (Z trans)
  A / D   → CCW     / CW       (Z rot)
  ↑ / ↓   → Y+      / Y-       (Y trans)
  ← / →   → X+      / X-       (X trans)
  Q       → Quit
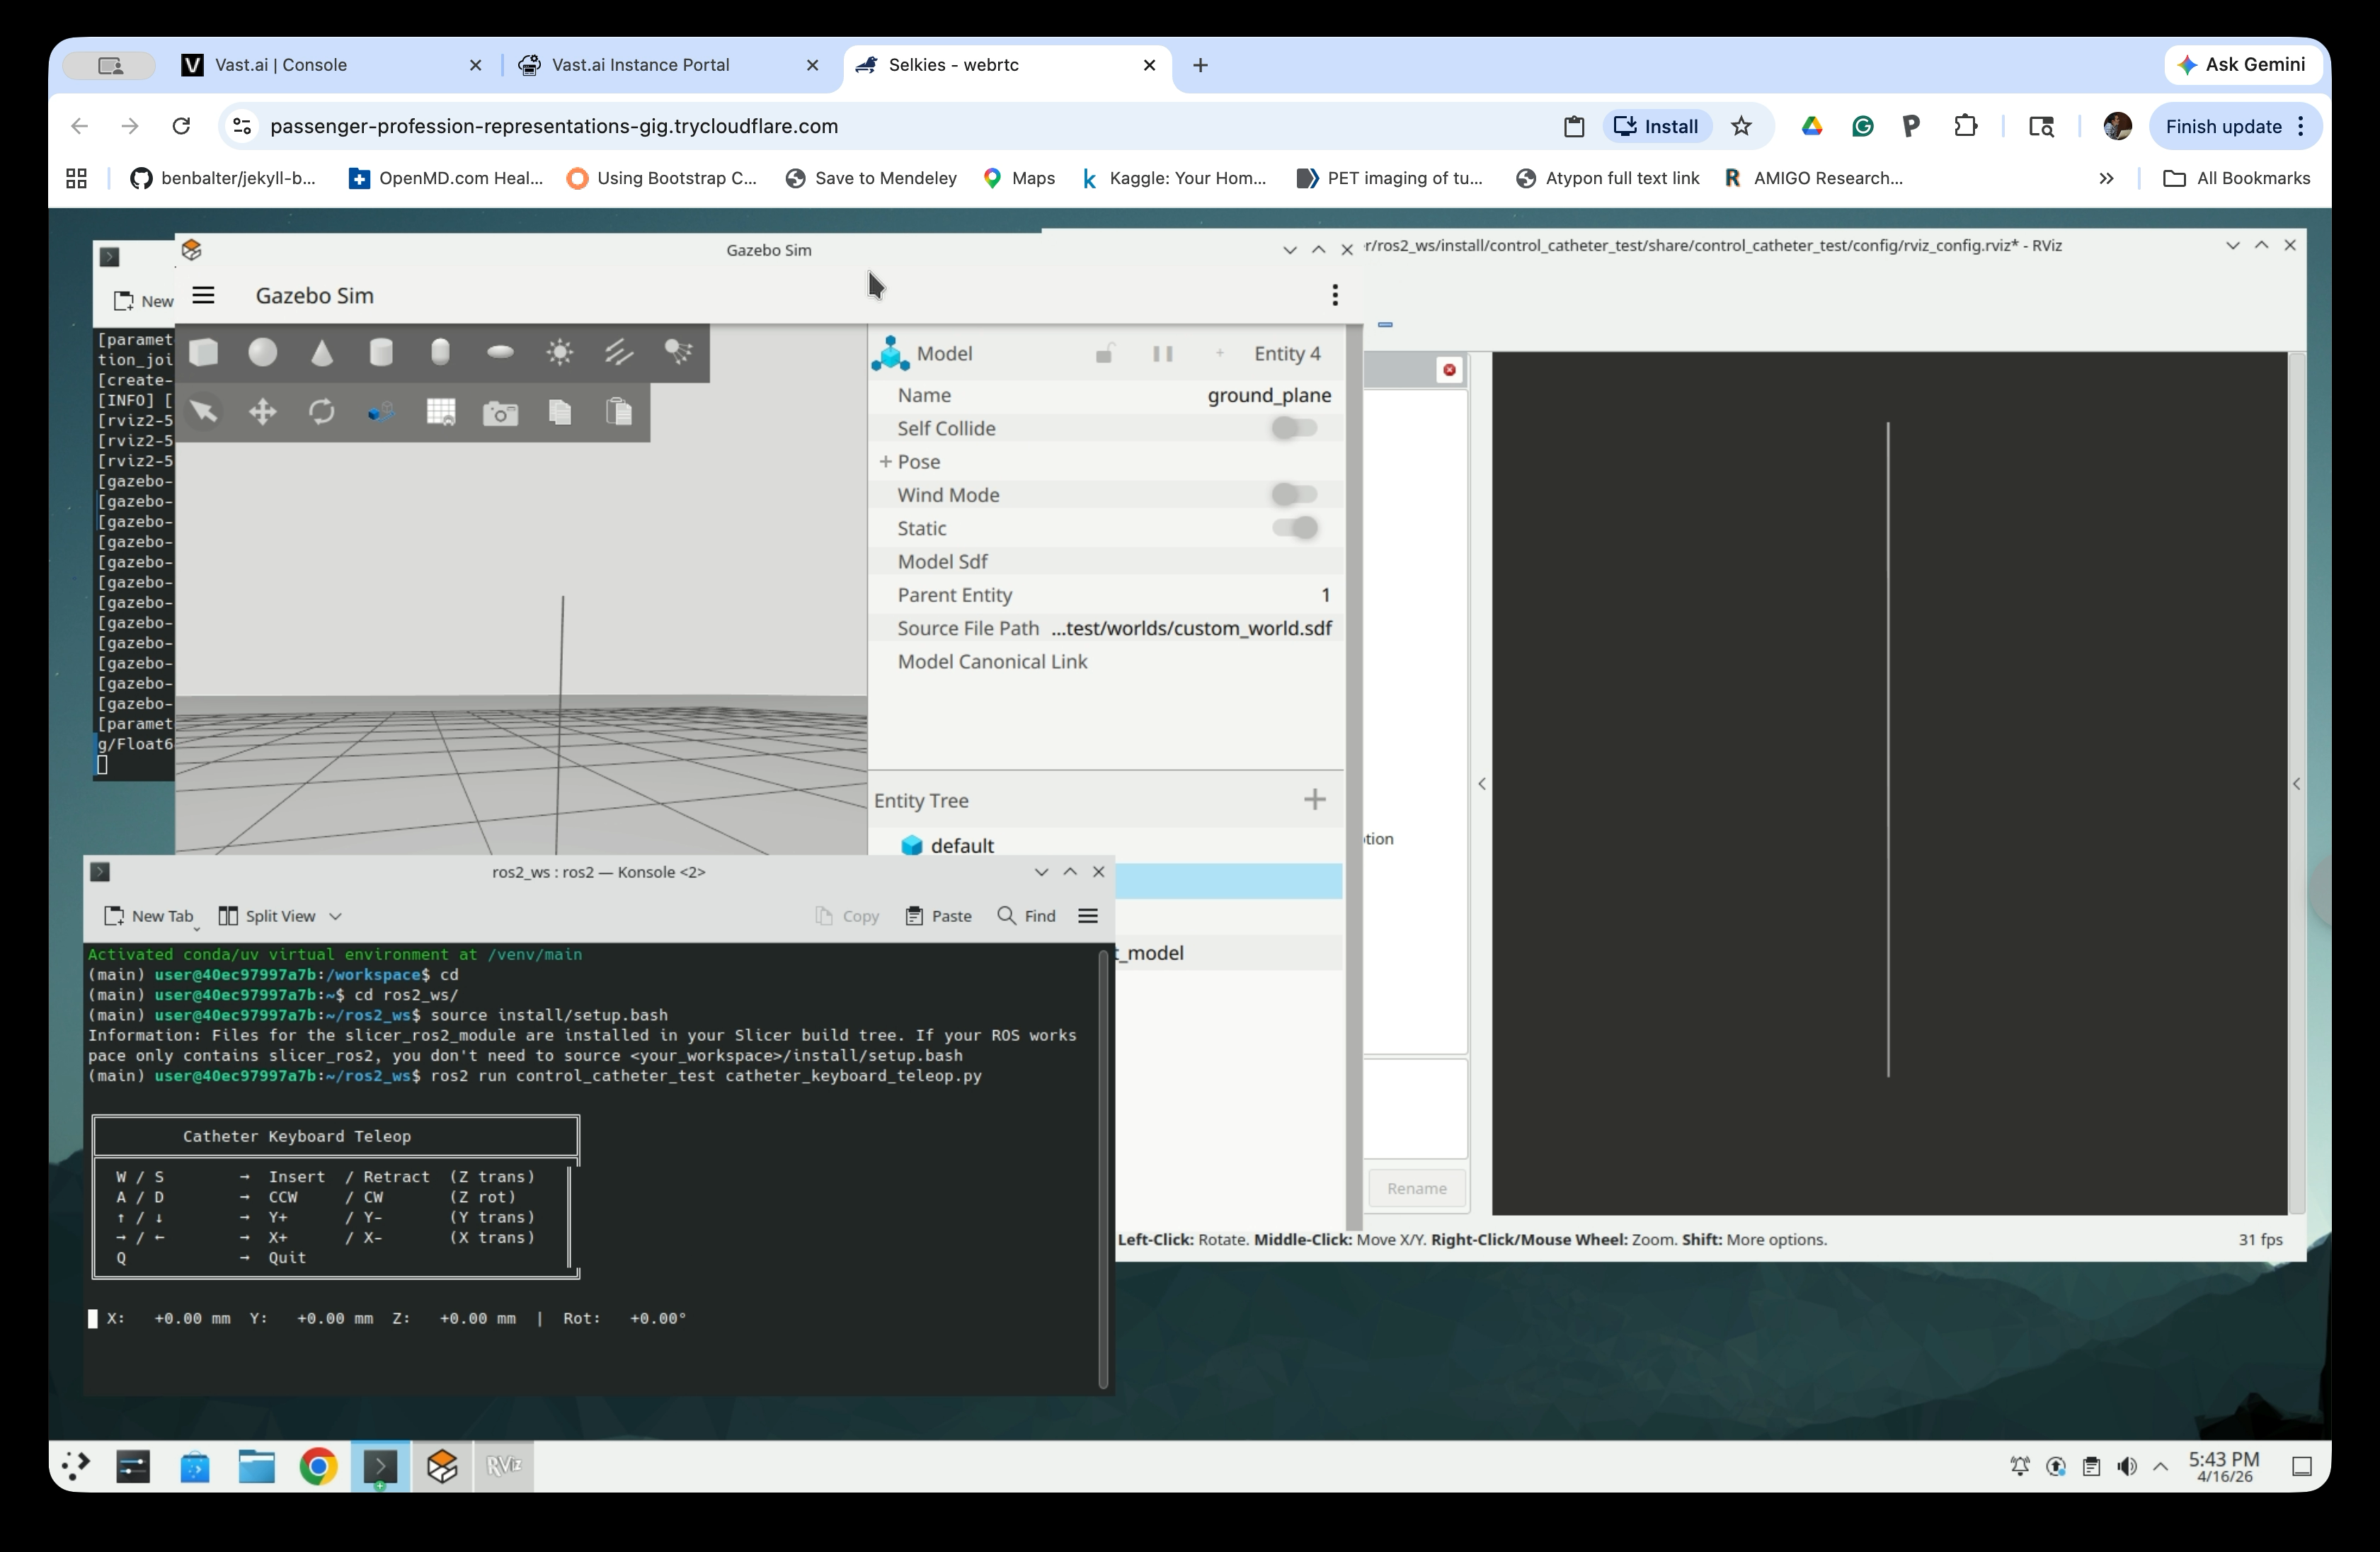
Step 9: Control the Catheter
Click on the teleop terminal to give it keyboard focus, then use the keys shown to move the catheter base (at the bottom). Both Gazebo and RViz will update in real time as you press keys. As the catheter base moves quickly, the catheter bends slightly on both Gazebo and RViz.
Part 4: Modify and Rebuild with Different Parameters (Optional)
You can regenerate the catheter model with different parameters and rebuild. Stop the running simulation (Ctrl+C in the first terminal), then:
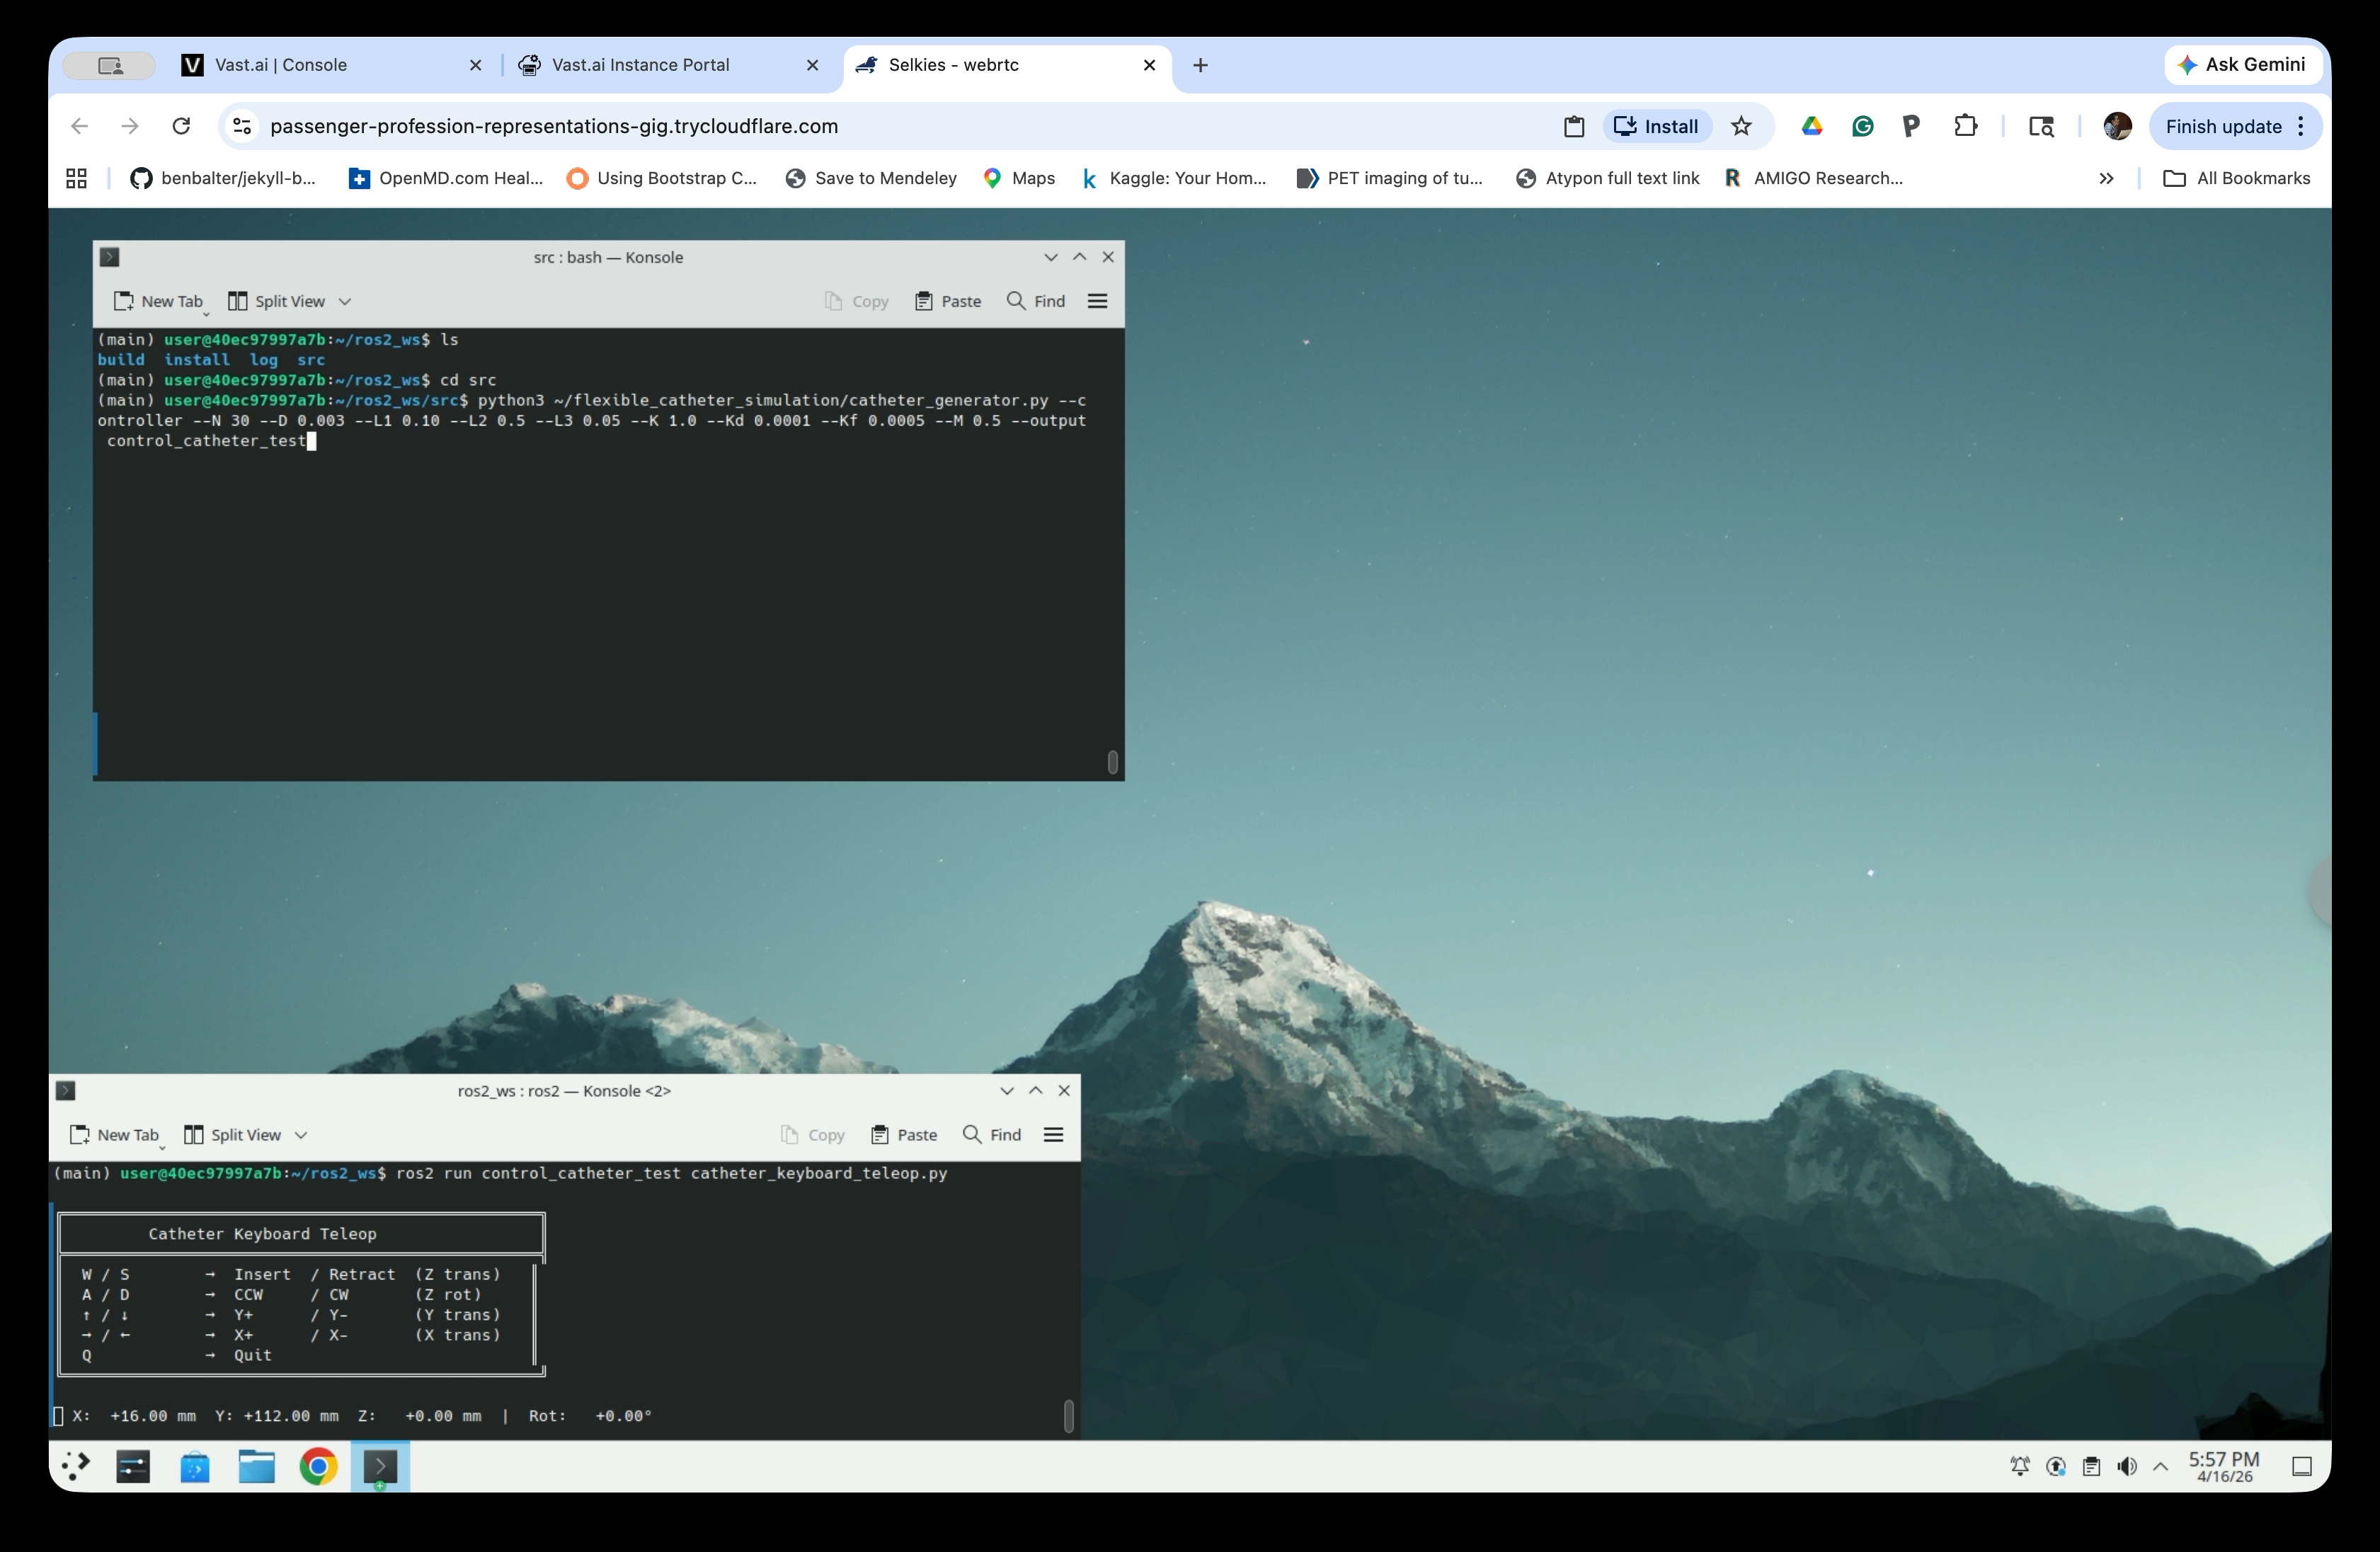
Step 10: Regenerate the Catheter Package
cd ~/ros2_ws/src
python3 ~/flexible_catheter_simulation/catheter_generator.py \
    --controller \
    --N 30 --D 0.003 --L1 0.10 --L2 0.5 --L3 0.05 \
    --K 1.0 --Kd 0.0001 --Kf 0.0005 --M 0.5 \
    --output control_catheter_test
Step 11: Rebuild
cd ..
colcon build
Step 12: Relaunch the Simulation
After the build finishes, source the workspace and relaunch:
source install/setup.bash
ros2 launch control_catheter_test control_catheter_test_launch.py
Relaunch the teleop in the second terminal as before and press keys to move the catheter base. The shaft of the catheter looks more flexible than Step 9.
Part 5: Visualize the Catheter in 3D Slicer via SlicerROS2
Step 13: Start 3D Slicer
Open a new terminal and start Slicer (keep the Gazebo simulation and teleop running):
source ~/ros2_ws/install/setup.bash
ros2 launch slicer_ros2_module slicer.launch.py
Step 14: Open the ROS2 Module in Slicer
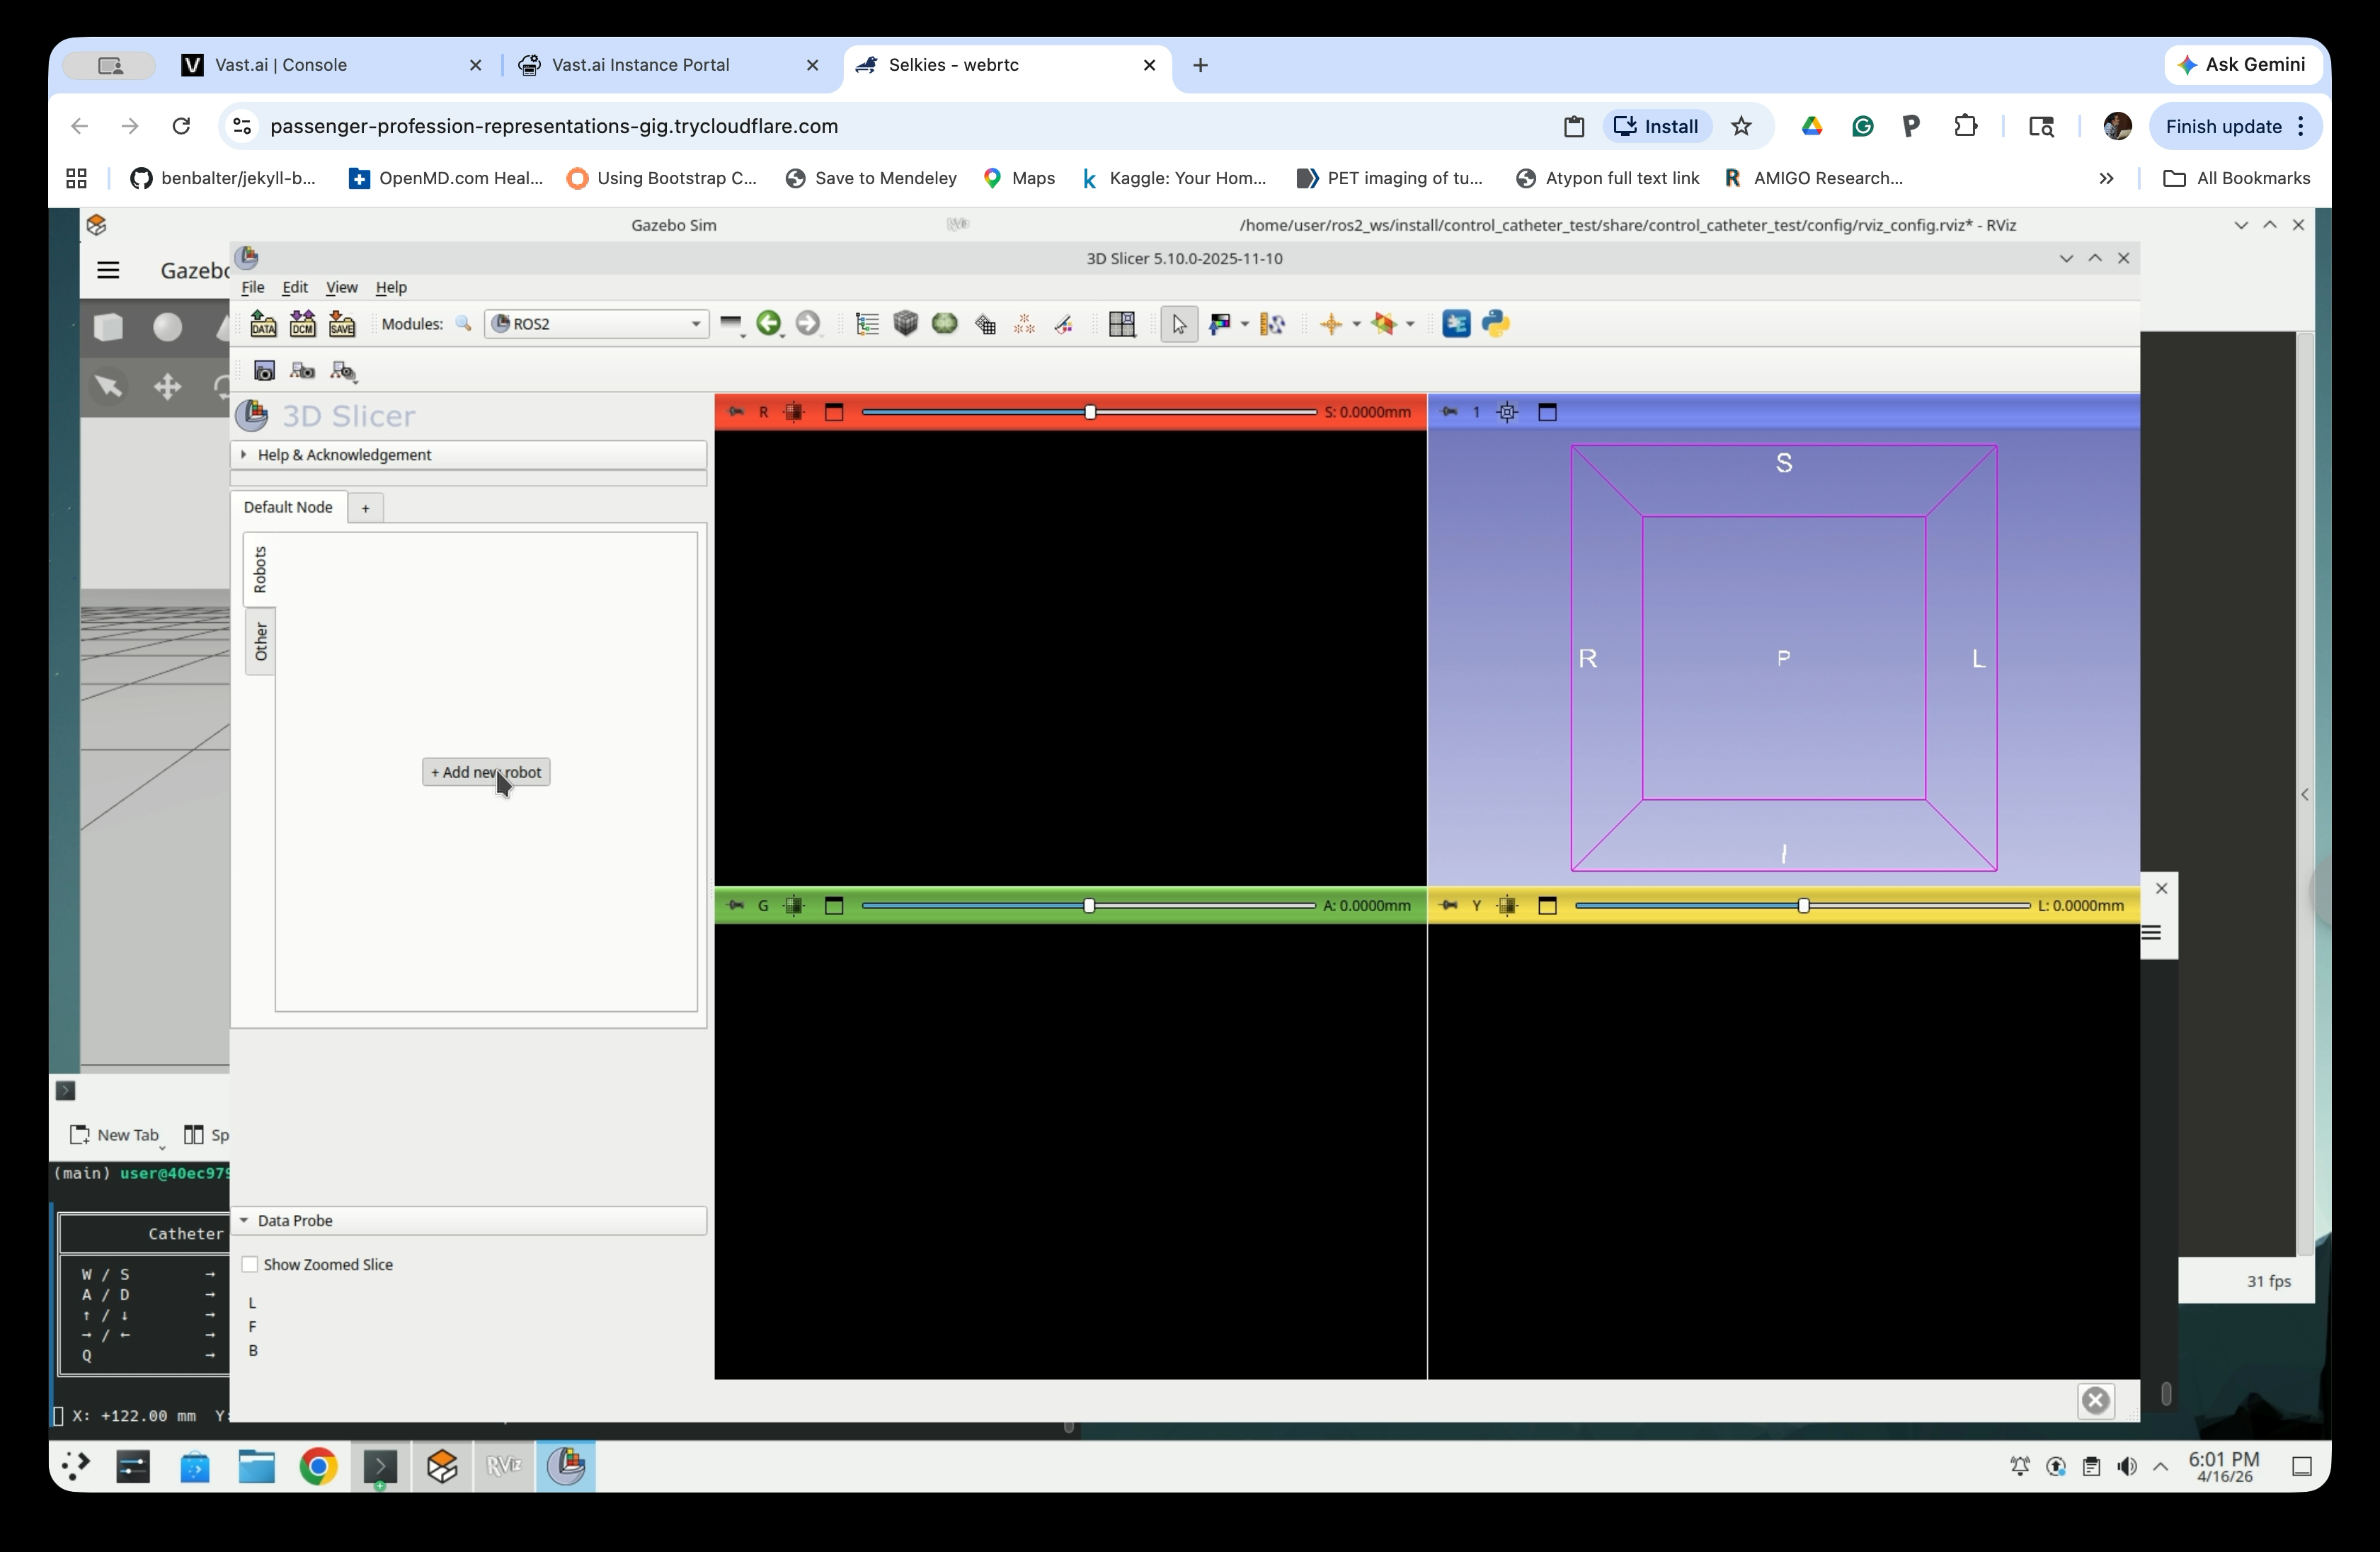
Once Slicer opens, go to the Modules menu and navigate to IGT → ROS2.
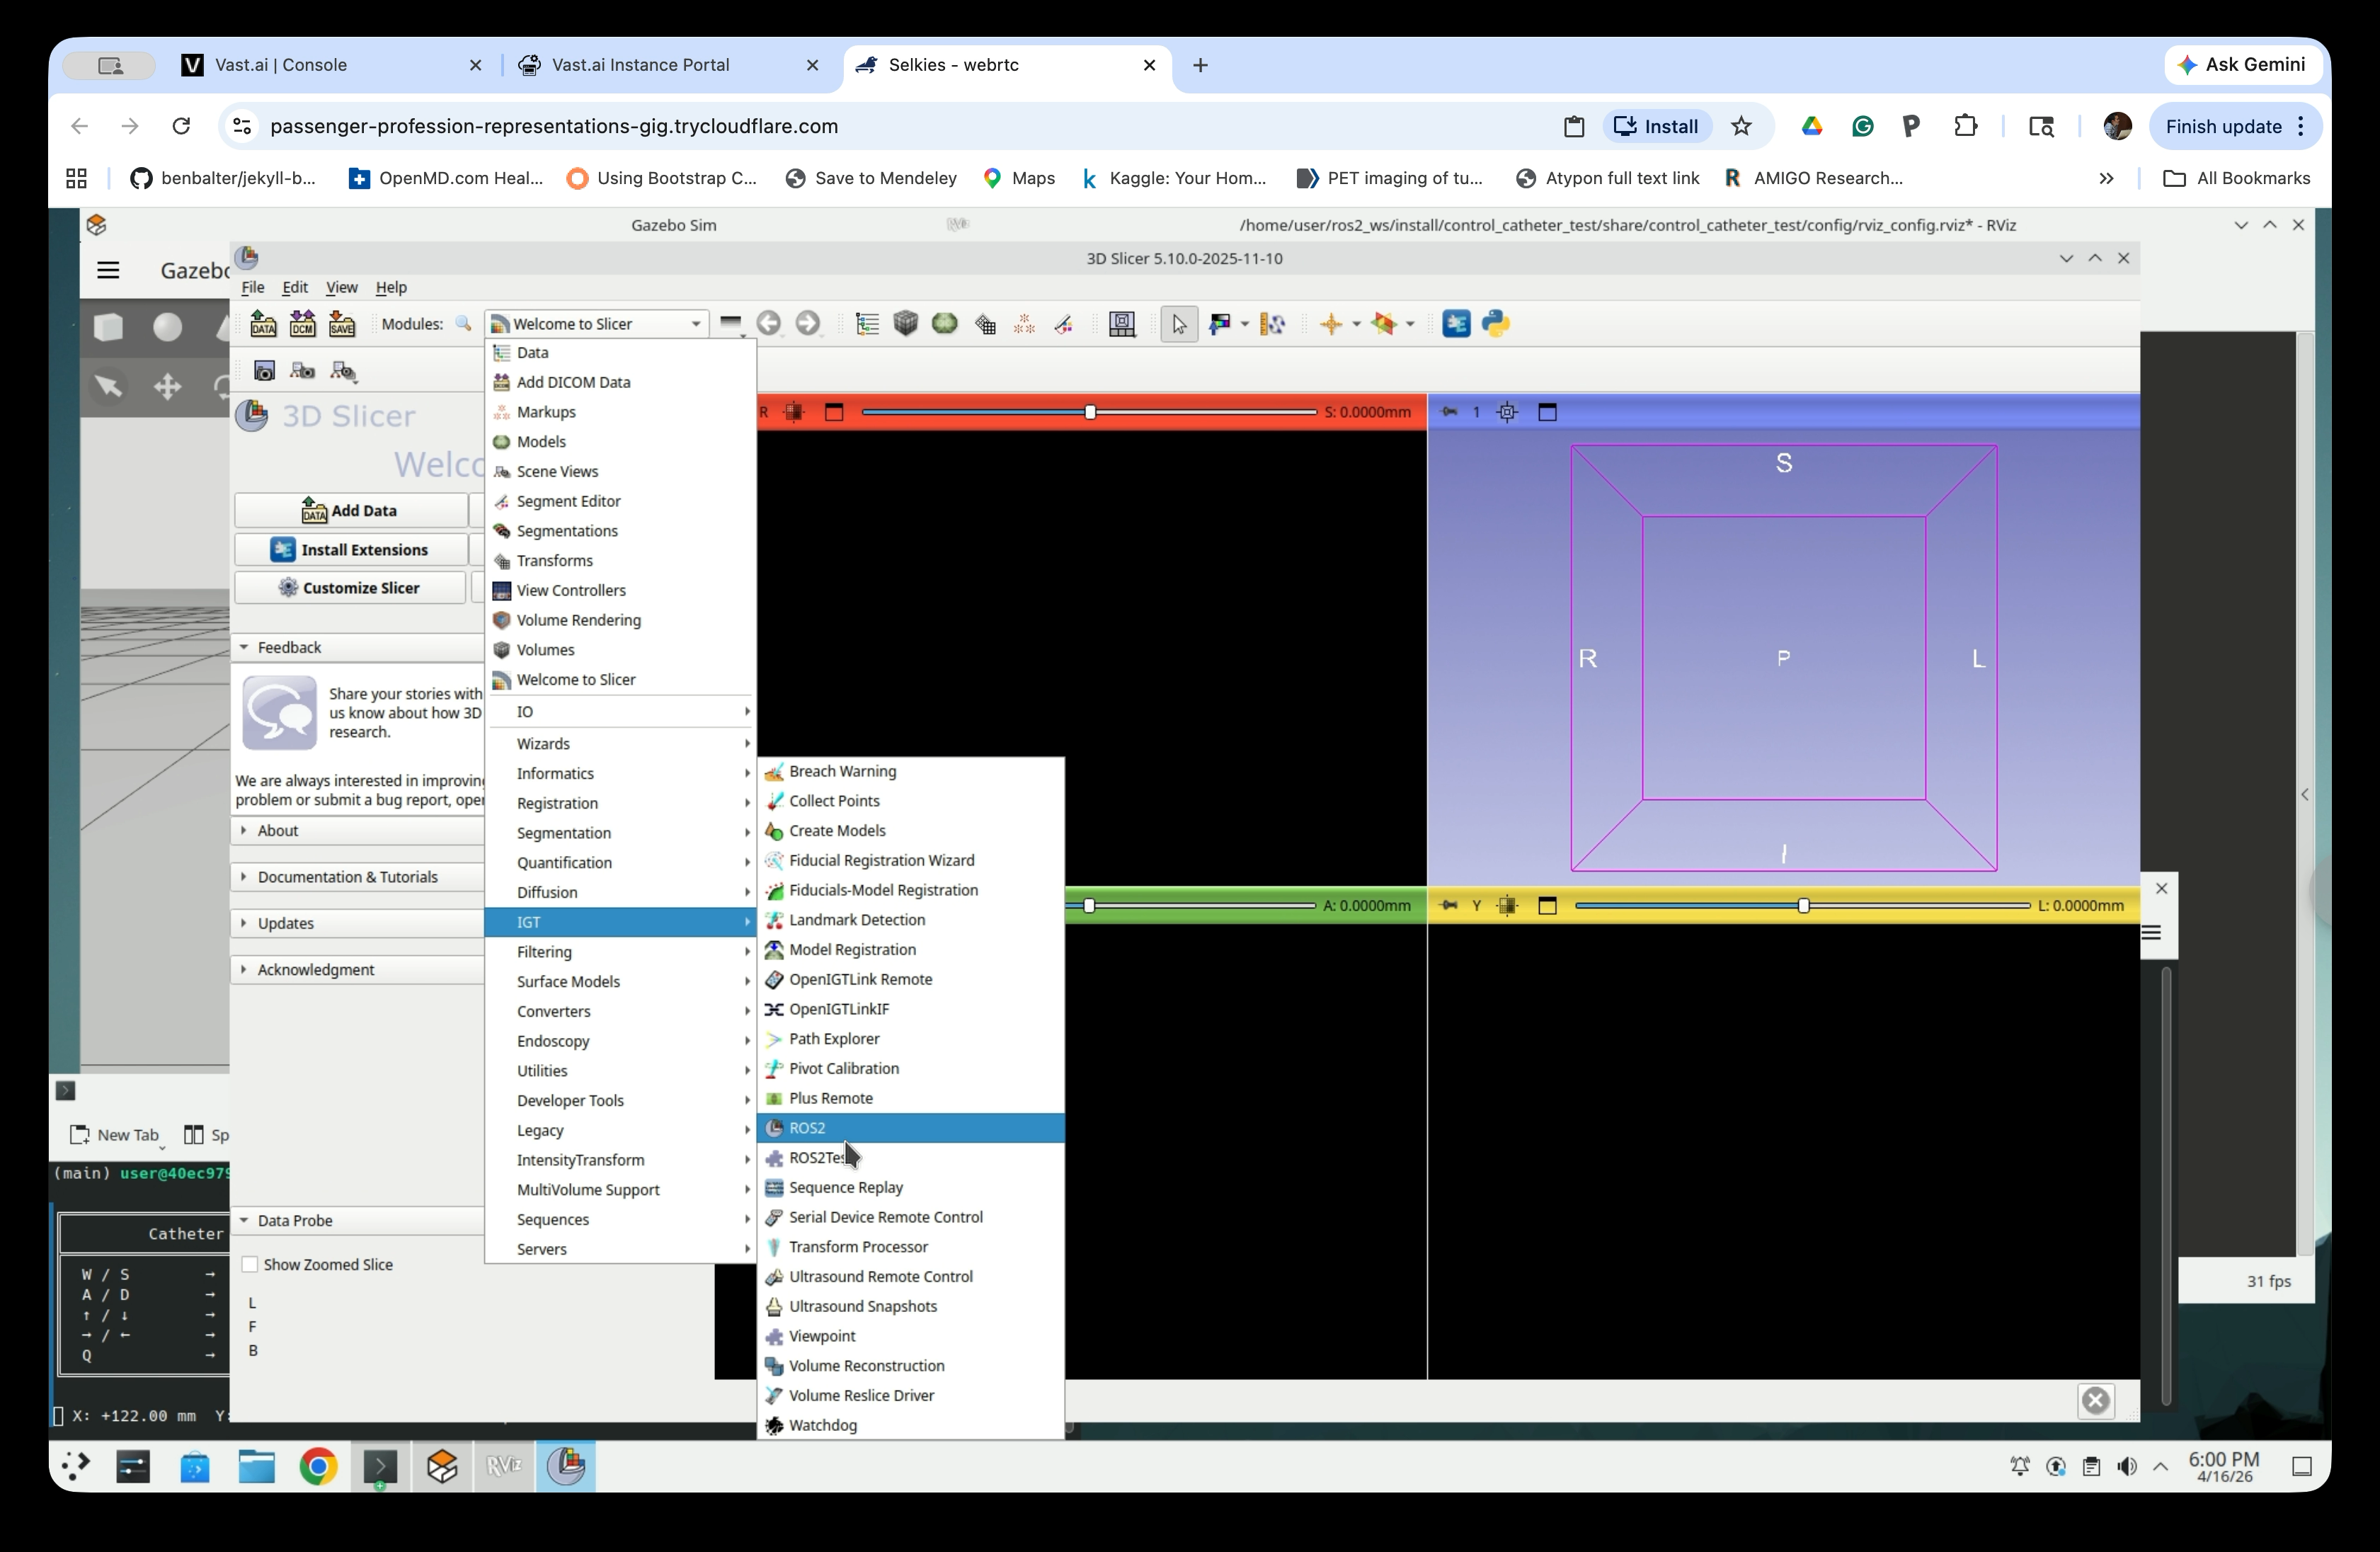
Step 15: Add a New Robot
In the ROS2 module panel, click + Add new robot.
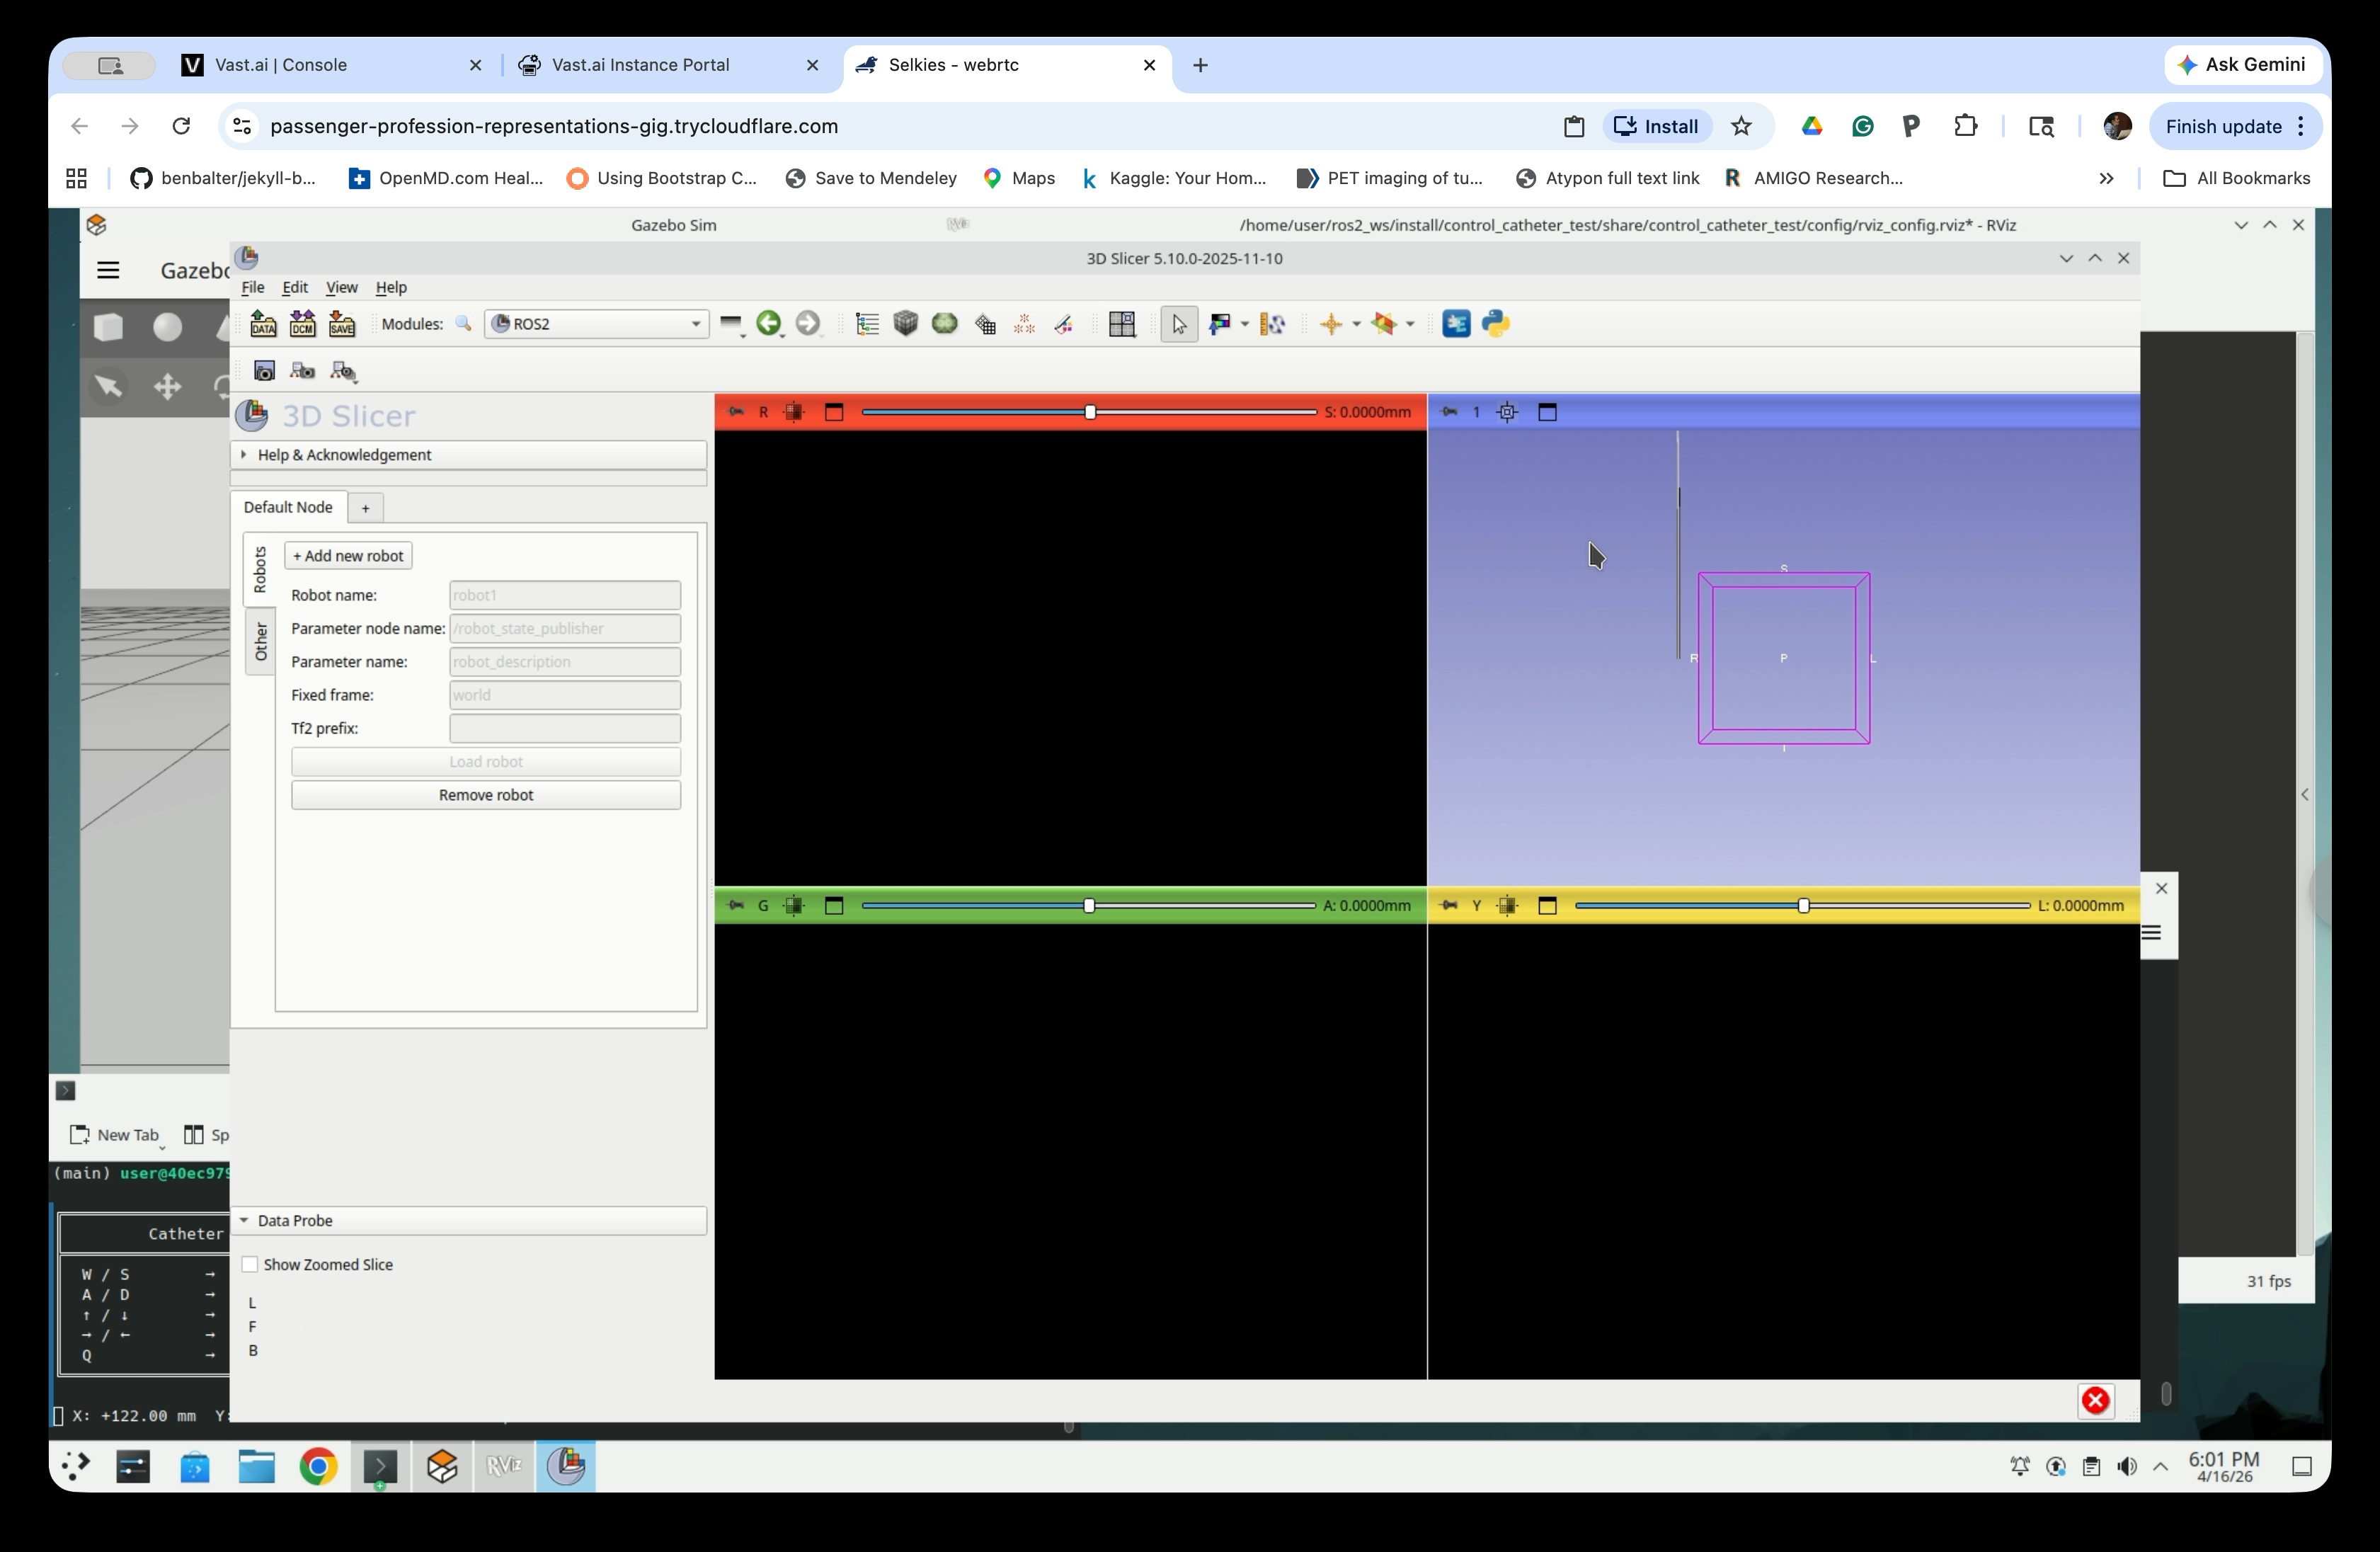
Step 16: Configure the Robot Connection
Fill in the robot connection fields:
- Robot name:
robot1 - Parameter node name:
/robot_state_publisher - Parameter name:
robot_description - Fixed frame:
world - Tf2 prefix: (leave empty)

Step 17: Load the Robot
Click Load robot to connect to the running ROS2 simulation.

After loading, the form fields will become grayed out, indicating the robot is connected.
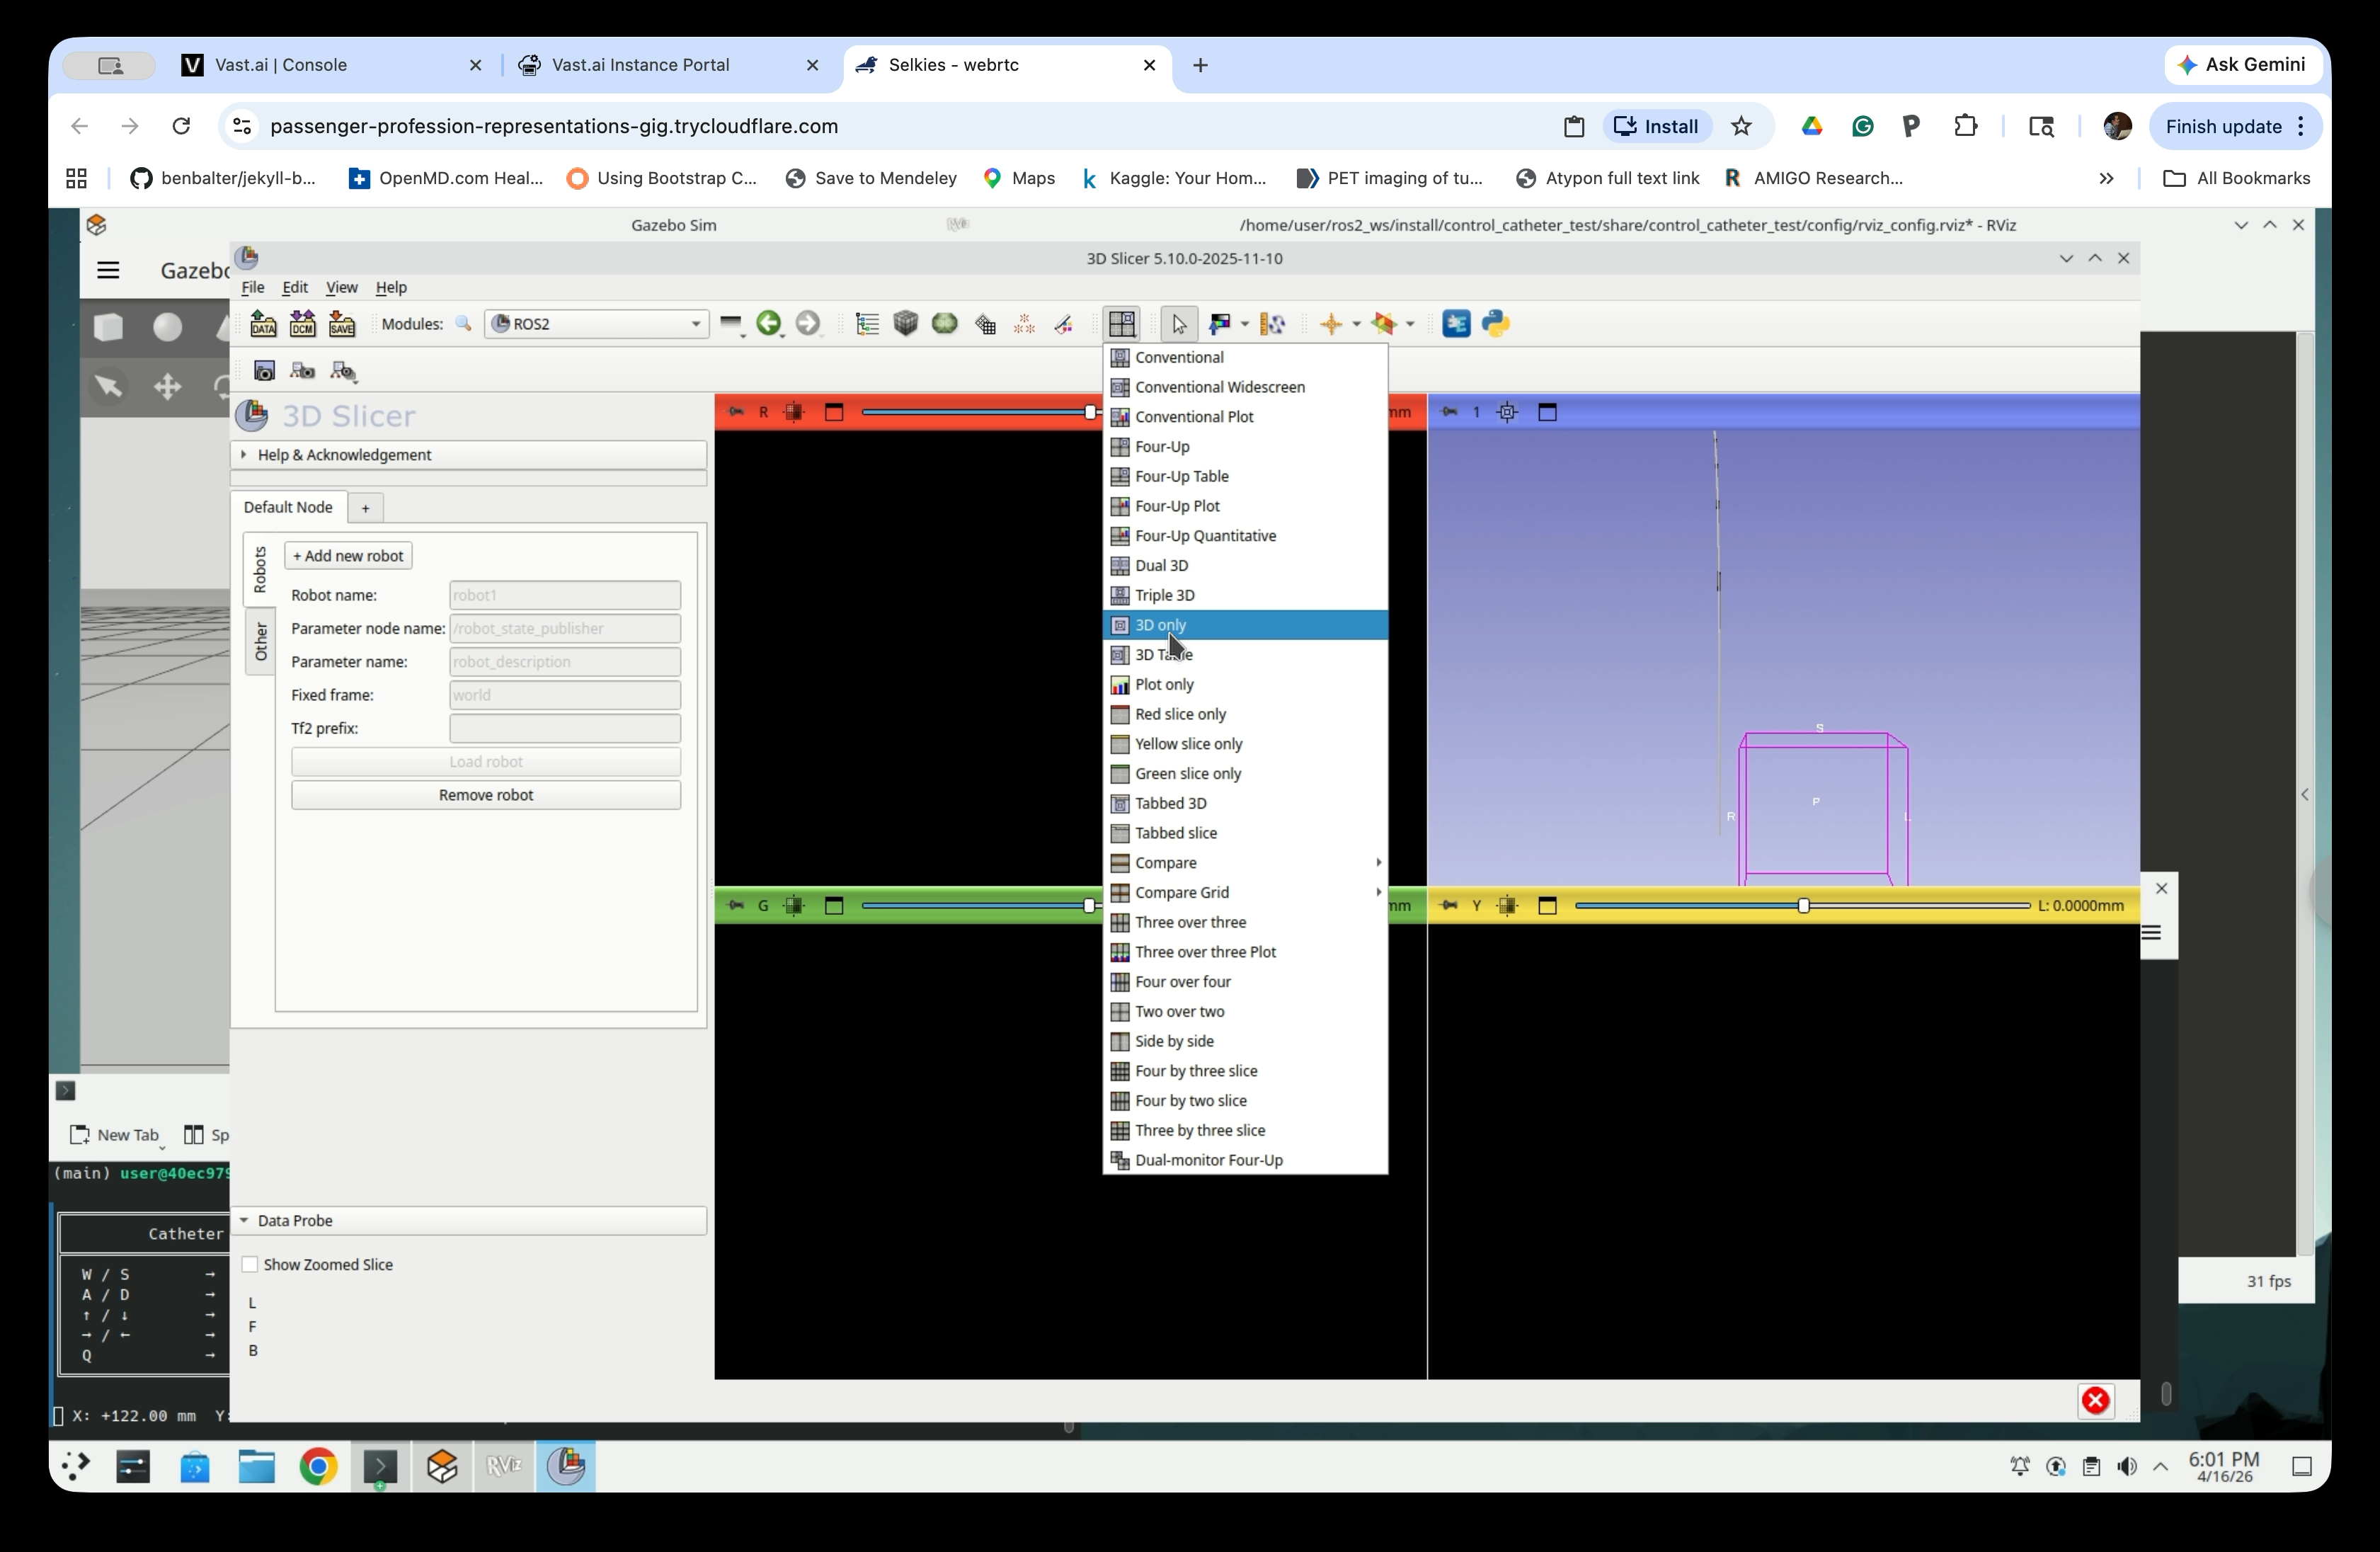
Step 18: Switch to 3D Only View
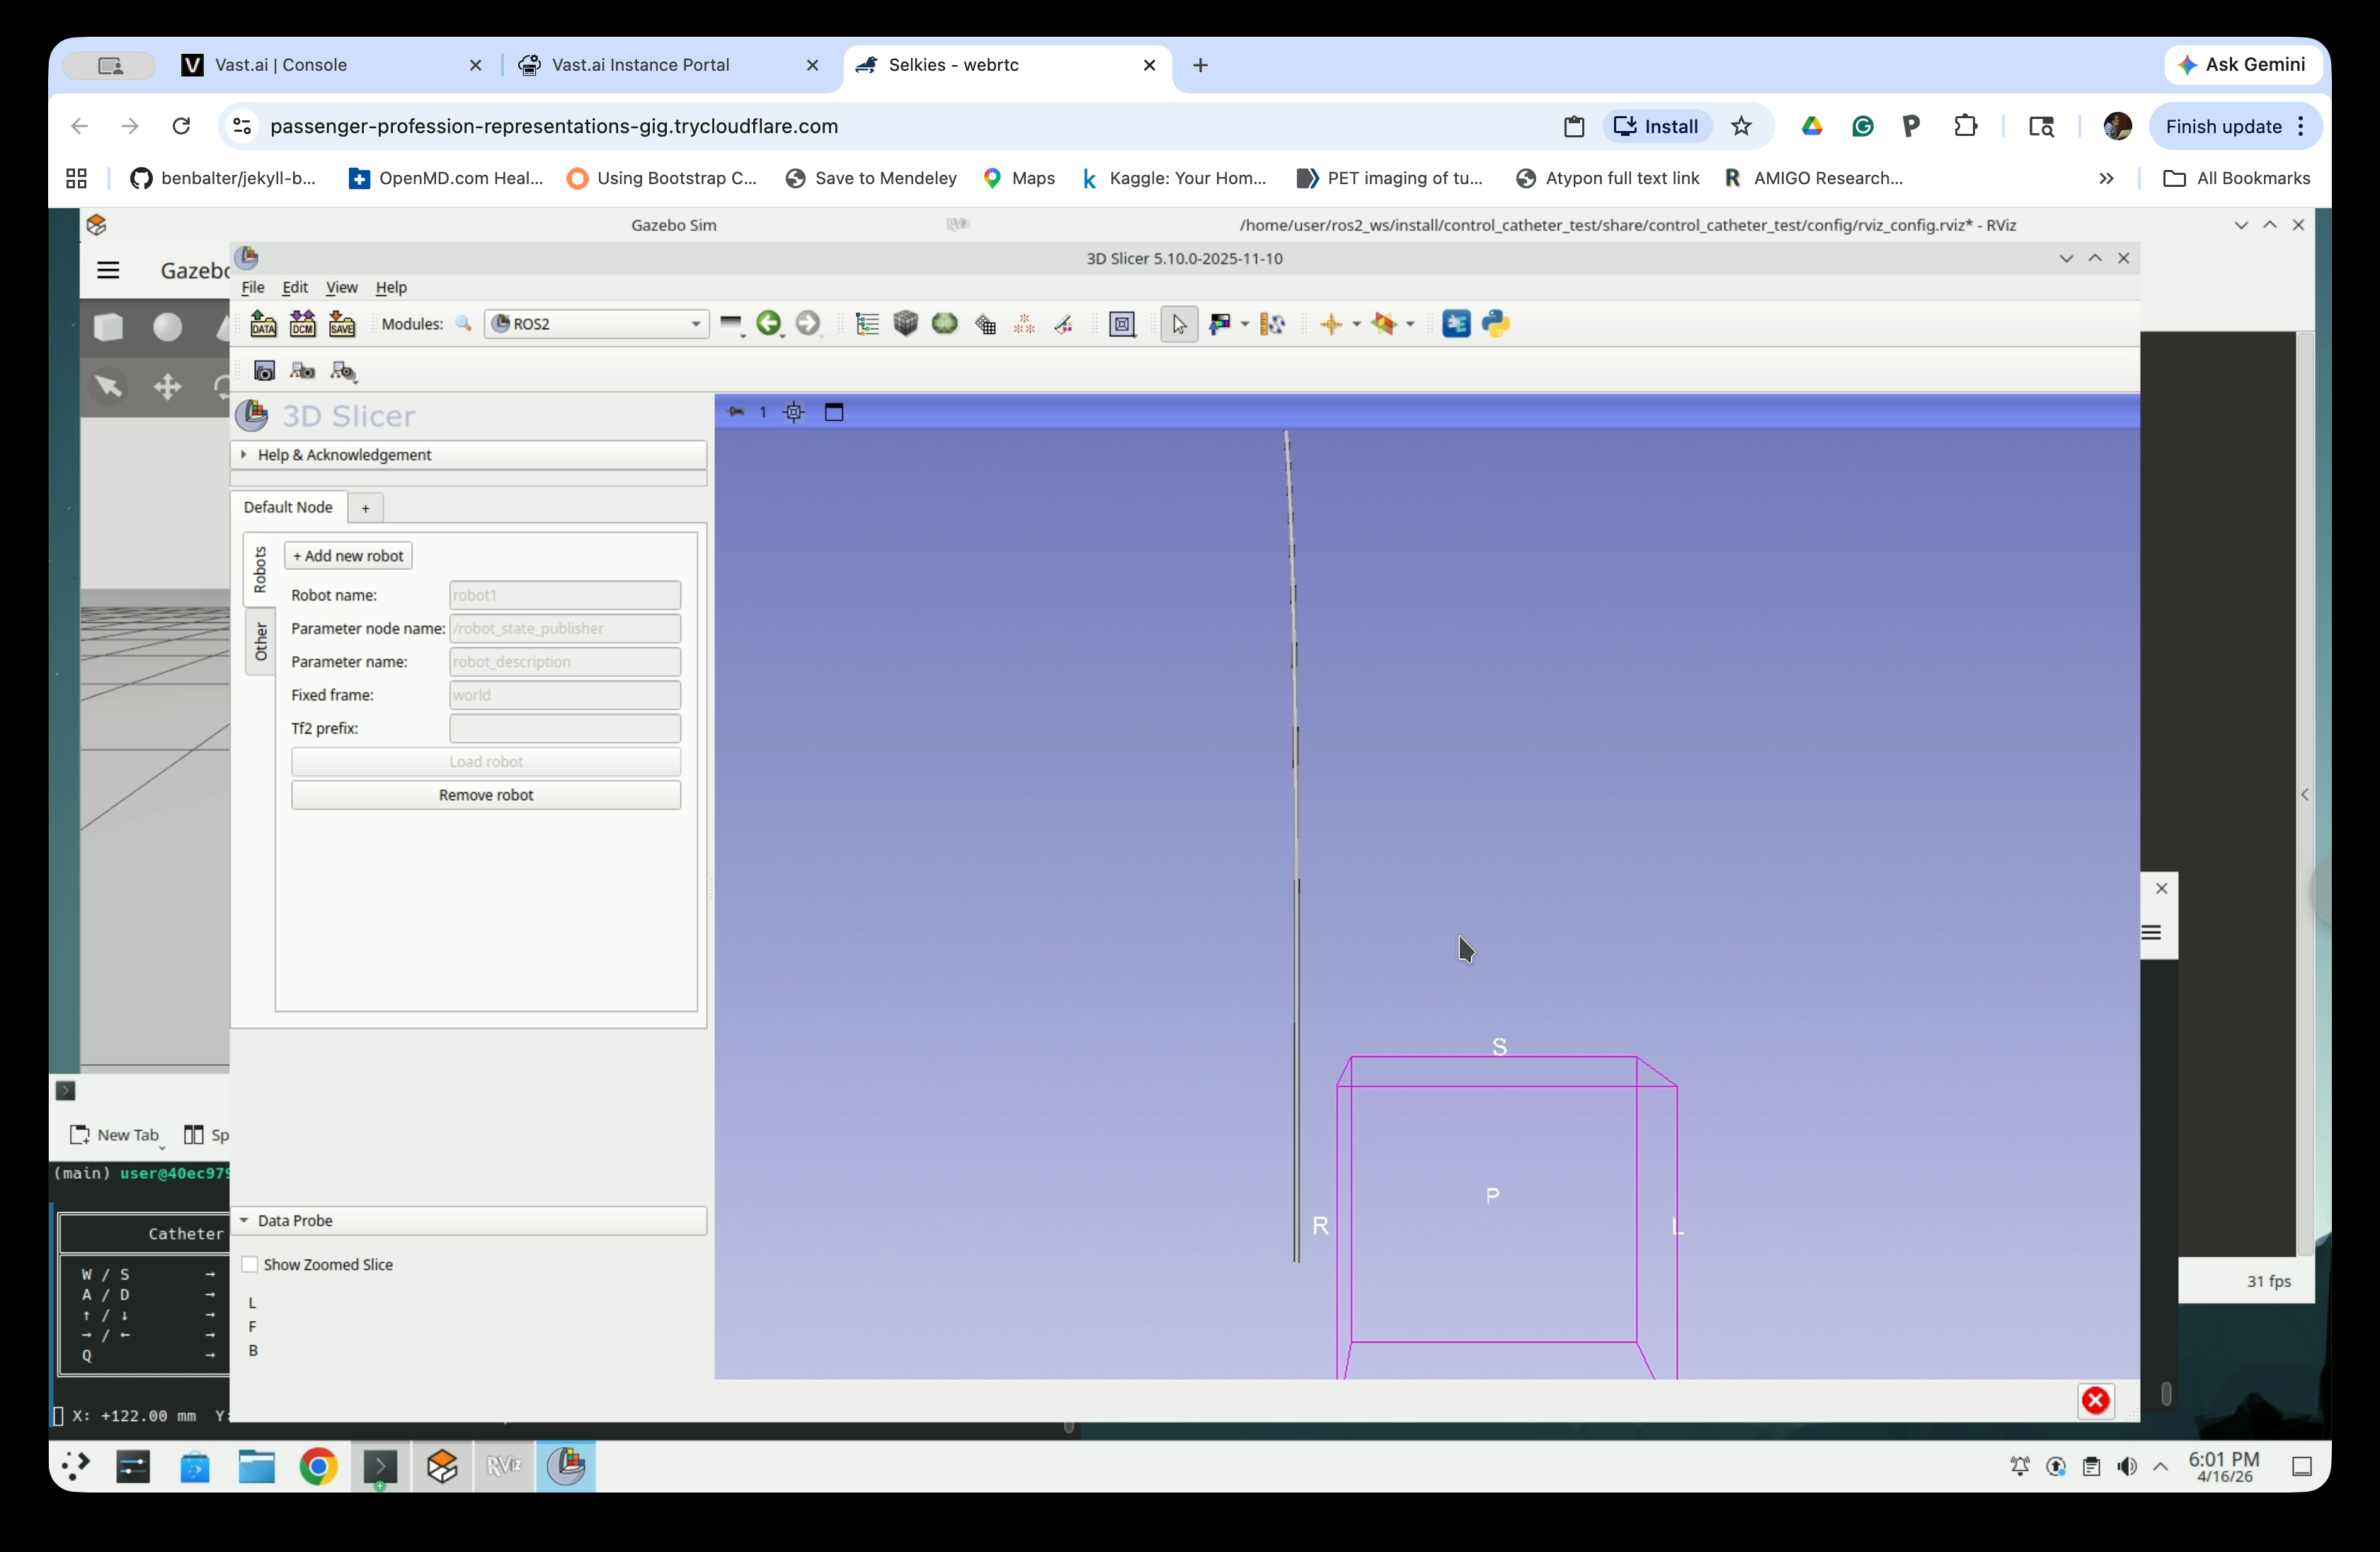
To see the catheter model clearly, switch the Slicer layout to 3D only. Click the layout selector button in the toolbar and choose 3D only.
The 3D view will now show the catheter robot model as a line, matching the pose published by the ROS2 simulation.
Step 19: Compare the Catheter Shape on All Three Viewers
Click the teleop terminal and use the keyboard controls to move the catheter. Gazebo, RViz, and 3D Slicer will all update simultaneously, showing the catheter pose in real time across all three environments.